Table of Contents
Advertisement
Quick Links
Advertisement
Table of Contents

Subscribe to Our Youtube Channel
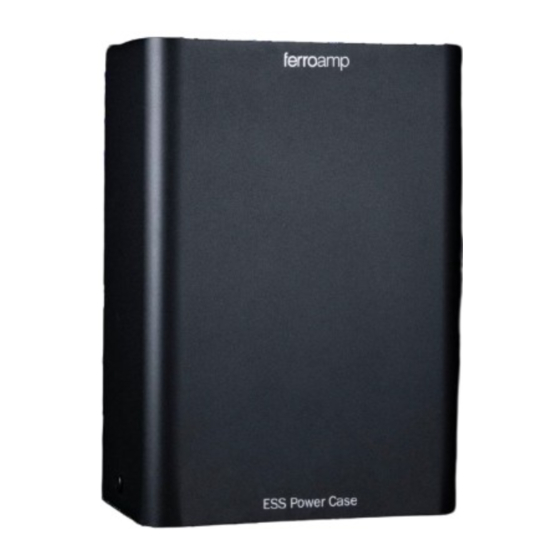
Summary of Contents for ferroamp ESS Power Case
- Page 1 Installation manual ESS Power Case Rev A01...
-
Page 2: Table Of Contents
Commissioning – Start up ......................................9 Revision history Date Revision 2022.05.02 A01 - First release PN: PD10008, Rev: A01, Copyright Ferroamp Elektronik AB 2022. Document subject to change without prior notice. Verify that you have the latest version of this manual on our website. www.ferroamp.com/downloads... -
Page 3: English
Case: may be associated with bodily injury and / or damage to the product. Article Amount ESS Power Case Dimensions Mounting rod ESO Module All dimensions are in mm if nothing else is specified. Mounting Bracket ESO Module Warning sticker (En/Swe) -
Page 4: Bottom Connections
Bottom connections Internal components & connections External ground connection (PE) RJ45 cable grommet (CAN) Cable gland M32 (Ø 13-21mm) Multi grommet (2 x Ø 4-8mm, 2 x Ø 9-12mm) Multi grommet (2 x Ø 4-8mm, 2 x Ø 9-12mm) -
Page 5: Installation
NOTE! Make sure that the ESS Power Case and the ESS Battery are positioned close enough for the premade battery cables to reach. Make sure that the chosen location for installation is in line with the following criteria: •... - Page 6 To remove the front cover by first unscrew the two side Mount the base plate on the wall, see dimensions for position thumbscrews (1 & 2), slide the front up (3) and lift it off (4). of mounting holes (mm): Finish with unscrewing the PE-cable from the baseplate (5).
-
Page 7: Ess Battery Connection
ESS Battery connection Cut of the ring terminals from the premade battery cables included with the ESS Battery Controller. Connect the communication cable from the ESS Battery to the outer port, “CAN 2”: Poke holes in the multi grommets and feed Bat+, Bat- and PE cables through the smaller grommets. -
Page 8: Connection Of Sso:s (1-3)
Connection of SSO:s (1-3) Connect to the following terminals: If you do not have any SSOs you can skip this section. NOTE! To calculate correct cable dimensions you can use Ferroamp’s online cable calculator, available www.ferroamp.com under the support section. -
Page 9: Dc Nanogrid Connection
DC nanogrid connection • Make sure that the DC nanogrid is connected to correct terminals. NOTE! To calculate correct cable dimensions you can use Ferroamp’s online cable calculator, available www.ferroamp.com under the support section. Connection overview Depending on the cable diameter used for the DC link, feed Verify the correct polarity of all connected cables. -
Page 10: Install Eso Modules
When alignment of the connector is good gently lower the Install ESO Modules ESO module in place, one module at the time: The ESS Power Case can be configured with either 1 or 2 ESO 1 x ESO Module: Modules depending on the power configuration of the ESS System. -
Page 11: Assembly Finish
EnergyHub (available at www.ferroamp.com Turn on the EnergyHub. Close the breaker on the ESS Power Case. Close the breaker on the ESS Battery and press the start button for 5 seconds until it rings. When the system is on the battery will calibrate during the first 24 hours. - Page 12 Electricity. Reinvented.


Need help?
Do you have a question about the ESS Power Case and is the answer not in the manual?
Questions and answers