Table of Contents
Advertisement
Available languages
Available languages
Quick Links
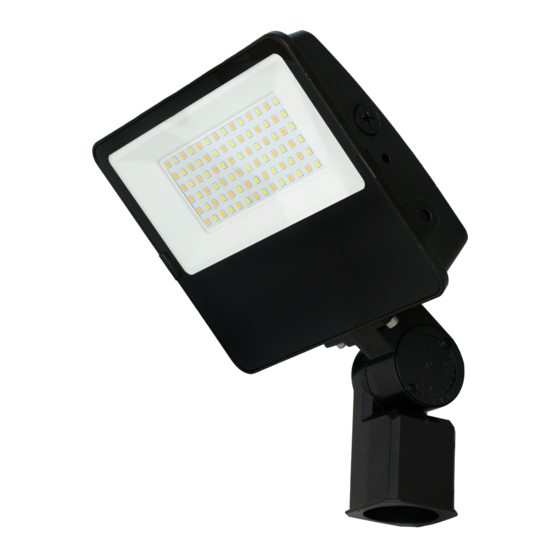
INSTALLATION INSTRUCTIONS
C-FL-A-FLW Series
1/2" FITTER
2" ADJUSTABLE
FITTER
CAUTIONS
IMPORTANT SAFEGUARDS
When using electrical equipment, basic safety
precautions should always be followed including the
following:
READ AND FOLLOW ALL
SAFETY INSTRUCTIONS
1.
DANGER- Risk of shock- Disconnect power before
installation.
DANGER – Risque de choc – Couper l'alimentation
avant l'installation.
2.
This luminaire must be installed in accordance with the
NEC or your local electrical code. If you are not familiar
with these codes and requirements, consult a qualified
electrician.
Ce produit doit être installé conformément à NEC ou votre
code électrique local. Si vous n'êtes pas familier avec ces
codes et ces exigences, veuillez contacter un électricien
qualifié.
3.
Suitable for Wet Locations.
Adspte pour les Endroits Mouiles.
SAVE THESE INSTRUCTIONS
FOR FUTURE REFERENCE
YOKE
http://lighting.cree.com/warranty
Document:
LPN00872X0001A0_B
Created By:
TMT
MOUNTING USING YOKE
1.
Mount S3L,S5L,S8L and S11L Fixtures, using (2) customer
supplied 5/16" (8mm) fasteners and washers appropriate for
the mounting surface. Mount S17L and S22L fixtures using (2)
customer supplied 3/8" (10mm) fasteners and washers. The slots
or holes in the lower yoke itself can be used as a template for
locating holes in mounting surface.
2.
Aim fixture by loosening the bolts on both sides of yoke and
rotating the fixture to desired tilt angle. Re-tighten bolts.
3.
Route the fixture's 18AWG power cord to the junction box where
the supply leads can be accessed. The fixture cord has a 0.3125"
(8 mm) outside diameter. A UL listed watertight cord grip suitable
for use on 0.3125" (8 mm) diameter wet location flexible cord shall
be supplied (by others) to install cord onto outdoor junction box.
NOTE: To reduce risk of water entering junction box, teflon tape
or silicone sealant should be used on the threaded portion of
the cord grip. It is recommended that the watertight cord grip be
installed so that the fixture cord exists the junction box toward
the ground. If the junction box does not allow for the cord to exit
toward the ground, the use of an elbow suitable for wet location
use is recommended so that the cord can exit toward the ground.
See Figure 1.
See Wattage, Color Temperature, and Photocell Settings
4.
section to set wattage, CCT, and to enable or disable photocell (if
present).
5.
Wire as indicated in Electrical Connections section.
MOUNTING USING 1/2" FITTER
NOTE: Fixture can be mounted to any metal 1/2" NPSM threaded
mounting (supplied by others).
NOTE: When mounting the fixture in an inverted position (1/2" fitter
above fixture), mount fixture to a watertight junction box and cover.
Also, caulk the conduit openings, around the junction box cover, and
the wire entry end of the 1/2" fitter with a high grade caulking material,
such as silicone rubber, to ensure water does not enter fixture through
1/2" fitter.
1.
Route fixture leads through hole in mount.
2.
Thread mounting onto end of fitter on fixture and secure with
locknut. Using thread sealant on the threads will ensure a
watertight seal.
See Wattage, Color Temperature, and Photocell Settings
3.
section to set wattage, CCT, and to enable or disable photocell (if
present).
4.
Wire as indicated in Electrical Connections section.
5.
Aim fixture by loosening screw on knuckle of fitter and rotating
fixture to desired tilt angle. Re-tighten screw.
FIGURE 1
|
1-800-236-6800
Date
9-06-2022
Advertisement
Table of Contents

Related Manuals for C-LITE C-FL-A-FLW Series


Summary of Contents for C-LITE C-FL-A-FLW Series
- Page 1 LPN00872X0001A0_B Date 9-06-2022 INSTALLATION INSTRUCTIONS Created By: C-FL-A-FLW Series MOUNTING USING YOKE Mount S3L,S5L,S8L and S11L Fixtures, using (2) customer supplied 5/16" (8mm) fasteners and washers appropriate for the mounting surface. Mount S17L and S22L fixtures using (2) customer supplied 3/8" (10mm) fasteners and washers. The slots or holes in the lower yoke itself can be used as a template for locating holes in mounting surface.
- Page 2 LPN00872X0001A0_B Date 9-06-2022 INSTALLATION INSTRUCTIONS Created By: C-FL-A-FLW Series FCC NOTICE CAUTION: Changes or modifications not expressly approved could void MOUNTING USING 2" ADJUSTABLE FITTER your authority to use this equipment. This device complies with part 15 of the FCC Rules. Operation is subject NOTE: Fixture is intended to be mounted on 2-3/8”...
- Page 3 Documento: LPN00872X0001A0_B Fecha 9-06-2022 INSTRUCCIONES DE INSTALACIÓN Creado por: Serie C-FL-A-FLW MONTAJE USANDO YUGO Monte las luminarias S3L, S5L, S8L y S11L usando los (2) sujetadores de 5/16" (8 mm) suministrados por el cliente y las arandelas adecuadas para superfi cie de montaje. Monte las luminarias S17L y S22L usando los (2) sujetadores de 3/8"...
- Page 4 Documento: LPN00872X0001A0_B Fecha 9-06-2022 INSTRUCCIONES DE INSTALACIÓN Creado por: Serie C-FL-A-FLW AVISO DE LA FCC MONTAJE USANDO ADAPTADOR AJUSTABLE DE 2" PRECAUCIÓN: Los cambios o modificaciones que no se autoricen expresamente podrían invalidar su autoridad para usar este equipo. NOTA: La luminaria está diseñada para montarse en un tubo de pared gruesa o espiga de 60 mm (2-3/8") de diámetro exterior.
- Page 5 Document : LPN00872X0001A0_B Date 9-06-2022 INSTRUCTIONS D’INSTALLATION Créé par : Série C-FL-A-FLW MONTAGE AVEC ÉTRIER Montez les luminaires S3L, S5L, S8L et S11L en utilisant (2) attaches de 8 mm (5⁄16 po) et les rondelles adaptées à la surface de montage fournies par le client.
- Page 6 Document : LPN00872X0001A0_B Date 9-06-2022 INSTRUCTIONS D’INSTALLATION Créé par : Série C-FL-A-FLW AVIS DE LA FCC MONTAGE AVEC DISPOSITIF D'AJUSTEMENT 50,8 MM (2 PO) MISE EN GARDE : Les changements ou modifications non expressément approuvés peuvent annuler votre droit à utiliser cet équipement. REMARQUE : L'appareil est destiné...
Need help?
Do you have a question about the C-FL-A-FLW Series and is the answer not in the manual?
Questions and answers