Sign In
Upload
Download
Table of Contents
Contents
Add to my manuals
Delete from my manuals
Share
URL of this page:
HTML Link:
Bookmark this page
Add
Manual will be automatically added to "My Manuals"
Print this page
×
Bookmark added
×
Added to my manuals
Manuals
Brands
Fisher & Paykel Manuals
Refrigerator
RS6019S2R
Installation manual
Fisher & Paykel RS6019S2R Installation Manual
Hide thumbs
1
2
3
4
5
6
7
8
9
10
11
12
13
14
15
16
17
18
19
20
21
22
23
24
25
26
27
28
29
30
31
32
33
34
35
Table Of Contents
36
page
of
36
Go
/
36
Contents
Table of Contents
Bookmarks
Table of Contents
Safety and Warnings
Prior to Installation
During Installation
Parts Required
Optional Accessories
Door Panels
Tools Required
Product and Cavity Dimensions
Plan View
Front View
Cavity Preparation
Custom Panel Dimensions
Custom Panel Preparation
Rear View
Install Anti-Tip Bracket
Replacing Water Filter
Installer Checklist
Advertisement
Quick Links
Download this manual
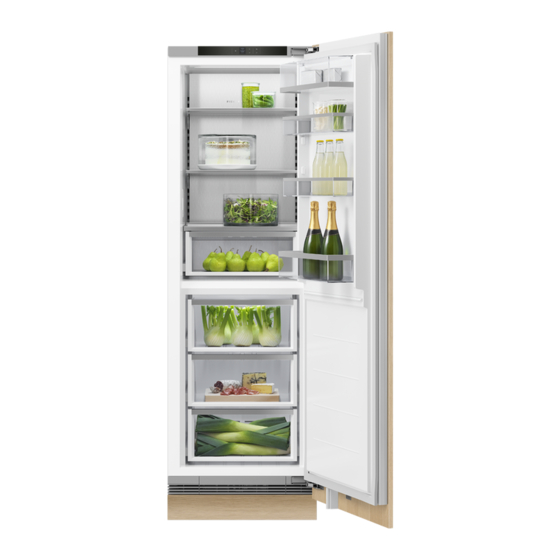
INTEGRATED REFRIGERATION
INTEGRATED
RS6019S2R, RS6019F2L, RS6019S3RH
and RS6019F3LJ models
INSTALLATION GUIDE
NZ AU UK IE SG HK
Table of
Contents
Previous
Page
Next
Page
1
2
3
4
5
Advertisement
Table of Contents
Need help?
Do you have a question about the RS6019S2R and is the answer not in the manual?
Ask a question
Questions and answers
Related Manuals for Fisher & Paykel RS6019S2R
Ranges Fisher & Paykel OR30SCI6 User Manual
Freestanding range (78 pages)
Warming Drawer Fisher & Paykel 9 Series User Manual
(24 pages)
Warming Drawer Fisher & Paykel 9 Series Installation Manual
(18 pages)
Oven Fisher & Paykel 7 Series Installation Manual
(14 pages)
Microwave Oven Fisher & Paykel 9 Series Quick Reference Manual
Minimal handleless compact combi microwave oven (3 pages)
Dishwasher Fisher & Paykel 9 Series Quick Reference Manual
Integrated double dishdrawer dishwasher (3 pages)
Warming Drawer Fisher & Paykel 9 Series Quick Reference Manual
(2 pages)
Warming Drawer Fisher & Paykel 9 Series Quick Reference Manual
Warming drawer, 30" (2 pages)
Warming Drawer Fisher & Paykel 9 Series Manual
Warming drawer, 60cm (2 pages)
Warming Drawer Fisher & Paykel 9 Series Quick Reference Manual
Contemporary warming drawer (2 pages)
Cooktop Fisher & Paykel 9 Series Quick Reference Manual
(2 pages)
Hob Fisher & Paykel 9 Series Quick Reference Manual
Gas on glass cooktop, 30cm, lpg, minimal, black glass (2 pages)
Cooktop Fisher & Paykel 9 Series Quick Reference Manual
Induction cooktop, 60cm, 4 zones (2 pages)
Hob Fisher & Paykel 9 Series Quick Reference Manual
Gas on glass hob, 90cm, minimal, black glass, natural gas (2 pages)
Cooktop Fisher & Paykel 9 Series Quick Reference Manual
Gas on glass cooktop, 90cm (2 pages)
Hob Fisher & Paykel 9 Series Quick Reference Manual
(2 pages)
This manual is also suitable for:
Rs6019f2l
Rs6019s3rh
Rs6019f3lj
Rs6019f2l1
Rs6019s2r1
Rs6019f3lj1
...
Show all
9 series
Rs6019s3rh1
Table of Contents
Print
Rename the bookmark
Delete bookmark?
Delete from my manuals?
Login
Sign In
OR
Sign in with Facebook
Sign in with Google
Upload manual
Upload from disk
Upload from URL


Need help?
Do you have a question about the RS6019S2R and is the answer not in the manual?
Questions and answers