Advertisement
Quick Links
Advertisement

Related Manuals for fronteriors BILLY

Summary of Contents for fronteriors BILLY
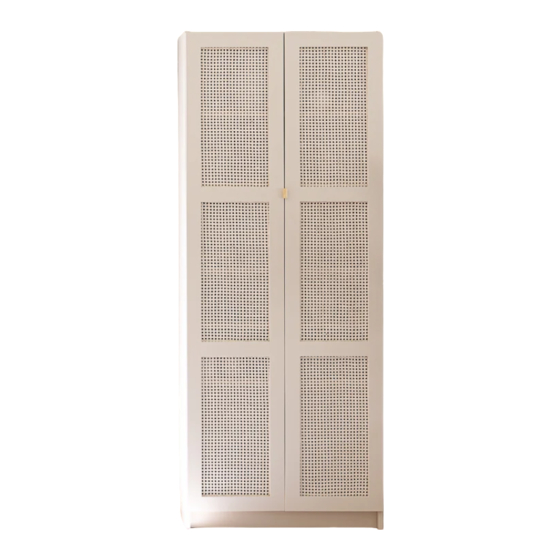
- Page 1 BILLY ASSEMBLY GUIDE...
- Page 2 IKEA frames into something that reflects your personal style. Fronteriors was established as a DIY concept and this guide will help both home enthusiasts and professionals complete an easy installation. We love seeing your finished cabinets,...
-
Page 3: Table Of Contents
contents TOOLS & HARDWARE Page 1 STEPS FOR YOUR INSTALLATION Page 2 HINGE ADJUSTMENT Page 7 HARDWARE Page 8 GET IN TOUCH Page 9... -
Page 4: Tools & Hardware
A manual or electric screw driver, screws and the IKEA manual. NOTE Hinges for Billy frames are a little complicated since IKEA packages hinges with their doors for Billy and they cannot be purchased separately. The HJÄLPA hinges are however a workable alternative – and in the spirit of this... -
Page 5: Steps For Your Installation
- PA G E 2 - STEP ONE Assemble all the IKEA components as per the IKEA manual instructions. - Page 6 - PA G E 3 - STEP TWO Using a rug for protection, lay the door down with the hinge holes facing upwards. Use the screws provided by IKEA to screw in the hinges until firmly fixed into the door.
- Page 7 - PA G E 4 - STEP THREE Once the hinges are attached properly into the Fronteriors door, align the door to the cabinet frame and check on the illustration for the location of the holes where the hinge mounting plate will attach.
- Page 8 - PA G E 5 - STEP FOUR Attach the shelf pins (included in the IKEA components you purchased) in the hole locations as per the instruction in the IKEA manual guide.
- Page 9 - PA G E 6 - STEP FIVE Locate the pre-drilled holes on both ends of the shelf and place the shelves one by one by pushing it gently into the shelf pins.
-
Page 10: Hinge Adjustment
- PA G E 7 - HINGE ADJUSTMENT Use the illustration above to adjust your doors up/down, in/out or left/right. -
Page 11: Hardware
- PA G E 8 - HARDWARE KNOBS Our doors do not have pre-drilled holes for knobs. Once you have selected the position of your knob(s), drill a guide hole from the front side of the door, using the 4mm drill bit. If you have a piece of scrap wood available, hold it tightly at the back of the door for the drill to continue into. -
Page 12: Get In Touch
www.fronteriors.co...
Need help?
Do you have a question about the BILLY and is the answer not in the manual?
Questions and answers