Advertisement
Table of Contents
- 1 Table of Contents
- 2 Introduction
- 3 Printer External Features
- 4 Printer Internal Features
- 5 Ribbon Cartridge Features
- 6 Display and Buttons
- 7 Printer Installation
- 8 Connecting a Power and a USB Cable
- 9 Installing the Ribbon
- 10 Loading the Cards
- 11 The Withdrawal of Printed Cards
- 12 Driver Installation (Windows 7 / 8 / 10)
- 13 Driver Configuration
- 14 Printer Properties
- Download this manual
Advertisement
Table of Contents

Summary of Contents for EasyBadge 2.0
- Page 1 EasyBadge 2.0 Printer User Manual P a g e...
-
Page 2: Table Of Contents
1. Introduction ................... 3 Printer external features ........................4 Printer internal features ........................5 Ribbon cartridge features ........................6 Display and Buttons ..........................7 2. Printer installation ................. 8 Connecting a power and a USB cable ....................8 2.1. Installing the ribbon..........................9 2.2. - Page 3 5.7. General operation ..........................52 6. Specification ..................54 P a g e...
-
Page 4: Introduction
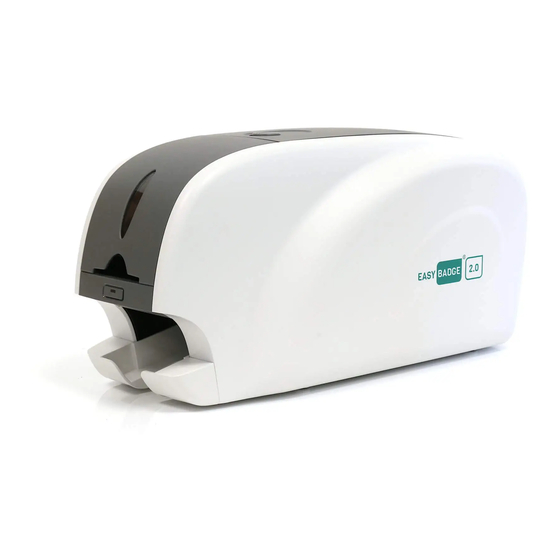
Introduction 1.1 EasyBadge 2.0 Printer External Features The EasyBadge 2.0 Printer status can be seen through LED and the printer can also be controlled by the LED button. The printer takes power via the 24V adaptor provided with the printer. The printer uses USB to connect to the PC. -
Page 5: Printer Internal Features
1.2 Printer Internal Features On the EasyBadge 2.0 Printer, the print ribbon is installed using a reusable ribbon cartridge included with the printer. The following shows the internal features found on the printer. ④ ③ ② ① ① Output hopper Collects the printed cards. -
Page 6: Ribbon Cartridge Features
1.3 Ribbon Cartridge Features ① Ribbon cartridge ④ ② ③ ② Take up spool ① ③ Supply spool ④ Disposable cleaning roller ① Ribbon cartridge -. Install a ribbon and a disposable cleaning roller into the ribbon cartridge. -. This reusable ribbon cartridge is a component of the printer. The printer does not operate if it is broken or damaged. -
Page 7: Display And Buttons
The status of printer can be displayed with the Watchman program found in the Windows system tray. The status of EasyBadge Printer is displayed by colour of LED. The LED is red when boot up and when the printer is ready it will change to blue. -
Page 8: Printer Installation
2. Printer installation 2.1. Connecting a power and a USB cable EasyBadge 2.0 Printer Connect the power and USB cable as the below picture P a g e... -
Page 9: Installing The Ribbon
2.2. Installing the ribbon Before printing, prepare the related items such as a cards, ribbon and a cleaning roller. In this section we will showyou the proper method of installing the ribbon and the cleaning roller into the printer. (1) Turn off the printer (2) Open the printer top cover by pressing the top cover open button. - Page 10 (4) Install a ribbon into the ribbon cartridge as the right picture. (5) Insert the supply side of the ① ribbon to no.1 hole and press the ③ opposite (no.2). Insert the take-up side of the ribbon same method to no.3 and no.4.
- Page 11 the protective wrapper because the cleaning roller cannot perform its function.) (8) Install the ribbon cartridge into the printer after installing the ribbon with a cleaning roller to the cartridge. The cleaner roller should be orientated at the front of the printer.
-
Page 12: Loading The Cards
2.3. Loading the cards This section shows how to load the plastic cards. (1) Open the input hopper cover. If you are not using standard thickness cards (0.8 mm/760mircon) Release two screws, insert a card to use and fix screws after adjust the card thickness device. - Page 13 (3) Stand the stack of cards vertically after separating (4) Load the cards on the input hopper properly and close the hopper cover. (5) When insert each one card, insert the card to the end as left picture 13 | P a g e...
-
Page 14: The Withdrawal Of Printed Cards
2.4. The withdrawal of printed cards. Printed cards are passed out to the stacker of front bottom side of Badge Printer. Badge Printer’s stacker can be divided as following image. so you can withdraw the printed cards easily. 14 | P a g e... -
Page 15: Driver Installation (Windows 7 / 8 / 10)
2.5. Driver installation (Windows 7 / 8 / 10) The EasyBadge 2.0 Printer driver installation will start after the EasyBadgeSystem- Setup-WithDriver.exe has been downloaded and run on your PC after the EasyBadge software is installed. Once complete the printer driver installation will start. - Page 16 (4) STEP 2: When you click “Next”, the driver installation will be ready. (5) STEP 3: USB Please click “Next” if printer is connected to USB only. If you want to install the driver for a printer connected to network, please select the “TCP/IP Network port”...
- Page 17 (8) Please open “Devices and Printers” from “Control Panel”. Please check if “EasyBadge Printer 2.0” is created. (9) Please click the right mouse button after cursor is placed on “EasyBadge Printer 2.0” icon. Click “Printer properties”. 17 | P a g e...
- Page 18 (10) Please select “general” tab and click “Print test page” in “Badge Printer Properties” window. (11) Please check test card if it is printed properly and click “Close” if a card is printed properly. (If card is not printed or error comes out, please refer to “Trouble Shooting”.) 18 | P a g e...
-
Page 19: Driver Configuration
3. Driver configuration 3.1. Printer Properties To check printer properties, you need to open printer driver. Please open “Devices and Printers” and right-click “Badge Printer”. Click “Printer Properties”. (1) Printing Preferences Please click “Preferences…” shown on the bottom of the left picture. (2) Layout - You can select either horizontal or vertical printing direction. - Page 20 (3) Input / Output [ Supply Tray ] Supply : You can select “Auto” if Badge Printer has 1 input hopper. Please select the hopper if it has a multi hopper. Tray : You can select “CR-80” because Badge Printer supports CR80 cards only. (4) Printing Do Printing : You can select printing or [ Print Side ]...
Need help?
Do you have a question about the 2.0 and is the answer not in the manual?
Questions and answers