Advertisement
Table of Contents
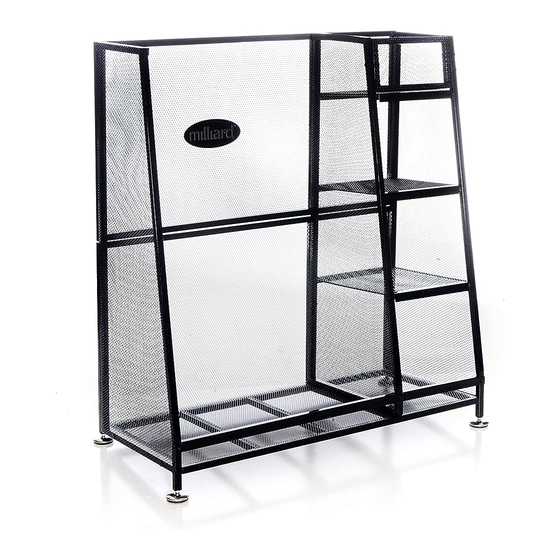
Golf Organizer
ASSEMBLY
5
Position the foam tape-side of the upper back panel (3)
facing the inside of the assembly as shown and secure
it to the left, center, and right-side panels with three
long screws and nuts.
Insert the bottom (8), middle (7),
and top (6) shelves by placing
6
them on the corresponding shelf
brackets provided on the middle
and right side panels. Place the
notched side of each shelf toward
the back for proper installation.
7
Attach the top shelf face (9) to the
middle panel and the right panel
by using three long screws and
nuts.
Lay the assembly on its back and attach the front brace
8
(11) to the side panels with short screws (15) and nuts
(13) just above the bottom panel as shown.
Attach the four foot pads (14) at each of the bottom
corners, and then stand the assembly upright.
FOAM TAPE LOCATION
GOLF ORGANIZER
UPPER BACK PANEL
TOP SHELF FACE
TOP SHELF
MIDDLE SHELF
BOTTOM SHELF
FRONT BASE
FOOT PADS
Milliard Brands © 2017 All Rights Reserved.
Congratulations on the purchase of your new Milliard™ Golf Organizer! With so many
accessories available to drive your drivers and perform the perfect putt, this handy rack
will keep all of your golf equipment in one place, neatly ordered and ready to hit the greens.
STOP
STOP : Please read the following
instructions entirely before attempting to
assemble or use the organizer for the first
time. Failure to follow assembly instructions
may lead to damage or injury.
!
If any parts are missing or defective contact us at info@milliardbrands.com or call 866.686.4891
!
WARNING:
• This product is for golf equipment only
• Do not use a partially-assembled organizer
• Not intended for commercial use
• Do not exceed total weight capacity of 150lbs
• Do not use organizer if damaged
• Perform assembly on a flat, level surface
Advertisement
Table of Contents

Related Manuals for milliard GOLF ORGANIZER


Summary of Contents for milliard GOLF ORGANIZER
- Page 1 Congratulations on the purchase of your new Milliard™ Golf Organizer! With so many accessories available to drive your drivers and perform the perfect putt, this handy rack will keep all of your golf equipment in one place, neatly ordered and ready to hit the greens.
- Page 2 Front Brace Long Screws (X17) Nuts (X20) Foot Pads (X4) Short Screws (X3) Milliard Brands © 2017 All Rights Reserved.
Need help?
Do you have a question about the GOLF ORGANIZER and is the answer not in the manual?
Questions and answers