Table of Contents
Advertisement
Quick Links
DAeLECTRONICS
MANUALE D'USO – OPERATIONAL MANUAL
Grazie per aver acquistato il
. Per favore leggete questo manuale con
iCtrl-R mini
cura per imparare tutte le funzioni dell'
ed usarlo al meglio per molto tempo. Conservate
questo manuale per la consultazione quando sarà
necessaria.
www.daelectronics.com
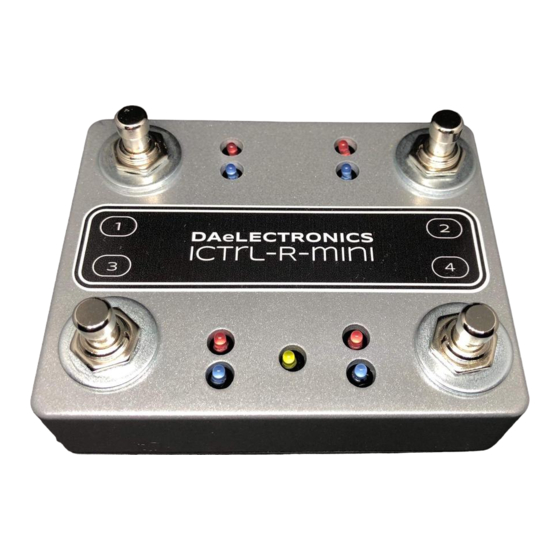
iCtrl-R-mini
pocket MIDI CONTROLLER
DAeLECTRONICS
iCtrl-R mini
info@daelectronics.com
da_electronics
daelectronics pedals
daelectronicscontroller
Thank
you
very
much
DAeLECTRONICS iCtrl-R mini
manual carefully to learn about all the functions of the
so that you will be able to use it fully for
iCtrl-R mini
a long time. Keep this manual in a convenient place for
reference when necessary.
for
purchasing
the
. Please read this
Advertisement
Table of Contents

Related Manuals for DAELECTRONICS ICTRL-R-MINI


Summary of Contents for DAELECTRONICS ICTRL-R-MINI
- Page 1 DAeLECTRONICS . Per favore leggete questo manuale con . Please read this iCtrl-R mini DAeLECTRONICS iCtrl-R mini cura per imparare tutte le funzioni dell’ manual carefully to learn about all the functions of the iCtrl-R mini ed usarlo al meglio per molto tempo. Conservate...
- Page 3 Warning Before you start to use the the pay much attention when insert and remove your USB cable from the iCtrl-R Mini input. You could iCtrl-R mini damage it irreparably!!! Calibration Before you start using the Expression pedal (the pedal shall ALWAYS be disconnected/connected to the controller before energizing the controller itself) you need to activate the "Calibration"...
- Page 4 MODE 2 The Looper Mode To switch to mode 2 please hold switch 2 for approx 1 second until led 2 blinking. In this mode is possible to send midi messages as follows: Now we can send midi messages as follows: PRESETS SELECTION ...
- Page 5 MODE 4 The HX Stomp Snapshots Mode To switch to mode 4 please hold switch 4 for approx 1 second until led 4 blinking. In this mode is possible to send midi messages as follows: PRESETS SELECTION Preset 1 - STOMP SNAPSHOT 1 > click and release switch 1 (Midi CC 69 - Value 0) ...
- Page 6 APPENDIX Bluetooth iPad & iPhone Download the app for iPad/iPhone https://itunes.apple.com/it/app/bluetooth-midi-connect/id1108321791?mt=8 Open the app and select iCtrl-R Mini Bluetooth > Connect Go to the App to be controlled (JAM UP, AMPLITUBE and other) and enjoy it ;) For Mac, you need to launch the Audio MIDI Setup utility from within OS X’s Utility folder (Finder>Applications>Utiltiies>Audio MIDI Setup). Then press CMD + 2 to open the MIDI studio (or navigate to Window>Show MIDI Studio).
- Page 8 LECTRONICS MADE IN ITALY www.daelectronics.com...
Need help?
Do you have a question about the ICTRL-R-MINI and is the answer not in the manual?
Questions and answers