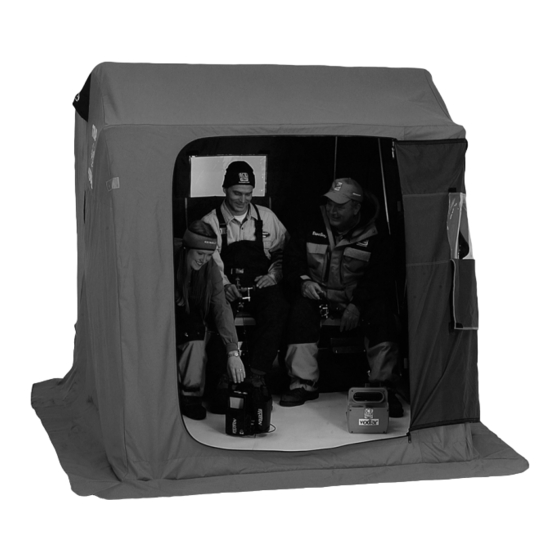
Summary of Contents for Clam Corp Fish Trap Guide 8063
- Page 2 - S t e p O n e -...
- Page 3 - S t e p T w o -...
- Page 4 - S t e p T h r e e -...
- Page 5 - S t e p F o u r -...
- Page 6 - S t e p F i v e -...
- Page 8 - S t e p S e v e n - Slide the Canopy Hoop Poles onto the Canopy Poles until the spring buttons engage the holes near the ends of each Canopy Hoop Pole. Support the first Canopy Hoop Pole as pictured with the Rear Adjustable Spreader Poles (the shorter of the two provided lengths).
- Page 9 - S t e p E i g h t - Drape the Tent over the supported hoops then go inside and spread out the Canopy Hoop Poles, attaching the Roof Velcro as you go. Orient the Porch Hoop Pole so that the holes face upward and then feed the length of the pole through the three Porch Hoop Sleeves sewn on the Tent.
- Page 10 - S t e p N i n e - To “set” the tent, grasp the tent material at the rear of the shelter and pull it downward. Observe the porch area of the tent lifting accordingly as you pull. When the U-Channel Molding is correctly installed, the Porch Hoop Pole will lightly touch the floor/ice.
- Page 11 - S t e p T e n - Angle the Seat Assembly slightly while placing the bottom lip of the Front Seat Bracket under the outside edge of the Base lip. Tilt the complete assembly downward so that the Rear Seat Bracket lands upon the Support Tube. Reach under the Rear Seat Bracket and slide the Latch Clip outwards and then up against the underside of the Support Tube.
- Page 12 Folding and transporting your Fish Trap is easy: Unsnap the Roof Spreader Poles, Rear Spreader Poles, and Front Spreader Poles. Lay them in the bottom of the base. Push the spring buttons and retract each hoop, starting with the rear hoop and working towards the front.


Need help?
Do you have a question about the Fish Trap Guide 8063 and is the answer not in the manual?
Questions and answers