Table of Contents
Advertisement
Quick Links
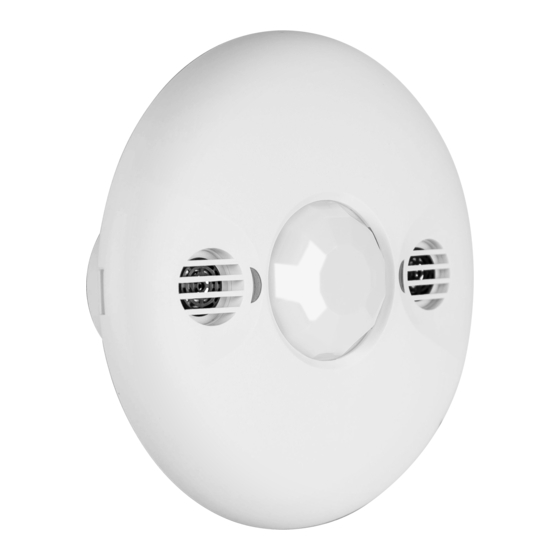
Specifications and Installation: rNET-OCC-HV-DT-CM
360° Dual-Technology PIR/Ultrasonic Line Voltage Occupancy Sensor
SPECIFICATIONS
Voltage ................................................................................... 120/277VAC, 50/60Hz
Load Requirements:
Incandescent. .......................................................................... 800W-120VAC, 50/60Hz
Fluorescent ............................................................................. 800VA-120VAC, 1600VA-277VAC, 50/60Hz
Motor .................................................................................... 1/4HP-120VAC, 50/60Hz
Operating Temperature ........................................................... 32°to 131°F (0°to 55°C)
Adjustment Time Delay ............................................................ 5 Sec. to 30 Min.
Test Mode ............................................................................... Delay time is 5 sec., lasts 30 Min. at each time by setting
PIR Adjustment ....................................................................... 50% or 100% (DIP switch 1)
Ultrasonic Adjustment .............................................................. Minimum to Maximum (trimpot 1)
Light Level Adjustment ............................................................. 100 Lux --daylight (trimpot 2)
PIR Coverage .......................................................................... 1600ft
Ultrasonic Coverage ................................................................ 1000ft
DESCRIPTION
The rNET-OCC-HV-DT-CM 360° Dual-Technology Occupancy Sensor combines advanced passive infrared (PIR) and an
ultrasonic unit. The combined technologies help avoid false triggering. Selectable operating modes allow the sensor to turn a
load on, and hold it on as long as either or both technologies detect occupancy. After no movement is detected for the selected
time delay, the lights will switch off.
COVERAGE PATTERN
The rNET-OCC-HV-DT-CM provides a 360° coverage pattern. The coverage shown represents walking motion at a mounting
height of 9 feet. For building spaces with lower levels of activity or with obstacles and barriers, coverage size may decrease.
PIR
Coverage
Ultrasonic
Coverage
30 ft x 30 ft
(9.14 m x 9.14m )
th
177 Broad Street, 12
Floor, Stamford, CT 06901 T
Copyright 2017 Revolution Lighting. All rights reserved.
44 ft
(13.4m)
Figure 1
–
–
877 578 2536 E
Support@rvlti.com
2
2
rvlti.com
INS007_01_20170523
Page 1 of 7
Advertisement
Table of Contents

Related Manuals for Revolution Lightning rNET-OCC-HV-DT-CM


Summary of Contents for Revolution Lightning rNET-OCC-HV-DT-CM
- Page 1 COVERAGE PATTERN The rNET-OCC-HV-DT-CM provides a 360° coverage pattern. The coverage shown represents walking motion at a mounting height of 9 feet. For building spaces with lower levels of activity or with obstacles and barriers, coverage size may decrease.
- Page 2 4 to 6 feet away from air supply ducts as rapid air currents or the differences in temperatures may cause false activations. Mount the sensor to the ceiling. The rNET-OCC-HV-DT-CM is designed for a ceiling height of about 8-10 feet. Mounting above or below this range will significantly affect the coverage patterns.
- Page 3 WIRING DIRECTIONS WARNING: Turn off the power at the circuit breaker before installing. Refer to the wire diagram of the sensor (see Figure 4), and connect the wires of ceiling sensors as followed by using the wir e nuts provided. White ( Neutral ) Black...
- Page 4 MOUNTING Using an Octagonal Junction Box Pull the high voltage wires into the J-Box through the conduit knockout. Connect the high voltage wires to the appropriate terminals on the sensor. Loosen the appliance mounting screws attached to the J-Box. Align the sensor in the J-Box so that the mounting screws on the box match the key holes on the sensor's rear housing. Push the sensor up into the J-Box and twist it so that the mounting screws are seated in the keyhole slots.
- Page 5 Ambient Light Level Adjustment Trimpot 2 Adjustable: 100Lux to daylight (clockwise) SENSOR ADJUSTMENT There is a 40-second warm-up period when power is first applied. The sensors are factory preset to allow for quick installation in most applications. To make adjustments, open the Front Cover. Set the DIP Switch to the desired settings.
- Page 6 DIP SWITCH SETTING The rNET-OCC-HV-DT-CM has 8 DIP switches under the cover. They are used to set PIR sensitivity, time delay, override and trigger mode feature settings. PIR Sensitivity setting: Switch 1 50%, sensor's coverage is smaller, just about half of the widest range. 100%, the maximum range of sensor's PIR coverage is 1 600 square feet.
- Page 7 TROUBLESHOOTING Lights do not turn on with occupancy: Red LED does not flash: 1. When power is initially applied to the sensor, there is a warm-up period of 40 seconds before the LED becomes active. 2. Make sure PIR sensitivity is set to 100% (DIP Switch 1). Green LED does not flash: 1.
Need help?
Do you have a question about the rNET-OCC-HV-DT-CM and is the answer not in the manual?
Questions and answers