Sign In
Upload
Download
Table of Contents
Contents
Add to my manuals
Delete from my manuals
Share
URL of this page:
HTML Link:
Bookmark this page
Add
Manual will be automatically added to "My Manuals"
Print this page
×
Bookmark added
×
Added to my manuals
Manuals
Brands
NETASQ Manuals
Firewall
U Series
Product presentation and installation
NETASQ U Series Product Presentation And Installation
Multi-function firewall
Hide thumbs
Also See for U Series
:
Technical notes
(31 pages)
1
Table Of Contents
2
3
4
5
6
7
8
9
10
11
12
13
14
15
16
17
18
19
20
21
22
23
24
25
26
27
28
29
30
31
32
33
34
35
36
37
38
39
40
41
42
43
44
45
page
of
45
Go
/
45
Contents
Table of Contents
Bookmarks
Table of Contents
Table of Contents
Foreword
General Conditions of Use and User License
Assumptions Derived from the Common Criteria
Regulations
Introduction
Upon Receiving Your Firewall
Integrity of the Product
Contents of the Packaging
Safety Rules
Before Connecting to the Mains Power Supply
Warranty and Safety Rules
Presentation of "S" Models
General Points
Presentation of the "S" U Range
U30S Model
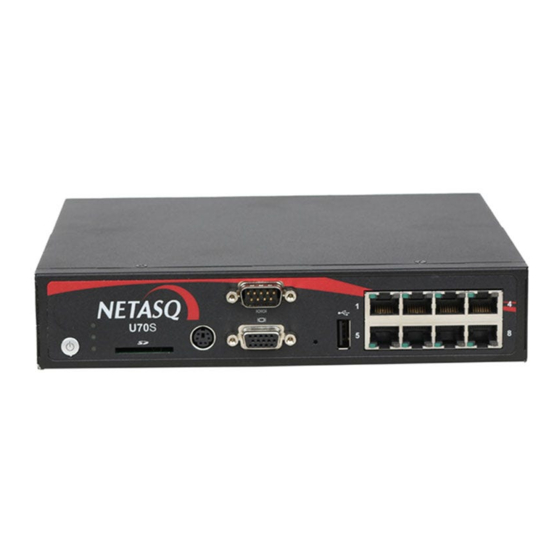
U70S Model
U150S Model
U250S Model
U500S Model
U800S Model
RJ45 Ethernet Connectors
Ethernet Connectors for Optional Fiber or Copper Modules
Installation Precautions
Conditions of Use
Installation in a 19" Cabinet
Connecting to the Mains
Connecting for the Administration of the Product
Connecting to the Network
Initial Connection to the Product
Requirements
Connection
Configuration
Documentation
Assistance
Appendix A: Updating the License
Appendix B: Resetting the Firewall
Appendix C: External Log Storage on Sd Cards
Appendix D: Fiber and Copper Modules
Appendix E: Installing the 3G Modem
Advertisement
Quick Links
1
Table of Contents
2
U30S Model
3
U70S Model
4
U150S Model
5
Connection
6
Configuration
7
Documentation
Download this manual
Multi-function Firewall
NETASQ
PRESENTATION AND INSTALLATION
OF NETASQ PRODUCTS
U SERIES – S Models
Document version: 1.2
Reference: naengde_product-installaton_S-model
Publication date: January 2014
Copyright NETASQ 2014
Table of
Contents
Previous
Page
Next
Page
1
2
3
4
5
Advertisement
Table of Contents
Need help?
Do you have a question about the U Series and is the answer not in the manual?
Ask a question
Questions and answers
Related Manuals for NETASQ U Series
Network Router NETASQ U Series Technical Notes
(31 pages)
Firewall NETASQ U70S Product Presentation And Installation
Multi-function firewall (45 pages)
Firewall NETASQ U30S Product Presentation And Installation
Multi-function firewall (45 pages)
Firewall NETASQ U250S Product Presentation And Installation
Multi-function firewall (45 pages)
Firewall NETASQ U500S Product Presentation And Installation
Multi-function firewall (45 pages)
Firewall NETASQ U30 Product Presentation And Installation
Firewall multifunctions (63 pages)
Firewall NETASQ NA-F25 Installation Manual
(20 pages)
This manual is also suitable for:
U70s
U30s
U150s
U250s
U500s
U800s
Table of Contents
Print
Rename the bookmark
Delete bookmark?
Delete from my manuals?
Login
Sign In
OR
Sign in with Facebook
Sign in with Google
Upload manual
Upload from disk
Upload from URL


Need help?
Do you have a question about the U Series and is the answer not in the manual?
Questions and answers