Table of Contents
Advertisement
Quick Links
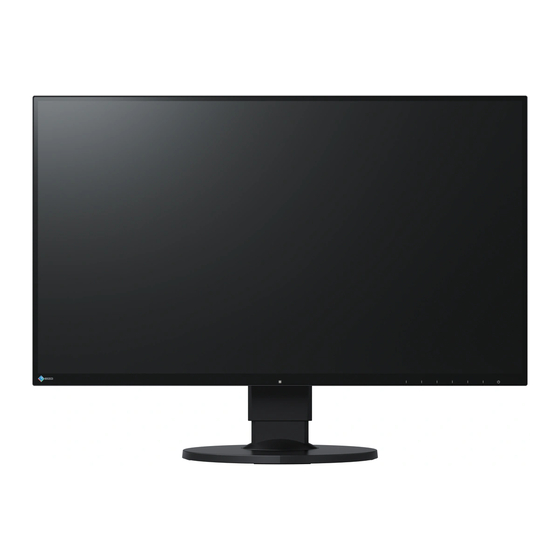
User's Manual
Color LCD Monitor
Important
Please read PRECAUTIONS, this User's Manual, and the Setup Guide
(separate volume) carefully to familiarize yourself with safe and
effective usage.
• Please refer to the Setup Guide for basic information ranging from
connection of the monitor to a PC to using the monitor.
• For the latest product information including the User's Manual, refer
to our web site :
www.eizoglobal.com
Advertisement
Table of Contents


Need help?
Do you have a question about the FlexScan EV2780-BK and is the answer not in the manual?
Questions and answers