Sign In
Upload
Download
Table of Contents
Contents
Add to my manuals
Delete from my manuals
Share
URL of this page:
HTML Link:
Bookmark this page
Add
Manual will be automatically added to "My Manuals"
Print this page
×
Bookmark added
×
Added to my manuals
Manuals
Brands
Yamaha Manuals
Musical Instrument
AvantGard N3
Maintenance handbook
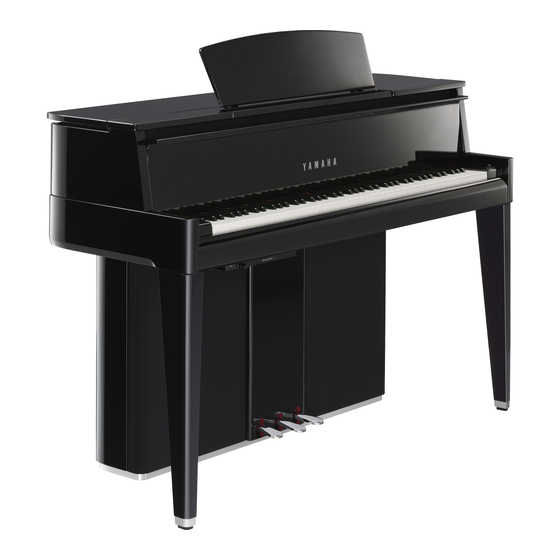
Yamaha AvantGard N3 Maintenance Handbook
Hybrid piano
Hide thumbs
1
Table Of Contents
2
3
4
5
6
7
8
9
10
11
12
13
14
15
16
17
18
19
20
21
22
23
24
25
26
27
28
29
30
31
32
33
34
35
36
37
38
39
40
41
42
43
44
45
page
of
45
Go
/
45
Contents
Table of Contents
Bookmarks
Table of Contents
Table of Contents
Introduction
Service Check Points
Piano Action Adjustment Points & Standard Dimensions
Key Sensor Measurement & Sensor Height Adjustment
N1 and Nu1 Key Shutter Installation Procedure
External Part Finishing List
N3 Parts List
N2 Parts List
N1 Parts List
Nu1 Parts List
N3 Disassembly Procedure
N2 Disassembly Procedure
N1 Disassembly Procedure
Nu1 Disassembly Procedure
N3, N2 Key Cover Assembly-Replacement Procedure
N3 Top Board (F) Assembly-Replacement Procedure
N1 Key Cover Replacement Procedure
N1 Arm Lower Assembly Replacement Procedure
N1 Arm Upper Assembly Replacement Procedure
Q&A
Advertisement
Quick Links
1
Piano Action Adjustment Points & Standard Dimensions
2
Key Sensor Measurement & Sensor Height Adjustment
3
Nu1 Parts List
4
N3 Disassembly Procedure
5
Nu1 Disassembly Procedure
6
Q&A
Download this manual
HYBRID PIANO
N3, N2, N1
NU1
MAINTENANCE HANDBOOK
MHB31
September 2012 Ver.1
Table of
Contents
Previous
Page
Next
Page
1
2
3
4
5
Advertisement
Table of Contents
Need help?
Do you have a question about the AvantGard N3 and is the answer not in the manual?
Ask a question
Questions and answers
Related Manuals for Yamaha AvantGard N3
Musical Instrument Yamaha NU1 Owner's Manual
Hybrid piano (40 pages)
Electronic Keyboard Yamaha NU1 Operations
Computer-related operations file transfer and midi communication (14 pages)
Musical Instrument Yamaha NU1 Reference
Hybrid piano midi reference (6 pages)
Musical Instrument Yamaha AVANT GRAND N1 Owner's Manual
(50 pages)
Musical Instrument Yamaha AvantGard N1 Maintenance Handbook
Hybrid piano (45 pages)
Musical Instrument Yamaha AVC7 SG Owner's Manual
Viola/cello (2 pages)
Musical Instrument Yamaha V7 G Owner's Manual
Violin/viola (6 pages)
Musical Instrument Yamaha AW2400 Brochure & Specs
Professional audio workstation (6 pages)
Musical Instrument Yamaha AW4416 Operation Manual
Professional audio workstation (507 pages)
Musical Instrument Yamaha AW2816 Owner's Manual
Professional audio workstation (420 pages)
Musical Instrument Yamaha AW 16G Owner's Manual
Yamaha professional audio workstation owner's manual (219 pages)
Musical Instrument Yamaha AW16G Recording 101 Owner's Manual
Professional audio workstation (27 pages)
Musical Instrument Yamaha AW 1600 Owner's Manual
Yamaha professional audio workstation owner's manual (232 pages)
Musical Instrument Yamaha AW-1600 Service Manual
(127 pages)
Musical Instrument Yamaha 140 Owner's Manual
Owner's manual (44 pages)
Musical Instrument Yamaha Atmosfeel Series Owner's Manual
Acoustic electric guitar (14 pages)
This manual is also suitable for:
Avantgard n2
Avantgard n1
Avantgard nu1
Table of Contents
Print
Rename the bookmark
Delete bookmark?
Delete from my manuals?
Login
Sign In
OR
Sign in with Facebook
Sign in with Google
Upload manual
Upload from disk
Upload from URL


Need help?
Do you have a question about the AvantGard N3 and is the answer not in the manual?
Questions and answers