Advertisement
Quick Links
Advertisement

Related Manuals for Skip Model Designs 1200mm Challenger 2


Summary of Contents for Skip Model Designs 1200mm Challenger 2
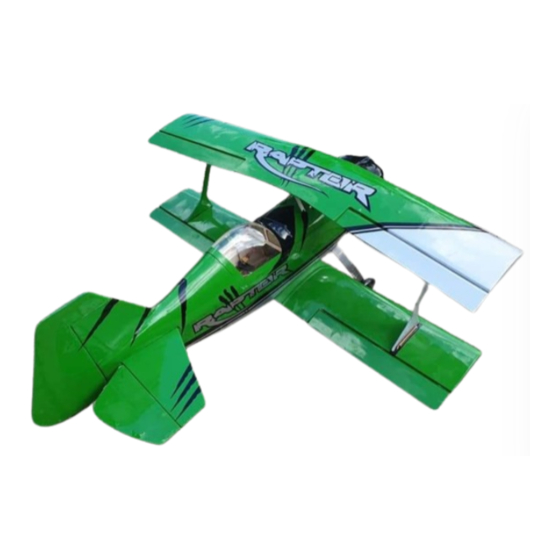
- Page 1 1200MM Pitts Challenger 2 1200MM Pitts Challenger 2 1300MM Christen Eagle 1300MM Christen Eagle...
- Page 2 Skip Model Designs provides high-quality aircraft and components to it’s customers and end users. These aircraft and components are assembled by the end user to produce a flying model. It is beyond skip model design’s to monitor the end user’s completed aircraft. Therefore, Skip Model Designs in no way accepts or assumes responsibility or liability for damages resulting from the end user assembled product.
- Page 3 With Any model build, It is important to test fit components together before gluing ( Where applicable). 5 Minutes test Fitting can save hours of Unpicking. To build ANY COMPONENT of this model, Please make sure you have a large enough area to work safely, and that your work bench for the next few months is clean, tidy and most importantly FLAT First Part of the build is Fuselage...
- Page 4 Add the Fuel Tray to F2 and the Sides. This is a tricky part to fit in place, You will need to move the sides out slightly to slide in ( Now you know why i said tack glue) Once you have in place. Again Tack glue in place for now -------------------------------- Add former F3 to the rear of the Fuel Tray.
- Page 5 At the rear of the Fuselage Add the following Parts to F9 and the fuselage Main Brace, This is to make the Rear UC Plate Area. RUCD AND RUCP -------------------------------- While Working down this end of the model. You will find the following Parts, This is for the Elevator Servos ( Dual) You could Run one servo, However, i do not advise as there is alot of power in the elevators ( Authority)
- Page 6 At The front of the Model, You now need to add the Main Undercarriage Plate Doublers ( MUCPD) These Fit on the inside of F2 and the Sides. Glue with 5 or 15 Min Epoxy. ( Before you do, Read the next few steps as you can mix 1 Batch of epoxy and do all the steps below in one hit) ---------------------------------------------...
- Page 7 Add the Rudder Servo Tray Between F5 AND F6. again i recommend Epoxy. Ensure all Edges are Glues Correctly ------------------------------ While Still Upside Down. You now need to add all the Stringers to the Bottom of the Plane Spruce 3.2 x 3.2 to These 2 Locations ON BOTH sides of the Model.
- Page 8 Add the 3.2mm x 5mm Balsa Stringers to these Locations from F9 Again, Ensure the Stringers go past where F1 Will be ------------------------------ The One Balsa Stringer goes on the Inside of the Fuselage Side. Be Sure to run thin CA Along this edge, Clamp if needed.
- Page 9 Once all Glues have gone off, You can now flip the model over and admire you boat:) Trim off any excess stringers to front of model, ------------------------------ With The fuselage now flipped over, you can now add F2T, F3T AND F4T to the Fuselage. -------------------------- Slide in and Glue to Top Wing Mounts.
- Page 10 To get the angle on F6T. Please Insert the 2 small triangle parts. This will set the Angle -------------------------------------------- Add the last few formers to the rear Turtle Deck and Glue in place -------------------------------------------- Now this is complete. You can now add all other stringers ( Front and rear) the model.
- Page 11 With The fuselage mostly Complete. It is Time to build the Elevators and Rudder. Find all Parts Associated to the Following Drawings and Glue together There will be a gap under FR1. This is for the Elevators to slide under after...
- Page 12 Rudder...
- Page 14 Make 2 Off...
- Page 15 Once all Parts are made, Glue the Rudder Fin in place. The rudder fin Locates in to FT9. You will have to sand down the Rudder stern post so it fits Between the RUCP Glue the Rudder fin in place with 5 Minute Epoxy Ensure the Rudder is Square to the Model.
- Page 16 Final Part to the Fuselage Build is the motor Box. Find all parts labeled M1 TO M6. These parts all fit together and will create The correct Amount of right thrust for the model. Glue together and to F1 With epoxy. Use Balsa Triangle to secure to F1.
Need help?
Do you have a question about the 1200mm Challenger 2 and is the answer not in the manual?
Questions and answers