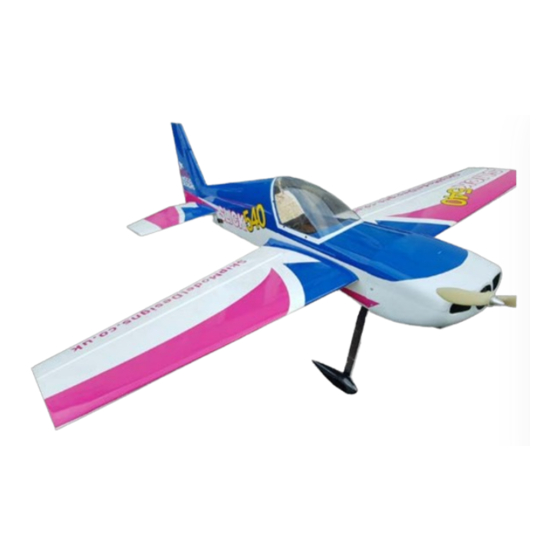

Related Manuals for Skip Model Designs Slick 540


Summary of Contents for Skip Model Designs Slick 540
- Page 2 Skip Model Designs provides high-quality aircraft and components to it’s customers and end users. These aircraft and components are assembled by the end user to produce a flying model. It is beyond skip model design’s to monitor the end user’s completed aircraft. Therefore, Skip Model Designs in no way accepts or assumes responsibility or liability for damages resulting from the end user assembled product.
- Page 3 First part of building the slick is to assemble the internals of the model. Most of these are a tight fit as all the load is in the front area. Ensure the slant on the front of BT is like photo when assembeling to get right thrust.
- Page 4 You now add Wing mount, F5 and F6. ---------------------------------------------------------- Add the firewall sides, firewall inner and if you are going to put a overlander 3548 motor in, the holes in the firewall are already marked for you.
- Page 5 In the kit you will find 2 x 6mm x 150mm carbon tube, these are to slide through F1 to F4. Once in place, you need to fillet epoxy the carbon to the UC plate.. be as messy as you like... the more you add, the stronger it will ---------------------------------------------------------- To complete the out side of the model, glue the last part of the fuseage together, amd also add the 0.8mm birch to the...
- Page 6 Tack glue the rear UC plate at the moment as final position cannot be set till you have the rudder post in. -------------------------------------------------------------- Slide in the 4 x 3.2mm x 3.2mm balsa strips to the fuselage sides from the front, and add the 2 x 3.2mm x 3.2mm spruce strips to bottom of model.
- Page 7 To start the rudder fin. Add the 0.8MM birch FBD to the bottom of RP. Then glue RS1 to 4 and the rudder front ------------------------------------------------------ To assemble the rudder, make sure all slots in R1 to R7 are in the same direction. Add rudder post second spar and rudder fake front.
- Page 8 Trim off the small tabs which have come through the rudder fake front and glue 5mm strip of balsa to front of rudder. Once glued. Slide the rudder in to the fin, set angle between RF4 and rudder. Glue.. once glued simply cut and have seperate fin and rudder -------------------------------------------------- Sheet the rudder with 1.5mm balsa.
- Page 9 The next part you have a choice depending on your building skills.. in the kit you will find a big block of balsa. You can either add the block and shape to rudder ( making sure you leave 3mm all around F9T) or you now sheet the entire turtle deck with 2.4mm balsa and make it fit the rudde4 fin.
- Page 10 Next is the elevator stabs... extremely simple.. add all ribs to elevator spar, add rear elevator stab. Hold flat and glue... ---------------------------------------------------- Sheet the elevator with 1.5mm balsa and add a 1.5mm Le strip followed by a 5mm Le strip from the scrap balsa you have in kit...
- Page 11 Add the elevator secobd spar and all other ribs from E4 to E8... add the final part of elevator to front part of elevator ( Piece of scrap Balsa) --------------------------------------------------------------- Add a small piece of 2.4mm balsa around ply wood on both sides of elevator and rub down to match profile.
- Page 12 Final part is to sheet the elevators in 1.5mm balsa, add the 1.5mm and 5mm piece of balsa to LE tip of elevator. Rub dowb Le strip to be round and chamfer the 5mm fake LE at 50 degrees. Now repeat all elevator parts for second side The elevators are not Handed! ------------------------------------------------------------------ Next to build is the wings.
- Page 13 Add Wing servo mount to ribs and also add a 2.4mm capping strip to LE of wings. Holding the wings down to keep flat. The Capping Strip is made from a cut Strip of Balsa ------------------------------------------------------------- To start the ailerons. Use a clamp to pin the aileron front to the Te of wings.
- Page 14 Add front 2.4mm capping strip to ailerons and then finish sheeting both sides like the attached ---------------------------------------------------------------- Add the 5mm balsa fake aileron front to aileron and chamfer to 45 - 50 degrees :).. repeat process for second aileron. --------------------------------------------------------------- Slide Outer Phenolic in to wing and Glue in place with either superglue or epoxy, Make sure to sand Flush with W1 ----------------------------------------------------------------...
- Page 15 Add 5mm balsa LE and round front of wings, And Round ---------------------------------------------------------- Your wings and ailerons should now be complete, ready for covering. Rub down and finish and add your own personal finishing touches before covering ------------------------------------------------------------ Back on to Fuselage Final part for before final sheeting of fuselage is add a piece of balsa block to rear uc and shape..
- Page 16 Sheet the bottom of the model like in pics with 2.4mm balsa... remember to cut out for where main uc sits. This is not an easy task to do!. I recommend wetting the balsa ( soak it) and bend to save it splitting.. glue with white glue -------------------------------------------------------- Glue C1 to C3 in place to canopy frame.
- Page 17 Slide wings in to place and drill the G10 wing peg with a 3mm drill.. once drilled remove wings ans add the 2 x 3mm T nuts under the wing shelf.. Make sure the wings are a tight fit. Glue T nuts with epoxy --------------------------------------------------------- With the build now complete, Its time to get...
- Page 18 Add servos to wings, elevators and rudder.. once done you can now mark and cut slots in control surcaces for the G10 control horns to fit in. Make sure pin hole on g10 horn is over centre of surface. ------------------------------------------------------ Add the rear anti rotation pin in to fuselage.
- Page 19 All that left now is the cowl fit, canopy, servo hook up, main uc, tail wheel and throw set up..easy ay? ----------------------------------------------------------- Mark where the UCD are on F2 and F3..Slide the undercarriage in to place and drill through the Car- bon &...
- Page 20 Slide wheel pant on to UC and tighten up with the 3rd nut on opposite side of leg.. if you cut the slot too wide in wheel pant, you will need to add washer inside wheelpant before tightening up. ------------------------------------------------------------ Once the cowl is sprayed.
-
Page 21: Control Throws
Fugly, and that you have great fun flying it. If you have any feedback for us, good or bad, need spare parts, or just want to send us a photo for our Facebook page please get in touch: Skip Model Designs - Unit 10, Vernon trading estate, Blackheath, West Midlands, B62 8HT Telephone: 0844 818 0290 Email: Info@skipmodeldesigns.co.uk...
Need help?
Do you have a question about the Slick 540 and is the answer not in the manual?
Questions and answers