Table of Contents
Advertisement
Quick Links
Advertisement
Table of Contents

Related Manuals for SPROLINK VC1


Summary of Contents for SPROLINK VC1
- Page 1 SEAMLESS PROFESSIONAL SCALER AND SWITCHER USER MANUAL...
-
Page 3: Product Features
1. Product Features Supports Seamless Switching Between All the Signals Supports Customized Resolution Within 2.5 Million Pixels PIP Combination of Any Two Signals Supports EDID Management, to Realize Pixel to Pixel Multiple Units Could Be Cascaded With Built-in Slot for 2 Sending Cards Support Thirty Party Control System with Open Protocol... -
Page 4: Product Introduction
2. Product Introduction... -
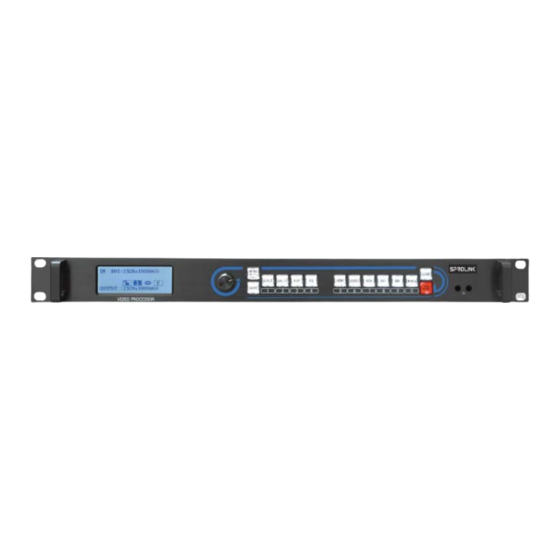
Page 5: Hardware Overview
3. Hardware Overview 3.1 Front Panel OLED display panel Display the current working status and menu for buttons control. Knob Use for menu selection rotating knob to find the option, and press the knob to confirm. Buttons SAVE button To save the parameters after setting, by using “LOAD” to load the saved data. -
Page 7: Back Panel
3.2 Back Panel Input connectors HDMI 1.3 Supports 2560*816@60 and 2k input CVBS Supports input of 576i and 480i VGA\Ypbpr Supports 2k input, this could be set as VGA or Ypbpr input in the advanced menu. Supports 2k input and user defined EDID SDI + SDI Loop Optional module, support 3G SDI\HD SDI\SD SDI Output connectors... -
Page 9: Output Format
4.2 Output Format VC1 default output resolution is 1920*1080@60, push SCALE button to resize display when the screen is smaller than 1920*1080, set the output resolution as below 1. Press MENU button to find the resolution and press knob to confirm. - Page 12 2. Choose the layout-“centered”. 3. Select AB layers to adjust, A represents the bigger picture in background, and B represents the smaller one in foreground. (As long as PIP is available, SPILT button could also be used to select layer A or layer B) . 4.
- Page 13 6. Press SPILT button to choose layer B, use HDMI signal as the source for the smaller picture. 7. Resize layer B press Scale button to set size and position of layer B. 8. Press SAVE button to save all above parameters into the saving mode, it could be easily used by press “LOAD button”...
- Page 14 2 sending cards and two units of VC1 use here. Setting as below Apply DVI signal input for the first unit of VC1, the same signal was given to the second processor by DVI LOOP out. For the first VC1 with DVI 1 output to the sending card 1 for the left screen, the second VC1 with DVI 1 output to the sending card for the right screen.
-
Page 16: Edid Management
2. Set the current screen width and height 1536*960. 3. Save all above settings into saving mode 1 as well. All the settings were finished, tiny adjustments could be done if there is any problem. 4.6 EDID Management PC output resolution is 1920*1080, EDID Management can custom the input resolution to make pixel by pixel display in screen. -
Page 17: Advanced Settings
3. Find EDID source, choose user-defined 4. Press the knob to confirm, setting the resolution as 1536x1536. 5. EDID modification finished, some PC need to be plugged in and out to enable it. 4.7 Advanced Settings 4.7.1 Input Enlarge crop the picture, cut off unnecessary part of the picture, enlarge picture in the following methods. - Page 18 ADC adjustment adjust offset of signals like CVBS etc. 4.7.2 Output Output signal selection change output signal in DVI or HDMI format Bit depth adjust output bit depth. Color range adjust into image or video, when” black screen function “is not working, you should firstly check the color rang here. DE adjustment Used to adjust the output offset.
- Page 19 signal by default, screen would be black for a few seconds when switching into the other signal. Switching mode Multiple switching modes like pull - curtain switching and fade in fade out, straight cut, etc. Multiple curtain switch and fade in and fade out, straight cut and so on.
- Page 20 Customized buttons Black button could be customized. Factory reset Settings and options will be restored to factory state. Language This device supports Chinese and English.
Need help?
Do you have a question about the VC1 and is the answer not in the manual?
Questions and answers