Advertisement
Quick Links
Ascon Tecnologic S.r.l.
viale Indipendenza 56,
27029 - Vigevano (PV)
Tel.: +39 0381 69871,
Fax: +39 0381 698730
www.ascontecnologic.com
E
Dimensions (mm)
50.71
38.60
142.00
Mounting position
- Mount the CPU in a 75 x 130 mm
hole;
- In order to help the air ventilation
flow, respect the distances between
the CPUs and walls or other CPUs.
Mounting position (mm)
min. 80
min. 60
43
min. 100
Disposal
The appliance (or the
product) must be
disposed of separately in
compliance with the local
standards in force on
waste disposal.
vP4
model
22/04 - Code: ISTR_I_vP4_E_01_--
Installation
Manual
Contents
- Installation
- Electrical connections
- How to order
Mount and remove the CPU
1
Open a 75 x 130 mm hole in the
mounting panel;
2
Insert the CPU into the hole until the
frame rests on the panel;
3
Mount the two red blocks and slide
them until they are in contact with
the panel and hold the CPU in place;
4
To remove the CPU, sconnect the ter-
minals, then remove the red blocks
and invert the mounting sequence.
Operating conditions
Suggestion
Environmental condition
B
Temperature
T
-20...+50°C
Operating
conditions
Rh: 5... 95%
%Rh
non condensing
Use forced
Temperature
T
> 50°C
ventilation
Special
%Rh
> 95% RH
Warm up
conditions
Conducting
P
Use filter
atmosphere
Corrosive
C
atmosphere
Forbidden
conditions
Explosive
E
atmosphere
m
- For indoor use only.
- Max. usage altitude: 2000 m
on the sea level.
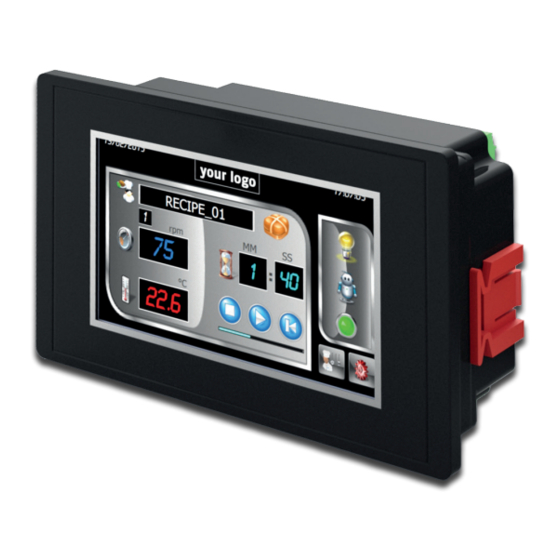
Integrated system,
CPU module with on-board
display and I/O
Installation
Description
Flexible cable section:
Stripped wire
L
Flat blade
screwdriver
Tightening
torque
Technical data:
- The green terminals are male connectors (pitch 3.5 or 5 mm), the correspond-
ent female connectors have screw or spring terminals for connecting the wires;
- Made with self extinguishing material as required by UL94 V0 standard;
- Overvoltage cathegory/pollution degree II/2;
- Max. load current/section 8A/2.5mm² at 65°C;
- Test pulse voltage: 4 kVp.
m
Make sure that the overall current absorption (modules and field devices)
matches the power supply.
m
In order to avoid excessive voltage drops, install the most power consum-
ing modules closer to the power supply.
"
&
100
Power cables
DO cables
A
Despite the fact that the instrument has been designed to work in an
harsh and noisy environment, it is strongly recommended to follow
the following suggestions.
All the wiring must comply with the local regulations.
Avoid to use electromagnetic contactors, power relays and high power motors nearby.
Avoid power units nearby, especially if controlled in phase angle.
Keep the low level sensor input wires away from power lines and output cables.
Power lines and output cables must also be at 100 mm (min.) away from the CPU.
If this is not achievable, use shielded cables on the sensor inputs, with the shield
connected to earth at only one side.
Warning!
A
Whenever a failure or a malfunction of the device may cause dangerous
situations for persons, things or animals, please remember that the plant
must be equipped with additional devices which will guarantee safety.
Wiring rules
Plugs of all terminals
²
Pitch 5 mm:
0.2... 2.5 mm
(AWG24... AWG12)
Pitch 3.5 mm:
0.14... 1.5 mm
²
(AWG28... AWG16)
Screw: 7mm
Pitch 5 mm: 0.6 x 3.5 mm
Pitch 3.5 mm: 0.4 x 2.5 mm
Pitch 5 mm: 0.5... 0.6 Nm
Pitch 3.5 mm: 0.22... 0.25 Nm
Suggested wires routing
Digital I/Os cables
Comm.s cable
100
100
100
AI cables
Advertisement

Related Manuals for Ascon tecnologic vP4


Summary of Contents for Ascon tecnologic vP4
- Page 1 Integrated system, model CPU module with on-board 22/04 - Code: ISTR_I_vP4_E_01_-- display and I/O Installation Manual Ascon Tecnologic S.r.l. viale Indipendenza 56, 27029 - Vigevano (PV) Tel.: +39 0381 69871, Fax: +39 0381 698730 www.ascontecnologic.com Contents - Installation - Electrical connections...
- Page 2 Warning! In the drawing and in the table that follow, are listed and briefly described all the terminals present on the vP4 system. The different Digital input options (8 DI or 6 DI + 2 Frequency Counter inputs) must be specified while composing the Order Code.
- Page 3 X7, X8 - Ethernet + USB port X5 - DO1... DO8 Digital Outputs Connections - USB type A port (X8) to connect a - The 8 digital output loads must not flash drive (Firmware, system files exceed 0.5 A each; upload/download or data logging).
- Page 4 62 = 6 Digital Inputs + 2 CNT Digital Inputs + 8 Digital Outputs 88 = 8 Digital Inputs + 8 Digital Outputs Packaging ad Case A = Gray case + neutral packaging G = Gray case + Ascon Tecnologic packaging...
Need help?
Do you have a question about the vP4 and is the answer not in the manual?
Questions and answers