Advertisement
Quick Links
Advertisement

Related Manuals for Faber HEAVEN GLASS 2.0


Summary of Contents for Faber HEAVEN GLASS 2.0
- Page 1 Instructions Manual...
-
Page 2: Table Of Contents
INDEX SAFETY INFORMATION ............................... 13 CHARACTERISTICS ................................16 INSTALLATION ..................................17 USE ...................................... 18 CARE AND CLEANING ................................. 20 ..........................94 ................................97 ..................................98 ................................99 ............................101... -
Page 3: Safety Information
SAFETY INFORMATION For your safety and correct operation of the appliance, read this manual carefully before installation and use. Always keep these instructions with the appliance even if you move or sell it. Users must fully know the operation and safety features of the appliance. The wire connection has to be done by specialized technician. - Page 4 If the extractor is used in conjunction with non-electrical appliances (e.g. gas burning appliances), a sufficient degree of aeration must be guaranteed in the room in order to prevent the backflow of exhaust gas. When the cooker hood is used in conjunction with appliances supplied with energy other than electric, the negative pressure in the room must not exceed 0,04 mbar to prevent fumes being drawn back into the room by the cooker hood.
- Page 5 The appliance is not to be used by persons (including children) with re- duced physical, sensory or mental capabilities, or lack of experience and knowledge, unless they have been given supervision or instruction. Accessible parts may become hot when used with cooking appliances. Clean and/or replace the Filters after the specified time period (Fire hazard).
-
Page 6: Characteristics
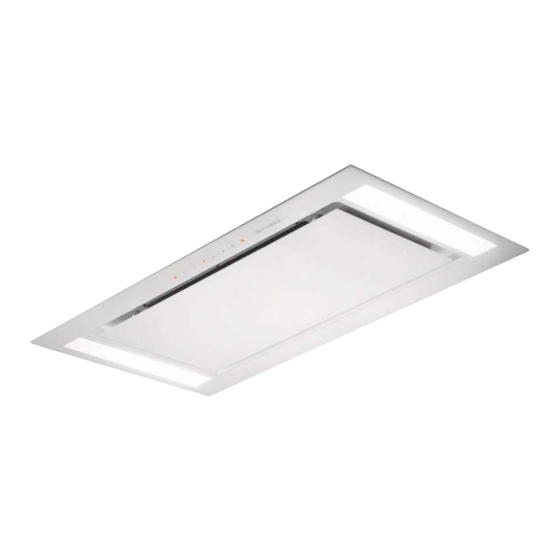
CHARACTERISTICS Dimensions... -
Page 7: Installation
INSTALLATION Fixing the Hood • In all cases where the ceiling is not strong enough at the suspension point, the installer must provide strengthening using suitable plates and backing pieces anchored to the structurally sound parts. ELECTRICAL CONNECTION • Connect the hood to the mains through a two-pole switch having a contact gap of at least 3 mm.. -
Page 8: Use
Control panel Button Function Turns the lights ON/OFF at maximum strength. Press and hold the button for approximately 5 seconds, with all the loads turned off (Motor and Lights), to turn the Activated Charcoal Filter alarm on. The 4 LEDs on the buttons flash twice to confirm To turn the alarm off, press the button again and hold for at least 5 seconds. - Page 9 REMOTE CONTROL This appliance can be commanded using a remote control, powered by a CR2032 type 3 V battery (not supplied). • Do not place the remote control near heat sources. • Do not discard the batteries with normal waste, they must be put into the specific containers.
-
Page 10: Care And Cleaning
CARE AND CLEANING Opening Panel • Open the Panel by pulling it. • Clean the outside with a damp cloth and neutral detergent. • Clean the inside using a damp cloth and neutral detergent; do not use wet cloths or sponges, or jets of water; do not use abrasive substances. - Page 11 Activated Charcoal Filter (Recirculation Version) This cannot be washed or regenerated, and must be changed when led S1 starts to flash, or at least once every 4 months. The Alarm signal, if it has been activated, only appears when the Suction motor is turned on.
- Page 13 0,04...
- Page 16 • •...
- Page 17 24h: Delay ( Delay 24h. (OFF).
- Page 18 CR2032 ( (Delay), Delay 24 .
- Page 19 • • • • • • • • • •...
- Page 20 • • • • • • • • (A). • (B). • • • (" ").
- Page 21 MANUALI I INSTALIMIT INSTALLATION MANUAL Warning! Before proceeding with installation, read the safety information in the User Manual.
- Page 22 ± 20Kg 112.0327.007...
- Page 23 ø 150 ø 120 ø 120 ø 150 ø 150...
- Page 25 2°...
- Page 29 A (5x70) Ø 8 mm...
- Page 30 C (M6x15)
- Page 31 A (5x70) Ø 8 mm...
- Page 32 C (M6x15)
- Page 33 128mm L = K-128+30mm...
- Page 34 Ø...
- Page 46 991.0518.032_01 - 170906 D003907_00...
Need help?
Do you have a question about the HEAVEN GLASS 2.0 and is the answer not in the manual?
Questions and answers