Table of Contents
Advertisement
Advertisement
Table of Contents

Subscribe to Our Youtube Channel
Related Manuals for Juplink EC4-1200


Summary of Contents for Juplink EC4-1200
- Page 1 USAGE MANUL Juplink EC4-1200 Wireless Range Extender...
-
Page 2: Chapter 1 Product Overview
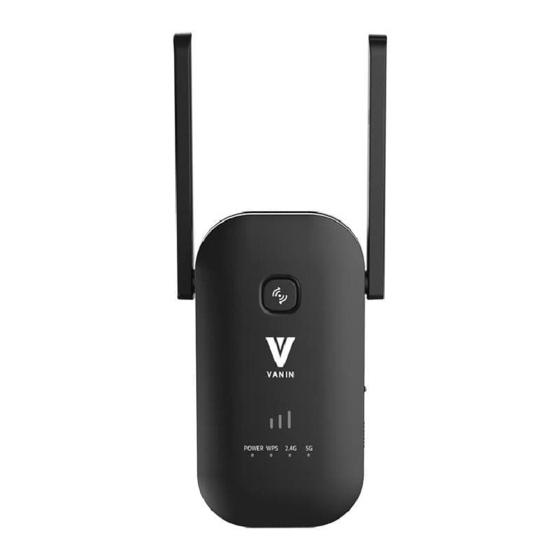
Unpack the package carefully and verify the following items are included: • Wireless Range Extender • Quick Start Guide Note: If any of the above items are incorrect, missing, or damaged, please contact us in Juplink.com for replacement. 1.2. Getting to Know Your Wireless Range Extender... - Page 3 Status Description LED off Power off LED on Power on Equipment Connection Normal No Wi-Fi LED off signal or Power off 2.4G / 5G Signal LED LED on No Transferming data LED Flashing Transferming data LED off Function not enabled or Powered off LED on WPS is enabled and connected LED Flashing...
- Page 4 refrigerators, the base of a cordless phone, or a 2.4 GHz cordless phone. Less Obstacles = Better Performance Try to choose a location that minimizes obstacles between the range extender and your wireless router. Open corridors and other spacious locations will typically provide better conditions for performance than a crowded room.
-
Page 5: Chapter 2 Internet Connection Setup
Chapter 2 Internet Connection Setup 2.1. Hardware Installation ① Position the wireless Range extender close to a wireless router or access point and then plug it into a power outlet nearby. ② Connect your Wireless Clients (such as notebook, pad, smart phone, etc.) to the range extender wirelessly. - Page 6 Follow the steps below to log in to your ① Open browser ② Enter 192.168.0.2 or router.Juplink.com* in the address [Only for v1.0.2 firmware] ③ Enter the Username admin and Password admin then click Login (You can modify...
-
Page 7: Chapter 3 Extender Internet Connection
Chapter 3 Extender Internet Connection 3.1 Manually Set Up Internet Connection- Repeater / Client (default) Connect your Device to the Range Extender with an Ethernet cable or via wireless connection and Log In to Your Range Extender. ① Select Repeater - default ②... - Page 8 ③ Enter the password of the Wi-Fi network you want to extend. ④ Scroll to the bottom of the page and select “Save&Apply”. Wait a moment, after the Change setting successfully! Page appears you can enjoy your network. 3.2 Manually Set Up Internet Connection- Access Point (AP) Connect your Device to the Range Extender with an Ethernet cable or via wireless connection and Log In to Your Range Extender.
- Page 9 ① Select Access Point (AP) ② Select Auto, Configure LAN IP address. Set the Network name (SSID), Pre-Shared Key (password), and click the Save&Apply button to complete the setup. Your settings are applied and the extender is ready to be used as an access point. ③...
- Page 10 3.2.1. Router-Auto Config. (DHCP) ① Select Auto Config. (DHCP) – default ② Set the Network name (SSID), Pre-Shared Key (password) ③ Click Auto Fill button behind the MAC Address Clone, and click Save&Apply button, Your settings are applied and the extender is ready to be used as a router. 3.2.2.
- Page 11 ④ Click Auto Fill button behind the MAC Address Clone, and click Save&Apply button, Your settings are applied and the extender is ready to be used as a router. 3.2.3. Router-PPPoE ① Select PPPoE ② Set the Network name (SSID) and Pre-Shared Key (password) ③...
-
Page 12: Chapter 4 Maintain The Extender
Chapter 4 Maintain the Extender 4.1 Change the Extender User Name and Password You can change the user name and password to log in to the extender. ① After Log in to Your Router, Click Advanced button on the top of Web page ②... - Page 13 4.3 Time Zone Setting You can maintain the system time by synchronizing with a public time server over the Internet. You can modify the Time Zone of the device as follows 4.3.1 copy computer Time (not: Only for Windows devices) NTP sever or add servidor NTP Manual 4.3.2 Enable NTP client Update-select stable 4.4 System Log...
- Page 14 4.5 Diagnostics This page can be used to run target system command. 4.5.1Diagnostic Command-PING ① After Log in to Your Router, Click Advanced button on the top of Web page ② Click Management> Diagnostics ③ Select PING in Diagnostic Command list. ④...
- Page 15 4.6 Change Login Address Change your default login address ① After Log in to Your Router, Click Advanced button on the top of Web page ② Click Network> LAN Settings ③ Enter an IP Address in the IP Address blank. After click Save&Apply button, You can Login your Extender using this IP address.
-
Page 16: Chapter 5 Extender Internet Srtting
Chapter 5 Extender Internet Srtting 5.1 Static DHCP Setup (IP Address reservation) This page allows you reserve IP addresses and assign the same IP address to a network device with a specified MAC address each time it requests an IP address. This is similar to having a static IP address except that the device must still request an IP address from the DHCP server. - Page 17 5.2 Wireless Basic Settings This page allows you reserve IP addresses and assign the same IP address to a network device with a specified MAC address each time it requests an IP address. This is similar to having a static IP address except that the device must still request an IP address from the DHCP server.
- Page 18 5.2.3 Switch channel ① After Log in to Your Router, Click Advanced button on the top of Web page ② Click Wireless> WLAN1(5GHz)>Basic Setting or Click Wireless> WLAN2(2.4GHz)>Basic Settings ③ Switch Channel Number in Drop-down list and click Save&Apply button 5.2.4 Wireless Advanced Settings These settings are only for more technically advanced users who have a sufficient knowledge about wireless LAN.
- Page 19 5.2.5 Wireless Security Setup This page allows you setup wireless security. Using WEP or WPA Encryption Keys will help prevent unauthorized access to your wireless network. ① After Log in to Your Router, Click Advanced button on the top of Web page ②...
- Page 20 5.2.7 Wi-Fi Protected Setup-WPS setting This page allows you to change the settings for WPS (Wi-Fi Protected Setup). Using this feature allows a wireless client to automically & syncronize its settings and easily and securely connect to the Access Point. ①...
- Page 21 • If a computer is used, ensure that your computer has connected to the Extender's Wi-Fi network Juplink-EC4-1200 and your computer has set to Obtain an IP address automatically and Obtain DNS server address automatically Or unplug the Ethernet cable.
- Page 22 • Open a browser, enter the IP address in the address bar, and then you can enter the interface. Method 3: recommend • Download and update the device firmware v1.0.2 on juplink.com • After reset try login by this domain name: router.juplink.com Q6: l can find someone else's WIFI signal, but I can't find mine? A6: •...
- Page 23 Q8: How to confirm a successful extension? A8: ①You can search the signal to see if there is a repeater factory SSID ( if the SSID of the signal is still the factory setting, then it means a failed extension.) ②Observe the exact color and status of the indicator by darkening the surrounding.
- Page 24 router. • If the router is fine, you can adjust the location and direction of the repeater. Q13: Why the network is not available after extension. A13: ①Check the placement of the repeater, avoid putting it in the corner; ②If the above situation is excluded, please reset the repeater, and try to connect the repeater to the router again.
- Page 25 FCC Statement This equipment has been tested and found to comply with the limits for a Class B digital device, pursuant to part 15 of the FCC Rules. These limits are designed to provide reasonable protection against harmful interference in a residential installation.
Need help?
Do you have a question about the EC4-1200 and is the answer not in the manual?
Questions and answers