Advertisement
Quick Links
Advertisement

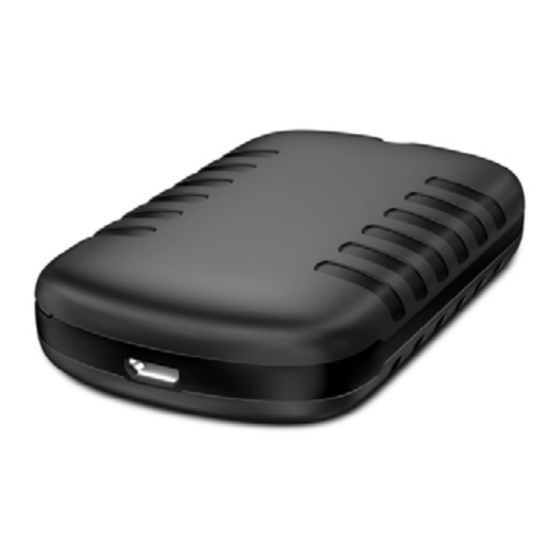
Summary of Contents for ritm Voyager 4N
- Page 1 Voyager 4N Quick start guide Saint Petersburg, 2016...
- Page 2 • Put the SIM card inside. You will find the slot under the battery. • Close the lid. • Connect your Voyager 4N to the PC by MicroUSB cabel. Download the software • Go to our website www.ritm.ru, in the right top corner you can choose the english language.
- Page 3 Voyager 4N. Quick start guide. Install the software Unzip archive Drivers, and Install the downloaded Driver (Drivers\CP210x_VCP\CP210x_VCPInstaller_x64 or Drivers\ CP210x_VCP\CP210x_VCPInstaller_x32), depending on the version of your operating system: • Accept the agreement, click next. Also, you will need to install driver of virtual com port (from \Drivers\ST_VCP\VCP_V1.3.1_setup, or \Drivers\ST_VCP\...
- Page 4 Check the connection of the device to your PC Open the PC manager. Click on the Device Manager and look at COM ports. Port for RITM USB is called “Silicon labs CP210x USB to UART Bridge (COM4)”. Please remember the number of your com port, it will be important in the future.
- Page 5 Voyager 4N. Quick start guide. Open the configuration wizard Run the downloaded configuration program from the file, it will look like this: In the right bottom corner you can choose the language. After that, for the first time, it may be neccessary to download the latest version of the software.
- Page 6 Voyager 4N. Quick start guide. Configure your device After the sucessful connection you will see this page. If you have an item “Available update”(red color), you should click on it. Then click on “start updating”, you will see updating progress.
- Page 7 Next step, you have to go to Device Details, where you can find common information about your Voyager 4N. Here you should copy the IMEI of your Voyager 4N, and check the registration in GSM network. If you have bad reception conditions of GSM, or SIM card doesn’t work, you will see, that...
- Page 8 2. Type the number of your object, leave the password as default. 3. Then type in the box your “IP address of the main coordinate receipt server or its domain name” dev1.eu.ritm.ru 4. And in the box “Port of the main coordinate receipt server” port number 9426.
- Page 9 Voyager 4N. Quick start guide. GeoRitm Now you are ready to go to www.eu.ritm.ru. You can choose the language in the upper right corner. Let’s begin the registration. Click on registration button. www.ritm.ru/en...
- Page 10 Voyager 4N. Quick start guide. Fill the registration form. After that you will get the e-mail for authorization, follow the link and you will see this page. www.ritm.ru/en...
- Page 11 Voyager 4N. Quick start guide. Click on the button “Open Monitoring interface”. You can select “Run Object Add Wizard automatically”, or open this wizard later. Now you should see the main page of GeoRitm interface. Than click on the plus button to add an object.
- Page 12 Voyager 4N. Quick start guide. Add an object. You will see this page. Click “Next”. Here you should put the IMEI, which you took from the settings of Voyager 4N. Click “Next”. www.ritm.ru/en...
- Page 13 Voyager 4N. Quick start guide. Click “Next” again. If you see that page, server now identified your Voyager 4N. Click “Next”. www.ritm.ru/en...
- Page 14 Vehicles and Real Estate; you should choose a Vehicle. After that click “Next”. Your Voyager 4N is ready to work. When you will choose your object in left menu, you should see your Voyager 4N on the map. Remember, that GPS should have good reception conditions.
- Page 15 Voyager 4N. Quick start guide. You can click on the image of your Voyager 4N on map and see the events, track, and general report or object’s card (you can open it from the left menu as well). When you will open object’s card, you can choose the “equipment”...


Need help?
Do you have a question about the Voyager 4N and is the answer not in the manual?
Questions and answers