Advertisement
802.11n Wireless
30FPS
WPG-200N
Presentation Gateway
1. Package Contents
Thank you for choosing PLANET WPG-200N. Before
installing the device, please verify the contents inside the
package box.
WPG-200N
Quick Guide
World-Wide Adapter Set
Power Adapter
(US/EU/UK/AU)
If there is any item missed or damaged, please
contact the seller immediately.
Note
3. Hardware Installation
Step 1: Please turn on your projector first, and connect
HDMI or D-sub cable of the projector to
WPG-200N. Now you can power on WPG-200N.
HDMI
* The above hardware installation of WPG-200N is
connected by HDMI cable. The VGA cable works as well.
CD-ROM
Antennas
– 1 –
Power
Power
Adapter
– 3 –
2. Physical Installation
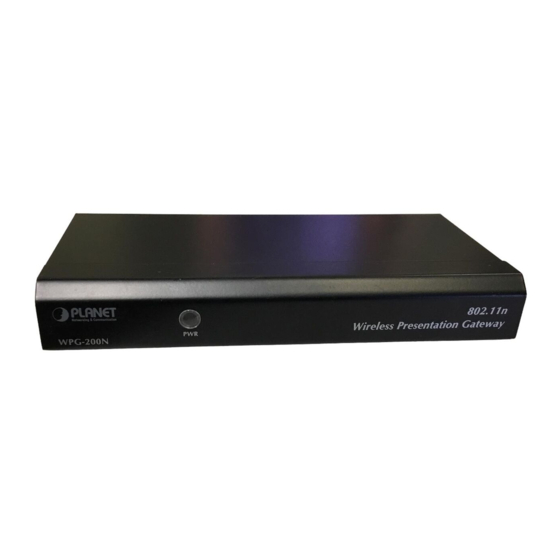
Front Panel Description
Power LED
Rear Panel Description
2 dBi Detachable Antenna x 2
15 Pin D-Sub VGA Port
(Connect to the projector)
LAN Port
(Connect to a client PC of Ethernet)
HDMI Port
(Connect to the projector)
Step 2: When the projector shows the default screen as
below, it indicates WPG-200N is ready now.
4. Software Installation – Windows
Default SSID: WPG-200N
Step 1: Site survey the wireless signal of WPG-200N,
and connect your PC with it wirelessly.
* The connection information can be found from the
projector screen.
Audio Out
(Connect to speaker
or headphone)
Power Connector
(5V DC Input)
– 2 –
– 4 –
Advertisement
Table of Contents

Related Manuals for Planet Networking & Communication WPG-200N


Summary of Contents for Planet Networking & Communication WPG-200N
- Page 1 HDMI or D-sub cable of the projector to WPG-200N. Now you can power on WPG-200N. 4. Software Installation – Windows Default SSID: WPG-200N Step 1: Site survey the wireless signal of WPG-200N, Power and connect your PC with it wirelessly. Power...
- Page 2 PDA is enabled, and connect the Smartphone or PDA with WPG-200N. 2. Open the browser of the smartphone or PDA, and it would redirect to the WPG-200N web page (or you can enter the default IP address 192.168.1.1 to access it.). Download the MobiShow client software, and execute the installation program.
Need help?
Do you have a question about the WPG-200N and is the answer not in the manual?
Questions and answers