Advertisement
Quick Links
Advertisement

Related Manuals for Article SALINAS


Summary of Contents for Article SALINAS
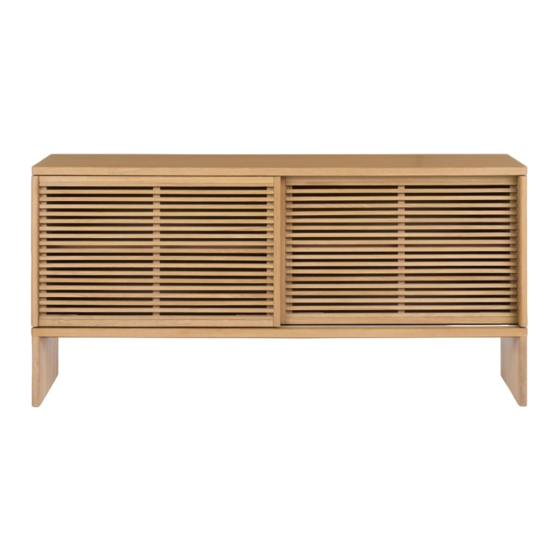
- Page 1 VERSION 1.0 Assembly Instructions SALINAS Sideboard...
-
Page 2: Parts Inventory
DIFFICULTY surface such as a carpet to prevent scratches. If you’re having difficulty, our friendly Customer Care team is always here to help. Call us at 1.888.746.3455 during business hours, email service@article.com or chat live at article.com. ANTI-TIP Installation Required... - Page 3 SALINAS Sideboard Page 3 of 7 ×8 × 4 × 4 Pull down to unlock.
- Page 4 Page 4 of 7 SALINAS Sideboard Place the wheels at the bottom of the door into the outer groove. The door should come over the edge 100mm at least before locked. ×2 Press button to lock. Lock in the outer groove.
- Page 5 Page 5 of 7 SALINAS Sideboard Adjust the wheel at the bottom of doors by screwing in or out if the door is not straight.
- Page 6 Page 6 of 7 SALINAS Sideboard Place the wheels at the bottom of the door into the inner groove. ×2 Press button to lock. The door should come over the edge 100mm at least before locked. Lock in the inner groove.
- Page 7 Page 7 of 7 SALINAS Sideboard Adjust the wheel at the bottom of doors by screwing in or out if the door is not straight. Adjust sliding door 1 (B) wheel in position.
-
Page 8: Required Tool
Page 1 of 4 SALINAS Sideboard 1010 Raymur Ave. Vancouver, BC V6A 3T2 ANTI-TIP RESTRAINT INSTALLATION WARNING! Serious or fatal crushing injuries can occur from furniture tip-over. To help prevent tip-over: 20 min • Install tip-over restraint provided. • Do not set heavy objects on top of this product,... - Page 9 Page 2 of 4 SALINAS Sideboard Align brackets on unit with brackets on wall. ×4 ×2 Attach pair of brackets to top Mark on wall where second pair corners of the back unit. of brackets should be placed.
- Page 10 Page 3 of 4 SALINAS Sideboard × 4 × 4 × 4 Drill holes in wall using 8mm / 5/16" drill bit. Align brackets on unit with brackets on wall.
- Page 11 Page 4 of 4 SALINAS Sideboard × 2 × 2 Pull strap down until it snap-locks.
Need help?
Do you have a question about the SALINAS and is the answer not in the manual?
Questions and answers