Advertisement
Quick Links
Advertisement

Subscribe to Our Youtube Channel
Related Manuals for Article FLORU


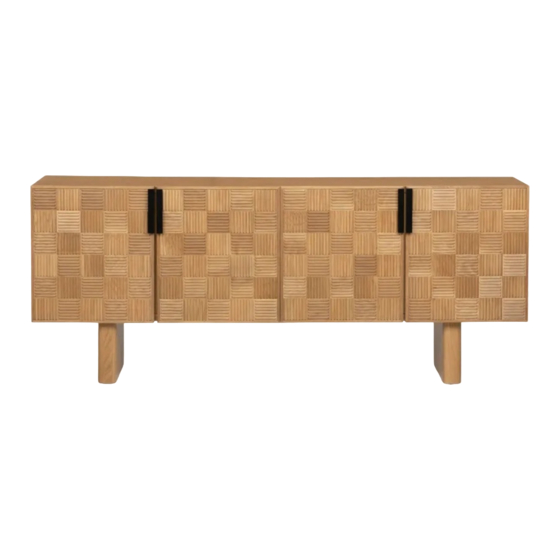
Summary of Contents for Article FLORU
- Page 1 VERSION 1.0 Assembly Instructions FLORU Sideboard...
-
Page 2: Required Tool
DIFFICULTY surface such as a carpet to prevent scratches. If you’re having difficulty, our friendly Customer Care team is always here to help. Call us at 1.888.746.3455 during business hours, email service@article.com or chat live at article.com. ANTI-TIP REQUIRED TOOL... - Page 3 Page 3 of 6 FLORU Sideboard ×8 ×12 Two people are needed for is next step, careful to turn table over. Place the table top on a soft protected surface.
- Page 4 Page 4 of 6 FLORU Sideboard ×8...
- Page 5 Page 5 of 6 FLORU Sideboard DOOR ADJUSTMENT INSTRUCTIONS During shipping, the doors of your cabinet may have shifted slightly. This can easily be corrected by tightening a few screws. Always start by adjusting the top hinge on the affected door.
-
Page 6: Assembly Instruction
Page 6 of 6 FLORU Sideboard Assembly Instruction SENO Sideboard If the door needs adjustment side to side: If the door needs adjustment forward or backward:... - Page 7 Page 1 of 3 CABINET Anti-Tip Installation 1010 Raymur Ave. Vancouver, BC V6A 3T2 ANTI-TIP RESTRAINT INSTALLATION WARNING! Serious or fatal crushing injuries can occur from furniture tip-over. To help prevent tip-over: 20 min • Install tip-over restraint provided. • Do not set heavy objects on top of this product, TIME # OF PEOPLE...
- Page 8 Page 2 of 3 CABINET Anti-Tip Installation × 4 × 2 Mark on wall where second pair Attach pair of brackets to top corners of brackets should be placed. of the back of the unit. Note there are no existing pilot holes on the product. × 4 × 4 × 4...
- Page 9 Page 3 of 3 CABINET Anti-Tip Installation Align brackets on unit with brackets on wall. × 2 × 2 Pull strap down until it snap-locks.
Need help?
Do you have a question about the FLORU and is the answer not in the manual?
Questions and answers