Sign In
Upload
Download
Table of Contents
Contents
Add to my manuals
Delete from my manuals
Share
URL of this page:
HTML Link:
Bookmark this page
Add
Manual will be automatically added to "My Manuals"
Print this page
×
Bookmark added
×
Added to my manuals
Manuals
Brands
Philips Manuals
Electric Shaver
Prestige S9000
Manual
Philips Prestige S9000 Manual
Hide thumbs
Also See for Prestige S9000
:
Manual
(56 pages)
,
Manual
(74 pages)
,
Manual
(69 pages)
1
2
3
4
5
6
7
8
9
10
11
12
13
14
15
16
17
18
19
20
21
22
23
24
25
26
27
28
29
30
31
32
33
34
35
36
37
38
39
40
41
42
43
44
45
46
47
48
49
50
51
52
53
54
55
56
57
58
59
60
page
of
60
Go
/
60
Contents
Table of Contents
Troubleshooting
Bookmarks
Table of Contents
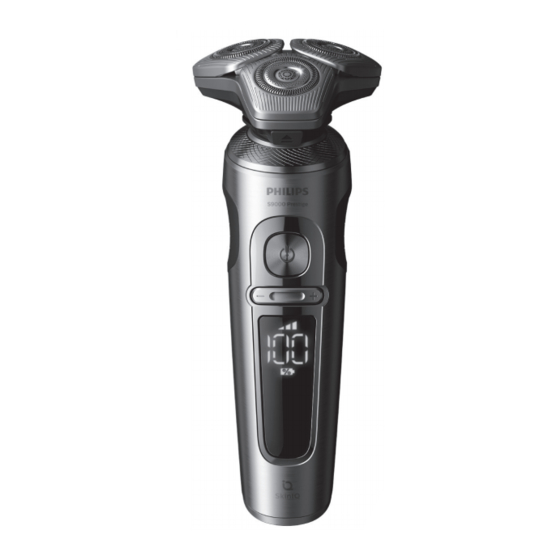
General Description (Fig. 1)
Important Safety Information
Electromagnetic Fields (EMF)
Battery Fully Charged
Battery Low
Remaining Battery Charge
Personal Comfort Settings
Cleaning Reminder
Replacement Reminder
Quick Charge
Using the Shaver
Using Click-On Attachments
Removing or Attaching Click-On Attachments
Using the Precision Trimmer Attachment
Using the Nose/Ear Trimmer Attachment
Travel Lock
Cleaning the Shaver under the Tap
Thorough Cleaning
Cleaning the Trimmer Attachment
Cleaning the Nose Trimmer Attachment
Ordering Accessories
Removing the Rechargeable Shaver Battery
Warranty and Support
Warranty Restrictions
Troubleshooting
Advertisement
Quick Links
1
General Description (Fig. 1)
2
Cleaning Reminder
3
Thorough Cleaning
Download this manual
S9000 Prestige
フ ィ リップス 電動シェーバー
品
SP9871/15
番
取 扱 説 明 書
Table of
Contents
Previous
Page
Next
Page
1
2
3
4
5
Advertisement
Table of Contents
Need help?
Do you have a question about the Prestige S9000 and is the answer not in the manual?
Ask a question
Questions and answers
Related Manuals for Philips Prestige S9000
Electric Shaver Philips SP9873 Manual
(74 pages)
Electric Shaver Philips SP9860/14 Manual
(69 pages)
Electric Shaver Philips SP9883/36 Manual
(64 pages)
Electric Shaver Philips S9000 Prestige Manual
(56 pages)
Electric Shaver Philips SP9820/12 Manual
(52 pages)
Electric Shaver Philips Philishaverange2001 Specifications
Philips beard timmer and hair clipper brochure (2 pages)
Electric Shaver Philips PQ205/16 User Manual
Philips electric shaver pq205 plus (7 pages)
Electric Shaver Philips PQ225/17 Manual
Philips electric shaver pq225 advanced (7 pages)
Electric Shaver Philips PQ218/16 Using
Philips electric shaver pq218 pro (4 pages)
Electric Shaver Philips PQ215/16 Manual
Philips electric shaver pq215 pro (7 pages)
Electric Shaver Philips PQ212/16 Manual
Philips electric shaver pq212 pro (4 pages)
Electric Shaver Philips PQ218 Manual
(4 pages)
Electric Shaver Philips PrestigeWet S9000 Frequently Asked Questions Manual
Prestigewet & dry electric shaver (9 pages)
Electric Shaver Philips Prestige Ultra Manual
(28 pages)
Electric Shaver Philips Prestige Ultra Manual
(35 pages)
Electric Shaver Philips Lumea Prestige BRI959 User Manual
Ipl - hair removal device (186 pages)
This manual is also suitable for:
Sp9871/15
Table of Contents
Print
Rename the bookmark
Delete bookmark?
Delete from my manuals?
Login
Sign In
OR
Sign in with Facebook
Sign in with Google
Upload manual
Upload from disk
Upload from URL


Need help?
Do you have a question about the Prestige S9000 and is the answer not in the manual?
Questions and answers