Advertisement
Quick Links
Advertisement

Related Manuals for Ovela THEODORE OVTHEOGLKGA


Summary of Contents for Ovela THEODORE OVTHEOGLKGA
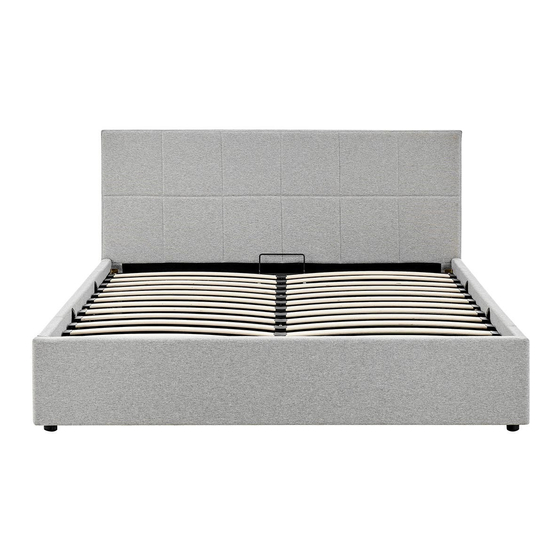
- Page 1 THEODORE GAS LIFT BED KING OVTHEOGLKGA, OVTHEOGLKCA, OVTHEOGLKBA...
-
Page 3: Safety And Warnings
SAFETY & WARNINGS Ensure to read all instructions and warnings in this user guide prior to assembly. When opening the packaging, ensure all components are accounted for. If components are missing, contact help.Kogan.com for assistance. CLEANING & CARE Use a slightly damp cloth to wipe the surface. Note: Do not use strong abrasive cleaners on this bed as it may result in damage. - Page 4 COMPONENTS A Headboard (x1) B Footboard (x1) C Left sideboard (x1) D Right sideboard (x1) E Long slat support (x2) F Short slat support (x2) G Centre slat support H Support leg (x4) I Bed base (x1) (x2)
- Page 5 Hardware 1 Phillips head screw (x4) 2 M8 nut (x22) 3 20mm screw (x24) 4 M8 washer (x30) 5 40mm screw (x22) 6 Allen key (x1) 7 T-handle Allen key (x1) 8 Bracket (x2) 9 Foot (x4) 10 End cap (x24) 11 Slat (x36) 12 Inner cap (x24) 13 Lift handle (x1)
- Page 6 ASSEMBLY Step 1: Using the screwdriver (15), secure the feet (9) onto the headboard (A) and footboard (B) with four Phillips head screws (1). 1 (x4) 9 (x4) 15 (x1)
- Page 7 Step 2: Align the holes on the ends of the footboard (B) with those on the left and right sideboards (C, D). Align a bracket (8) onto the corner between the left sideboard (C) and footboard (B), then using the Allen key (6), secure the bracket (8) with four 20mm screws (3). Repeat this process on the other corner with the right sideboard (D) and footboard (B).
- Page 8 Step 3: Insert the long slat supports (E) into the short slat supports (F). Aligning the holes, place two M8 washers (4) over top the two holes, then using the Allen key (6), secure with two 20mm screws (3). Repeat this process on the other corners to secure the long slat supports (E) into the short slat supports (F).
- Page 9 Step 4: Align the holes of one centre slat support (G) with two support legs (H). Over the holes, place four M8 washers (4) on top, then using the Allen key (6), secure four 40mm screws (5) through the washers (4). Using the T-handle Allen key (7), secure the underside of the holes with four M8 nuts (2).
- Page 10 Step 5: Align the holes on the ends of centre slat supports (G) with those on the short slat supports (F). Secure the two centre slat supports (G) to the short slat supports (F) using eight 40mm screws (5), eight M8 washers (4), and eight M8 nuts (2). This completes the slat support assembly.
- Page 11 Step 6: Place the bed base (I) onto the bed assembly. Align the brackets on the left and right sideboard (C, D) to the headboard (A) and footboard (B). Secure each bracket with two 20mm screws (3). 3 (x8) 6 (x1)
- Page 12 Step 7: Extend the gas lifts on the left and right sideboards (C, D).
- Page 13 Step 8: Place the slat support assembly onto the gas lifts and secure it in place using six 40mm screws (5), six M8 washers (4), and six M8 nuts (2) in the holes indicated in the image below. 2 (x6) 4 (x6) 5 (x6) 6 (x1)
- Page 14 Step 9: Connect three slats (11) using two inner caps (12) and two end caps (10) to create a slat assembly. Repeat this process until you have twelve slat assemblies. Secure the slat assemblies by aligning the holes on the end caps (10) and inner caps (12) with the markers on the base assembly.
- Page 15 Step 10: Attach the lift handle (13) and mattress stopper (14) to the bed. 13 (x1) 14 (x1)
- Page 16 Need more information? We hope that this user guide has given you the assistance needed for a simple set-up. For the most up-to-date guide for your product, as well as any additional assistance you may require, head online to help.kogan.com...
Need help?
Do you have a question about the THEODORE OVTHEOGLKGA and is the answer not in the manual?
Questions and answers