Table of Contents
Advertisement
Advertisement
Table of Contents

Related Manuals for HP Pavilion a6826


Summary of Contents for HP Pavilion a6826
- Page 1 Upgrading and Servicing Guide...
- Page 2 HP shall not be liable for technical or editorial errors or omissions contained herein. HP assumes no responsibility for the use or reliability of its software on equipment that is not furnished by HP. This document contains proprietary information that is protected by copyright. No part of this document may be photocopied, reproduced, or translated to another language without the prior written consent of HP.
-
Page 3: Table Of Contents
Introduction ...1 Safety Information...2 Opening the Computer...2 Preparing the Computer ...3 Removing the Computer Cover ...4 Locating Components Inside the Computer...5 Closing the Computer...7 Replacing the Computer Cover...7 After Closing the Computer...7 Removing and Replacing an Optical Disc Drive...8 Before You Begin...8 Removing an Optical Disc Drive ...9 Replacing an Optical Disc Drive ...11 Removing and Replacing a Hard Disk Drive ...12... - Page 4 Upgrading and Servicing Guide...
-
Page 5: Introduction
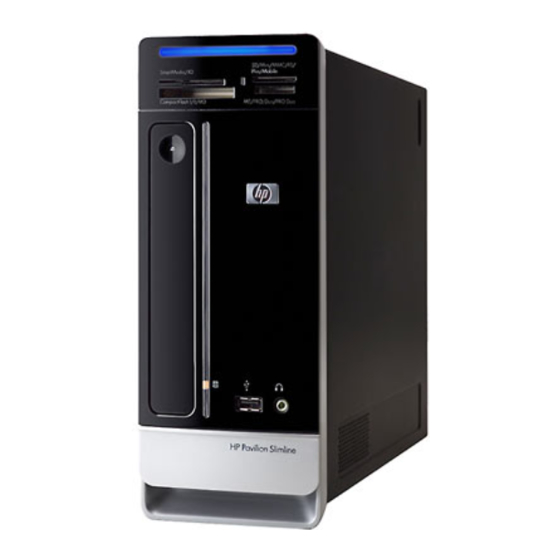
Upgrading and Servicing Guide Introduction The Upgrading and Servicing Guide provides instructions on how to remove and replace the following hardware components in your HP Pavilion Slimline Desktop PC: Optical disc drive Hard disk drive Memory module PCI card PCI-E card... -
Page 6: Safety Information
Safety Information Please read the following important safety information before performing any procedure. This product has not been evaluated for connection to an “IT” power system (an AC distribution system with no direct connection to earth, according to IEC 60950). Opening the Computer Before you upgrade any component in your computer, prepare the computer so that you can safely handle the unit and the components. -
Page 7: Preparing The Computer
Preparing the Computer To avoid injury and equipment damage, always follow this procedure before opening the computer: Remove any of the following: Memory card from the memory card reader Optical disc (CD or DVD) from the optical drive Pocket Media Drive from the Pocket Media Drive bay Turn off the computer. -
Page 8: Removing The Computer Cover
Removing the Computer Cover Complete the procedure “Preparing the Computer” on page 3. Lay the computer flat. Loosen the three screws on the back cover. Use a Phillips screwdriver. Slide the computer cover back about 1.25 centimeters (1/2 inch), and then lift it off the computer. Set it aside. -
Page 9: Locating Components Inside The Computer
Locating Components Inside the Computer Computer component configurations vary by model. You can remove and replace the following components: Component Optical disc drive. May be a CD-ROM, CD-RW, DVD-ROM, DVD+RW, or combination drive Hard disk drive (located under the optical drive bay) Memory module (2) Modem card (PCI card) and graphics card (PCI-E card) - Page 10 The following illustration shows component locations: Upgrading and Servicing Guide...
-
Page 11: Closing The Computer
Closing the Computer Replacing the Computer Cover Place all cables inside of the computer case. Place the cover onto the computer about 2.5 centimeters (1 inch) back. Make sure the slots in the computer case align with the cover tabs. Slide the cover forward on the frame until it locks into place. -
Page 12: Removing And Replacing An Optical Disc Drive
Removing and Replacing an Optical Disc Drive Your computer includes an optical disc drive that you can replace or upgrade. See “Locating Components Inside the Computer” on page 5. Before You Begin Observe the following requirements before removing and replacing the component: IMPORTANT: Due to the small computer size, you can only install an optical disc drive of less than the approximate length of... -
Page 13: Removing An Optical Disc Drive
Removing an Optical Disc Drive Prepare the computer and remove the computer cover. Complete the “Opening the Computer” procedures on page 2. Remove the front cover from the computer. Press the two tabs apart at the bottom of the cover, and press the two tabs together at the top of the cover; then push the cover out. - Page 14 Make a note of each cable and plug orientation attached to the back of the optical disc drive before removing the cables. Disconnect the power cable and then the data cable from the back of the optical disc drive. Pull the tab on the data cable.
-
Page 15: Replacing An Optical Disc Drive
Replacing an Optical Disc Drive Complete the procedure “Removing and Replacing an Optical Disc Drive” on page 8. Gently push the new optical disc drive into the slot on the front of the chassis. Insert the screw on the side of the optical disc drive. -
Page 16: Removing And Replacing A Hard Disk Drive
Removing and Replacing a Hard Disk Drive Your computer includes a hard drive that you can replace or upgrade. See “Locating Components Inside the Computer” on page 5. The original hard disk drive is preloaded with the computer system recovery partition. If you remove this hard disk drive, store it in a properly sealed antistatic bag. - Page 17 Make a note of each cable attached to the hard disk drive before removing the cables. Lift the wire latch, and disconnect the power and data cables from the back of the hard disk drive. Remove the retaining screw from the drive tray. CAUTION: Handle hard disk drives with care.
-
Page 18: Replacing A Hard Disk Drive
Replacing a Hard Disk Drive Complete the procedure “Removing a Hard Disk Drive” on page 12. Slide the hard disk drive into the tray. Insert and tighten the four screws that secure the hard disk drive to the drive tray. Slide the hard disk drive tray into the computer drive bay. - Page 19 Attach the data and power supply cables to the back of the hard disk drive and close the wire latch. If your computer includes a Pocket Media Drive (PMD), insert the Pocket Media Drive cage: Align the arrow on the PMD cage with the arrow on the bottom of the chassis.
-
Page 20: Removing And Replacing Memory
To determine which type and speed of memory module your computer uses, and for specific memory module information and specifications: Go to http://www.hp.com/support in your Web browser. Select your country/region and language. From the Support and Drivers page, click See support and troubleshooting information, enter the model number of your computer, and then click Search. -
Page 21: Removing A Memory Module
Removing a Memory Module Remove the optical disc drive. See “Removing an Optical Disc Drive” on page 9. Locate the memory socket on the motherboard. Move any cabling out of the way, if necessary. WARNING: Do not pull the memory module out of the socket. Use the retaining clips to eject the module. -
Page 22: Replacing A Memory Module
Replacing a Memory Module Upgrade the memory in your computer with memory of the same type and speed as the memory originally installed in your computer. Complete the procedure “Removing a Memory Module” on page 17. Open both latches of the memory module socket. Remove the new memory module from the antistatic packaging. -
Page 23: Removing And Replacing A Pci Card
Removing and Replacing a PCI Card Your computer comes with a modem card in the PCI card slot. The computer may also come with a graphics card in a PCI Express (PCI-E) card slot. You can replace these cards with a new modem card or graphics card. You may also replace with a different PCI card or PCI-E card. -
Page 24: Before You Begin
IMPORTANT: Due to the small computer size, you can only install a small, low-profile PCI card of the same approximate size of the modem card. HP recommends that you install a card with power consumption of 5 watts or less. -
Page 25: Replacing A Pci Card
IMPORTANT: Due to the small computer size, you can only install a small, low-profile PCI card of the same approximate size of the modem card. HP recommends that you install a card with power consumption of 5 watts or less. -
Page 26: Removing A Pci-E Card
Removing a PCI-E Card Prepare the computer and remove the computer cover. Complete the procedures “Opening the Computer” on page 2. Inside the computer, locate the PCI-E card slot on the motherboard. Make a note of any internal cables attached to the card, and then disconnect them. Remove the screw on the modem card bracket holder on the outside of the frame. -
Page 27: Replacing A Pci-E Card
IMPORTANT: Due to the small computer size, you can only install a small, low-profile PCI-E card of the same approximate size of the graphics card. HP recommends that you install a card with power consumption of 25 watts or less. -
Page 28: Removing And Replacing The Battery
Removing and Replacing the Battery A lithium battery on the motherboard provides backup power for the computer’s timekeeping capability. When the battery starts to weaken, the date and time may be incorrect. If the battery fails, replace it with a CR2032 lithium battery (3-volt, 220 mAh rating) or an equivalent battery. Before You Begin Observe the following requirements before removing and replacing the component: Procedure... - Page 29 Install the new CR2032 battery in the socket, with the positive (+) side facing the open side of the socket. Replace all cables that you removed. Complete the procedure “Replacing an Optical Disc Drive” on page 11. Complete the procedures to replace the computer cover and close the computer. See “Closing the Computer”...
- Page 30 Part number: 5991-8366...
Need help?
Do you have a question about the Pavilion a6826 and is the answer not in the manual?
Questions and answers