Table of Contents
Advertisement
Quick Links
Advertisement
Table of Contents

Related Manuals for Nuna tavo


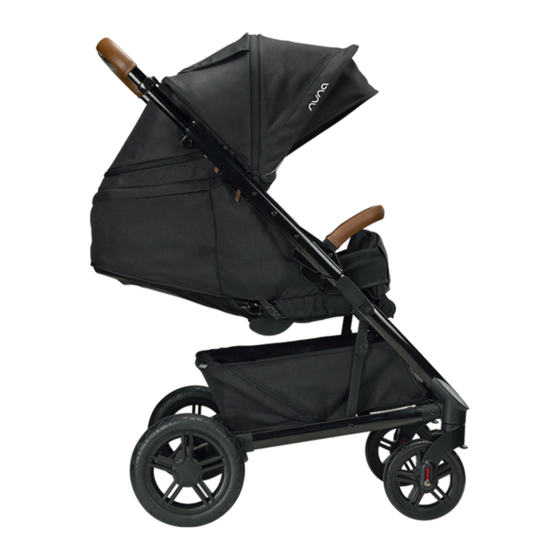
Summary of Contents for Nuna tavo
- Page 2 Designed around your life...
-
Page 3: Table Of Contents
Contents Product Information Warranty IMPORTANT! Contact Child Usage Requirements KEEP THESE Warnings INSTRUCTIONS FOR Parts List FUTURE REFERENCE: Product Set Up READ CAREFULLY Product Use Accessory TAVO Rain Cover KLIK plus Infant Carrier Cleaning and Maintenance TAVO instructions TAVO instructions... -
Page 4: Product Information
For replacement parts, service, or additional warranty questions, please contact our customer service department. APB Pty. Ltd. 82 Bellingara Road Miranda NSW 2228 Ph: 02 8543 5570 Distributed in Australia by Baby Bunting Pty. Ltd. 955 Taylors Road Dandenong South Vic 3175 TAVO instructions TAVO instructions... -
Page 5: Warnings
Never leave the harness buckled when not fitted area. to a child in the stroller because the harness can form loops which may pose a strangulation hazard. It is unsafe to use accessories other than those approved by the vehicle manufacturer. TAVO instructions TAVO instructions... - Page 6 Check that the infant child restraint attachment device is correctly engaged before use. To avoid strangulation, do make sure your child is clear from the canopy. TAVO instructions TAVO instructions...
-
Page 7: Parts List
Parts List Make sure all parts are available before assembly. If any part is missing, please contact Nuna (see page 4 for information). No tools are required for assembly. CHOKING HAZARD: Remove and immediately discard protective end caps from each wheel and wheel hub axle. -
Page 8: Product Set Up
Make sure the brake lever is up before attaching the brake assembly to the frame. - Push the brake assembly onto the rear leg tubes. A “click” sound means the brake assembly is attached. Check that brake assembly is securely attached by pulling on it. click TAVO instructions TAVO instructions... - Page 9 A “click” sound means the arm bar is assembled completely. - To remove the arm bar, press the arm bar release buttons (1), and lift the arm bar up. (2) TAVO instructions TAVO instructions...
- Page 10 Check Set Up Stroller frame is latched open Rear and front wheels securely attached Canopy mount attached to Stroller frame and canopy zipped to seat pad Basket securely attached Arm bar securely attached Canopy securely attached TAVO instructions TAVO instructions...
-
Page 11: Product Use
Make sure your child is snugly secured. The space between the child and the shoulder harness should be about the thickness of one hand. DO NOT cross the shoulder belts. This will cause pressure on child’s neck. TAVO instructions TAVO instructions... - Page 12 - To access the child from the back of the stroller, unzip the bottom zipper. Roll the fabric flap up and secure using the webbing. - To remove the canopy, unzip both zippers in the back and then slide the canopy mounts up. TAVO instructions TAVO instructions...
- Page 13 Calf Support The calf support has 2 positions. - To raise the calf support, lift up. To lower the calf support, press the adjustment button in the middle of the calf support (1), and push down (2). TAVO instructions TAVO instructions...
- Page 14 (1) and then pull the handle up or down (2). Use Tether Strap - Use the tether strap to prevent the stroller inadvertently rolling away. Check that when your hand is through the loop, it allows you to easily control the stroller. TAVO instructions TAVO instructions...
-
Page 15: Accessory
Accessory Not all accessories are included on some models. TAVO Rain Cover - To assemble the rain cover, place it over the stroller. Always check ventilation, especially in hot weather when the rain cover is on the product. -
Page 16: Klik Plus Infant Carrier
Pull up on the infant carrier to check that it is fully locked to the stroller. Remove the infant carrier before folding. - To remove the infant carrier, open the infant carrier lock, squeeze the stroller release handle (1) and lift the infant carrier up (2). TAVO instructions TAVO instructions... -
Page 17: Cleaning And Maintenance
It is normal for fabric to color from sunlight and to show wear and tear after a long period of use, even when used normally. For reasons of safety, only use original Nuna parts. Check regularly if everything functions properly. If any parts are torn, broken, or missing, stop using this product.
Need help?
Do you have a question about the tavo and is the answer not in the manual?
Questions and answers