Table of Contents
Advertisement
Quick Links
OWNER'S MANUAL
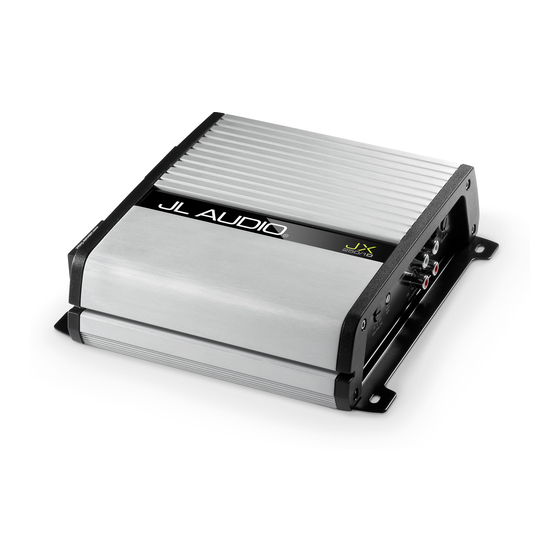
Class D Monoblock Subwoofer Amplifiers
Thank you for purchasing a JL Audio amplifier for
your automotive sound system.
Your amplifier has been designed and manufactured to exacting
standards in order to ensure years of musical enjoyment in your vehicle.
For maximum performance, we highly recommend that you have
your new amplifier installed by an authorized JL Audio dealer. Your
authorized dealer has the training, expertise and installation equipment
to ensure optimum performance from this product. Should you
decide to install the amplifier yourself, please take the time
to read this manual thoroughly so as to familiarize yourself
with its installation requirements and setup procedures.
If you have any questions regarding the instructions in this
manual or any aspect of your amplifier's operation, please contact your
authorized JL Audio dealer for assistance. If you need further assistance,
please call our Technical Support Department
at (954) 443-1100 during business hours.
Advertisement
Table of Contents

Related Manuals for JL Audio JX250/1D


Summary of Contents for JL Audio JX250/1D
- Page 1 For maximum performance, we highly recommend that you have your new amplifier installed by an authorized JL Audio dealer. Your authorized dealer has the training, expertise and installation equipment to ensure optimum performance from this product.
-
Page 2: Protect Your Hearing
Input Jack Preamp Output Jacks Control (pg. 11) (pg. 8) (pg. 6,7) (pg. 8) (pg. 9) Protection Status Input Sensitivity Left & Right Remote Indicator Control Preamp Input Jacks Level Control (pg. 11) (pg. 7) (pg. 6) (pg. 9) JL Audio... -
Page 3: Installation Applications
Cooling Efficiency Considerations: Stupid Mistakes to Avoid: The outer shell of your JL Audio amplifier is • Check before drilling any holes in your vehicle designed to remove heat from the amplifier to make sure that you will not be drilling circuitry. -
Page 4: Product Description
If you have any questions, please contact your battery post terminal. authorized JL Audio dealer for assistance. 14) Turn on the source unit at a low level to double-check that the amplifier is 1) Disconnect the negative battery post configured correctly. -
Page 5: Power Connections
4 AWG wire (8 AWG is sufficient for JX250/1D only) and should be kept as short as possible, while accessing a solid piece of sheet metal in the vehicle. The surface of the sheet... -
Page 6: Remote Turn-On
Inputs", connect it in parallel to both left and right input wires. 1) Low-Level Inputs: A standard left/ right pair of RCA type jacks is used for preamp level (low-level) signal input on the JX monoblocks. This is the preferred connection method whenever available. JL Audio... - Page 7 A mono signal into the amplifier will result in a mono signal out of its preamp output. JX250/1D • JX500/1D • JX1000/1D...
- Page 8 Filter processing selected for the amplifier. I M P O R TA N T ! The "Preouts" of the JX250/1D and JX500/1D will not pass signals from the Hi-Level inputs. The JX1000/1D will pass signals from the Hi-Level inputs and will attenuate them to Low-Level.
-
Page 9: "Bass Boost" Control
Care should be taken to securely mount this control in a manner that does not interfere with vehicle operation. When setting the amplifier’s input sensitivity, the Remote Level Control should be unplugged or at full clockwise rotation (maximum level). JX250/1D • JX500/1D • JX1000/1D... -
Page 10: Speaker Output
Do not chassis ground any speakers connected to this or any other JL Audio amplifier. Doing so will cause the amplifier to go into protection. To connect the speaker wires to the amplifier,... -
Page 11: Servicing Your Amplifier
If your amplifier fails or malfunctions, please return it to your authorized JL Audio dealer so that it may be sent in to JL Audio for service. There are no user serviceable parts or fuses inside the amplifier. The unique nature of the circuitry in the JL Audio amplifiers requires specifically trained service personnel. - Page 12 EQ circuits. EQ cuts will not control to 3/4 of maximum. If connected, set the require re-adjustment. amplifier’s Remote Level Control at maximum (full clockwise). JX250/1D 3) Turn the amplifier's “Input Sens.” control all Nom. Impedance Target AC Voltage the way down.
-
Page 13: Specifications
Minimum Copper Power/Ground Wire Gauge: 4 AWG Dimensions (LxWxH): 10.94" x 7.68" x 2.09" (278 mm x 195 mm x 53 mm) Net Weight: 7.0 lbs. (3.18 kg) Due to ongoing product development, all specifications are subject to change without notice. JX250/1D • JX500/1D • JX1000/1D... -
Page 14: Appendix C: Troubleshooting
Check the input connectors to ensure that they all are making good contact with the input jacks on the amplifier. JL Audio... - Page 15 The speaker wire connectors are designed to accept up to 8 AWG wire. Make sure to strip the wire to allow for a sufficient connection with the metal inside the terminal block. JX250/1D • JX500/1D • JX1000/1D...
-
Page 16: Installation Notes
INSTALLATION NOTES: Use this diagram to document your amplifier’s switch and control positions. JL Audio... - Page 17 JX250/1D • JX500/1D • JX1000/1D...
- Page 18 All warranty returns should be sent to JL Audio ’s Amplifier Service Facility freight-prepaid through an authorized JL Audio dealer and must be accompanied by proof of purchase (a copy of the original sales receipt). Direct returns from consumers or non-authorized dealers will be refused unless specifically authorized by JL Audio with a valid return authorization number.
Need help?
Do you have a question about the JX250/1D and is the answer not in the manual?
Questions and answers