Table of Contents
Advertisement
Quick Links
Advertisement
Table of Contents

Subscribe to Our Youtube Channel
Summary of Contents for Velleman VMA105
- Page 1 VMA105 ATMEGA32U4 WEARABLE DEVELOPMENT BOARD USER MANUAL...
- Page 2 Nor Velleman nv nor its dealers can be held responsible for any damage (extraordinary, incidental or indirect) – of any nature (financial, physical…) arising from the possession, use or failure of this product.
- Page 3 5 V micro USB. The I/O pins of the VMA105 communicate with 3.3 V only as they do not tolerate 5 V. If interfacing with 5 V I/O pins is needed, we recommend using our VMA410 level shifter.
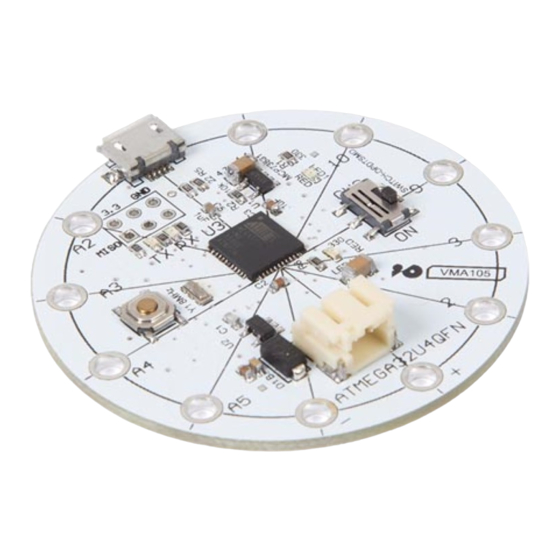
- Page 4 VMA105 micro USB port transmitting/receiving LEDs charging LED ATMega32U4 chip reset button on-off-charge switch JST LiPo battery connection (3.3 V) ground pin (-) 3.3 V pin (+) general purpose input and output (GPIO) pins Installation 1. Download and install the latest Arduino ®...
- Page 5 4. Now go to File Examples 01.Basics Blink. 5. Connect your VMA105 via micro USB and select the communications port of your computer. 6. Compile and send the code to your VMA105, and enjoy the flashing LED.
- Page 6 © COPYRIGHT NOTICE The copyright to this manual is owned by Velleman nv. All worldwide rights reserved. No part of this manual may be copied, reproduced, translated or reduced to any electronic medium or otherwise without the prior written consent of the copyright holder.
- Page 7 • Velleman® can decide to replace an article with an equivalent article, or to refund the retail value totally or partially when the complaint is valid and a free repair or replacement of the article is impossible, or if the expenses are out of proportion.


Need help?
Do you have a question about the VMA105 and is the answer not in the manual?
Questions and answers