Table of Contents
Advertisement
Quick Links
Advertisement
Table of Contents

Subscribe to Our Youtube Channel
Summary of Contents for Velleman VMA107
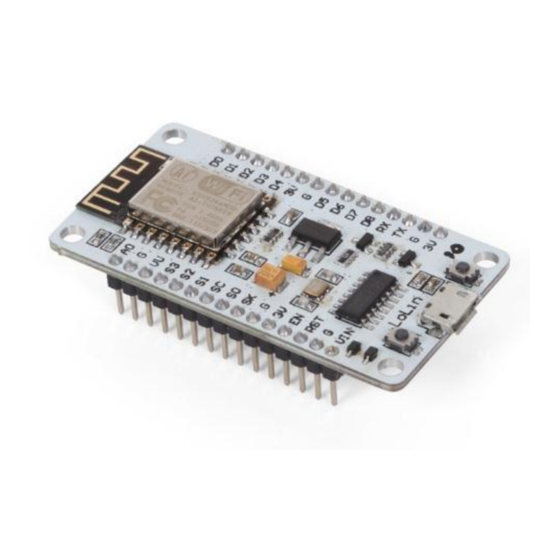
- Page 1 VMA107 NODEMCU V2 LUA BASED ESP8266 DEVELOPMENT BOARD USER MANUAL...
- Page 2 Nor Velleman nv nor its dealers can be held responsible for any damage (extraordinary, incidental or indirect) – of any nature (financial, physical…) arising from the possession, use or failure of this product.
- Page 3 5 V micro USB or the 5 V VIN pin of the board. The I/O pins of the VMA107 communicate with 3.3 V only. They do not tolerate 5 V. If interfacing with 5 V I/O pins is needed, we recommend using our VMA410 level shifter.
- Page 4 VMA107 Installing the VMA107 Download and install the latest Arduino ® IDE on https://www.arduino.cc/en/Main/Software. Start the Arduino IDE and open the preference window (File Preferences). ® Enter http://arduino.esp8266.com/versions/2.4.0/package_esp8266com_index.json in the Additional Boards Manager URL’s field. Close and re-start the Arduino ®...
- Page 5 Wiring and Software for the Blink Example Connect an LED to your VMA107. A resistor is not needed as the I/O’s of the VMA107 are current-limited. The LED can be replaced by for example the VMA331 so a relay can be controlled.
- Page 6 IDE, open the examples and select ESP8266 and the example Blink. Now, the following code is loaded in your IDE. Please take note that the VMA107 has no on-board LED. Compile and send the code to your VMA107, and enjoy the flashing LED!
- Page 7 © COPYRIGHT NOTICE The copyright to this manual is owned by Velleman nv. All worldwide rights reserved. No part of this manual may be copied, reproduced, translated or reduced to any electronic medium or otherwise without the prior written consent of the copyright holder.
- Page 8 • Velleman® can decide to replace an article with an equivalent article, or to refund the retail value totally or partially when the complaint is valid and a free repair or replacement of the article is impossible, or if the expenses are out of proportion.


Need help?
Do you have a question about the VMA107 and is the answer not in the manual?
Questions and answers