
Related Manuals for Monogram ZIFX240HX


Summary of Contents for Monogram ZIFX240HX
- Page 1 INSTALLATION INSTRUCTIONS with Design Guide Fresh-Food Refrigerator Bar Refrigerator with Icemaker Monogram.com...
-
Page 2: Important Information
To reduce the risk associated with choking, do not allow children under 3 years of age to have access to small parts during the installation of this product. For Monogram local service in your area, call 800.444.1845 or visit monogram.com. For Monogram service in Canada, call 888.880.3030 For Monogram Parts and Accessories, call 800.444.1845 or visit monogram.com. - Page 3 Consignes de Sécurité AVERTISSEMENT Risque d’explosion. Conservez les matériaux et vapeurs inflammables tels que l’essence à l’écart de votre réfrigérateur. Le non-respect de cette instruction peut entraîner un risque d’incendie, d’explosion ou de décès. AVERTISSEMENT Pour réduire le risque d’étouffement pendant l’installation de ce produit, ne pas laisser les petites pièces à...
-
Page 4: Table Of Contents
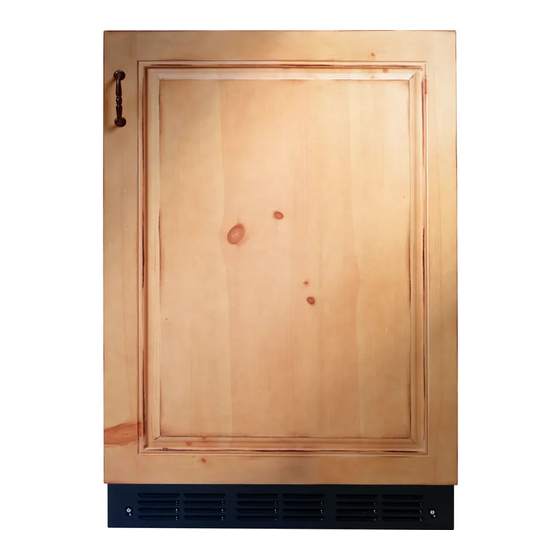
Installation Instructions CONTENTS STAINING WOOD DRAWER FRONTS Important Information ..........2 The drawer fronts are unfinished cherry wood. During Parts Required ..............4 use, oil from hands may accumulate and stain the Caring for Your Stainless Steel ........4 wood. Tools, Hardware ............4 •... -
Page 5: Install Water Line
Installation Instructions INSTALL WATER LINE (ZIBI240 AND ZIBS240 MODELS ONLY) Shut off the main water supply. Connect to potable water supply WARNING Turn on the nearest faucet long enough to clear the line only. of water. AVERTISSEMENT Raccordez l’appareil à une •... -
Page 6: Design Guide (For Zifs240 And Zibs240)
Design Guide For models ZIFS240 and ZIBS240 with Stainless Steel Doors and Handles THE INSTALLATION SPACE Flush Installation 1/4” NOTE: Water line location Filler panel or cleat to be set CABINET CABINET back even with front of case. for ZIBS240 model only Front edge of product case Front face... -
Page 7: Side-By-Side Installations
Design Guide For models ZIFS240 and ZIBS240 with Stainless Steel Doors and Handles SIDE-BY-SIDE INSTALLATIONS PRODUCT CLEARANCES For a complete refreshment center, install a Fresh- The Fresh-Food Refrigerator or Bar Refrigerator with Food Refrigerator beside a Double-Drawer Refrigerator, Icemaker is factory set for a 110° door swing. Beverage Center or Wine Chiller/Wine Reserve. -
Page 8: The Installation Space
Design Guide For models ZIFI240 and ZIBI240 with Custom Door Panels and Handles SIDE-BY-SIDE INSTALLATIONS THE INSTALLATION SPACE For a complete refreshment center, install a Fresh- Food Refrigerator beside a Double-Drawer Refrigerator, Beverage Center or Wine Chiller/Wine Reserve. Or, install a Refrigerator with Icemaker beside a NOTE: Wine Chiller/Wine Reserve. -
Page 9: Installation Instructions
Installation Instructions STEP 1 REMOVE PACKAGING STEP 2 REVERSING THE DOOR AND INSTALLATION PARTS (Cont.) (ZIFI240 model only) • Remove corner blocks and foam drawer stops. • Remove 4 screws to remove the top door trim (do • Remove all packing material, tape and protective NOT discard). - Page 10 Installation Instructions STEP 2 REVERSING THE DOOR STEP 2 REVERSING THE DOOR (Cont.) (Cont.) (ZIFI240 model only) (ZIFS240 model only) • Install the new left bottom hinge pin and new door stop WARNING Follow all steps when reversing the that are enclosed in the hardware bag. door swing.
- Page 11 Installation Instructions STEP 2 REVERSING THE DOOR STEP 2 REVERSING THE DOOR (Cont.) (Cont.) (ZIFS240 model only) (ZIFS240 model only) • Move the plug on the toekick from the left to the right • Insert the new top plug/bushing in the new top of the and reattach toekick to the unit.
-
Page 12: Step 3 Install Custom 3/4" Door Panel And Handle (Zifi240 And Zibi240 Models Only)
Installation Instructions STEP 3 INSTALL CUSTOM 3/4” STEP 3 INSTALL CUSTOM 3/4” DOOR PANEL AND DOOR PANEL AND HANDLE HANDLE (ZIFI240 and ZIBI240 (ZIFI240 and ZIBI240 models only) models only) 3/4” Overlay Panel Dimensions Custom Panel Hinge Routing Dimensions Use a 3/4” router bit to cut a notch into the back side of Model ZIFI240 and ZIBI240 require the assembled panel 3/8”... -
Page 13: Step 4, Leveling
Installation Instructions STEP 3 INSTALL CUSTOM 3/4” STEP 4 LEVEL DOOR PANEL AND • Use an adjustable HANDLE wrench to turn the (ZIFI240 and ZIBI240 leveling legs and raise models only) or lower the product. For built-in installation, • Slide overlay panel into the door trim. adjust the leveling legs slightly below the bottom of the countertop. -
Page 14: Step 6 Connect Power
Installation Instructions STEP 6 CONNECT POWER STEP 8 SET TEMPERATURE CONTROLS • Connect power cord plug to a properly grounded receptacle. • The temperature controls are preset. Refer to the • Check to make sure power is on by opening the door Owner’s Manual for more information. - Page 15 Notes 31-51544-9...
- Page 16 NOTE: While performing installations described in this book, safety glasses or goggles should be worn. NOTE: Product improvement is a continuing endeavor at Monogram. Therefore, materials, appearance and specifications are subject to change without notice. 31-51544-9 11-17 GEA Monogram.com Printed in Slovenia...
Need help?
Do you have a question about the ZIFX240HX and is the answer not in the manual?
Questions and answers