Advertisement
Quick Links
ASSEMBLY INSTRUCTIONS
ATTENTION: THIS PRODUCT IS NOT FOR COMMERCIAL USE
PARTS LIST
PART
MATERIAL CODE
NO.
1
TGS27NW-CS01
2
TGS27NW-CS02
3
62TGS27NWY101
4
17C17A0403001Y4
You will need the following tools:
- Phillips Screwdriver (Not Included)
- Hex. Key Wrench (See Part #8)
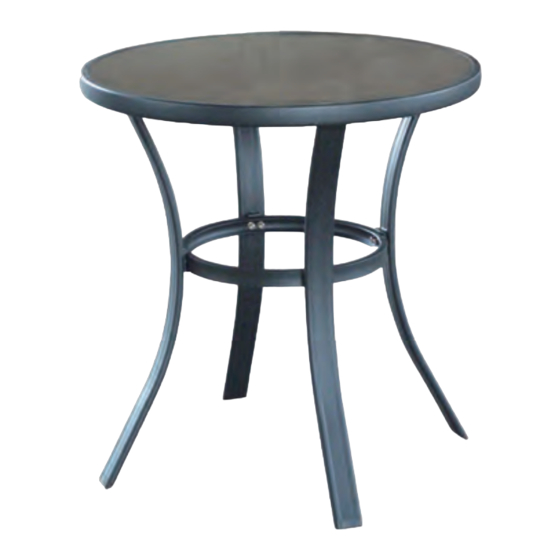
Step 1:
Place the table top (#1) onto a non-abrasive
surface, such as a carpet, with its underside
facing up. Insert the legs (#2) into the plastic
holders on the table top (#1) rim. Fasten them
together by using screws (#4). See Figure 1.
!
Do not sit or stand on this table.
!
Do not discard any of the packaging until you have checked that you have all the parts and
pack of fittings.
!
Keep children away during assembly. This item contains small parts which can be
swallowed by children. Children should always be under direct adult supervision while
using the product.
!
Retain the assembly instructions for future reference.
!
Please quote following FQC NO. when contacting service center.
INTENDED FOR RESIDENTIAL USE ONLY.
TGS27NW
PART
Q'TY
TABLE TOP
LEG
CENTER
CONNECTOR
SCREW ST4.2*12
SERVICE CENTER TOLL FREE NO.
TEL: 1-877-539-7436
FAX: 1-877-539-7439
STOP
DON'T RETURN TO STORE!
PAGE 1 OF 2
-WM
PART
MATERIAL CODE
NO.
1
5
17C01A0708002Y4
4
6
17FA05040301-Y4
1
7
1800337002
4
8
17KAA0201----Y4
FIGURE 1
2
1
PART
BOLT M6*20
WASHER d6.5*D13*1.0
BOLT CAP M6
HEX.KEY WRENCH 6MM
2
2
2
COURTYARD CREATIONS INC.
Q'TY
8
8
8
1
4
Advertisement

Related Manuals for Courtyard Creations TGS27NW-WM


Summary of Contents for Courtyard Creations TGS27NW-WM
- Page 1 Retain the assembly instructions for future reference. Please quote following FQC NO. when contacting service center. SERVICE CENTER TOLL FREE NO. TEL: 1-877-539-7436 FAX: 1-877-539-7439 STOP DON’T RETURN TO STORE! COURTYARD CREATIONS INC. PAGE 1 OF 2...
- Page 2 FIGURE 2 Step 2: Fasten the center connector (#3) to the middle of the legs (#2) by using bolts (#5) and washers (#6). See Figure 2. Make sure that all of the bolts have been tightened completely, and then cover them with bolt caps (#7).
Need help?
Do you have a question about the TGS27NW-WM and is the answer not in the manual?
Questions and answers