Table of Contents
Advertisement
Quick Links
Advertisement
Table of Contents

Summary of Contents for Powr-Flite PF62EC
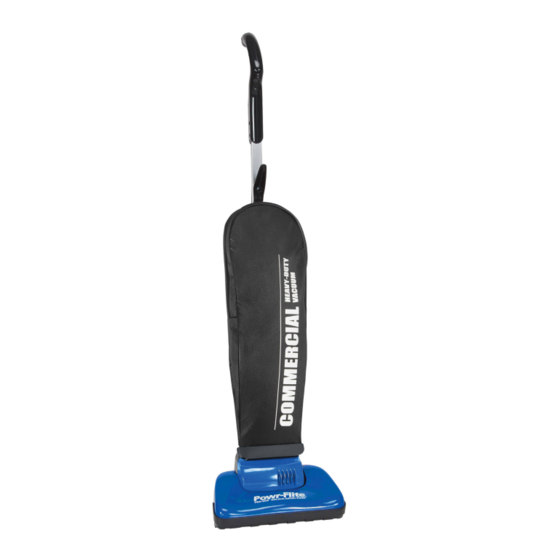
- Page 1 OPERATOR’S MANUAL Pro-Lite Upright Lightweight Vacuum PF62EC WARNING: OPERATOR MUST READ AND UNDERSTAND THIS MANUAL COMPLETELY BEFORE OPERATING THIS EQUIPMENT. © Tacony Corporation, All rights reserved PFSM-PF62EC 01/20 Save These Instructions...
-
Page 2: Safety Warnings And Precautions
Congratulations on your purchase of the Pro-Lite PF62EC. We know you will be happy with the performance and features that we selected for you. In the event that you have questions or concerns, do not hesitate to contact us at:... -
Page 3: Grounding Instructions
GROUNDING INSTRUCTIONS This appliance must be grounded. If it should malfunction or breakdown, grounding provides a path of least resistance for electric current to reduce the risk electric shock. This machine is equipped with a cord having an equipment -grounding conductor and grounding plug. The plug must be inserted into an appropriate outlet that is properly installed and grounded in accordance with all local codes and ordinances. - Page 4 Check the carton for shipping damage. Carefully unpack and inspect your new Powr-Flite vacuum for shipping damage. Each unit is tested and thoroughly inspected prior to shipping. If damage is discovered, immediately notify the transportation company that delivered your machine and request an inspection. As a manufacturer, we are unable to act upon any claim for concealed damage;...
-
Page 6: How To Assemble
HOW TO ASSEMBLE WARNING: Plastic bags or film can be dangerous. To avoid danger of suffocation, keep away from babies and children. The dual Suction System is packaged for convenience and requires minimal assembly. The only tool you will need is a Phillips head screwdriver. - Page 7 Routine Maintenance For maximum performance from your vacuum, check and maintain vacuum parts regularly. Replacing the Dust Bag Check the Dust Bag weekly. Replace the Dust Bag when it is near full or when cleaning suction diminishes. Never reuse a Dust Bag. WARNING: To avoid electrical shock or injury from moving parts, always turn OFF the Power Switch and unplug the Power Source Plug before performing maintenance or trouble shooting.
-
Page 8: Maintenance
MAINTENANCE Cleaning the Filter The Post-Motor Filter is located in the Powerfoot of your vacuum cleaner. It should be checked often, and cleaned when the Post- Motor Filter becomes dirty. 1. To Clean Post-Motor Filter, remove the filter cover screw with a Phillips head screwdriver. -
Page 9: Troubleshooting
7. Place existing or new Drive Belt over Rotating Cleaning Brush and the motor shaft. Insert the end cap pin on the left of the Rotating Cleaning Brush into the slot on the Powerfoot and slide the end cap pin on the right end of the Rotating Cleaning Brush in to the slot in the Powerfoot and lower until it clicks into place. - Page 10 Part No. Qty Description C431-4400C Handle Assembly B431-4814 Upper Cord Hook A428-2014 Main Switch Handle B431-4914 Cord Hook Commercial B431-4700B Handle Tube Rectangular A090-0200 Screw A090-0100 Cable Clamp D431-4300 Upper Duct Diverter & Bag Mount Assembly B431-4214 Rubber Collar B211-4414B Bag Mount Foam Gasket D431-0700 Zippered Cloth Bag...
- Page 11 Part No. Qty Description B206-7900 Nozzle Label D017-3600 Nozzle Cover Asembly B029-0414B Furniture Guard B012-3000 Agitator Assembly B015-2414B Squeegee B010-1414 Small Wheel B010-0900 Small Axle B016-1314C Base Tray B014-0000 Belt Guard Hair Cutter B016-0600 Left Pivot B016-0400 Right Pivot B018-0239 Lens B051-0639 Lens Holder Cover...
- Page 12 1 Year - Parts/Labor IMPORTANT WARRANTY CONDITIONS: Warranty starts from the date of sale to the consumer or, at Powr-Flite’s discretion, six months after the dealer has purchased the unit from Powr-Flite, whichever comes first. All non-wear parts purchased after machine warranty expiration are warrantied for one year.


Need help?
Do you have a question about the PF62EC and is the answer not in the manual?
Questions and answers