
Related Manuals for Shure ADX1-G56


Summary of Contents for Shure ADX1-G56
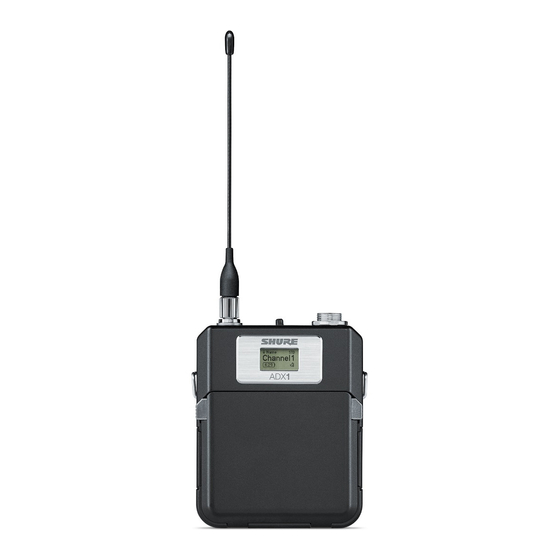
- Page 1 ADX1 Bodypack Transmitter User guide for the Shure ADX1 digital wireless bodypack transmitter. Version: 11 (2020-G)
-
Page 2: Table Of Contents
Home Screen Display Updating Firmware Shure Rechargeable Batteries Firmware Versioning Checking Battery Info Updating the Transmitter Important Tips for Care and Storage of Shure Recharge able Batteries Specifications Battery Installation Input Connector Diagrams ADX1 SB910 Battery Runtime Frequency Bands and Transmitter RF Power... -
Page 3: Adx1Bodypack Transmitter
Do not short circuit; may cause burns or catch fire • Do not charge or use battery packs other than Shure rechargeable batteries • Dispose of battery packs properly. Check with local vendor for proper disposal of used battery packs. -
Page 4: Included Components
Flexible ¼ wave antenna • Menu and power lockout Power • Shure SB910 rechargeable batteries for up to 10 hours of runtime, precision metering, and zero memory effect • AAA-compatible battery sled available • External charging contacts for docked charging... - Page 5 View menu screens and settings. Press any control button to activate the backlight. ③ Control Buttons Use to navigate through parameter menus and to change settings. ④ Battery Compartment Requires Shure SB910 rechargeable battery. ⑤ Battery Door Latching door to secure battery. ⑥ SMA Connector Connection point for RF antenna.
-
Page 6: Transmitter Controls
Shure Incorporated Transmitter Controls Use the controls to navigate through parameter menus and change values. Acts as a 'back' button to return to previous menus or parameters without confirming a value change Enters menu screens and confirms parameter changes ∨∧... -
Page 7: Locking The Interface
Shure Incorporated Locking the Interface Lock transmitter interface controls to prevent accidental or unauthorized changes to parameters. The lock icon appears on the home screen when the interface lock is enabled. From the Utilities menu, navigate to Locks and select one of the following lock options: ◦... -
Page 8: Shure Rechargeable Batteries
Caution: Only charge Shure rechargeable batteries with a Shure battery charger. Checking Battery Info When using a Shure rechargeable battery, the receiver and transmitter home screens display the number of hours and minutes remaining. Detailed information for the battery is displayed Battery menu of the transmitter: Utilities > Battery •... -
Page 9: Battery Installation
Shure Incorporated • During storage, check batteries every 6 months and recharge to 40% of capacity as needed For additional rechargeable battery information, visit www.shure.com. Battery Installation ① Accessing the Battery Compartment Press the door latches and open the battery door. -
Page 10: Tips For Editing Menu Parameters
Shure Incorporated Tips for Editing Menu Parameters • To access the menu options from the home screen, press O . Use the arrow buttons to access additional menus and para meters. • A menu parameter will blink when editing is enabled •... -
Page 11: Audio Menu
Shure Incorporated Power Higher RF power settings can extend the range of the transmitter. Note: Higher RF power settings decrease battery runtime. Output Sets the RF output to On or Mute. ◦ On: RF signal is active ◦ Mute: RF signal is inactive Audio Menu Adjust the pad to avoid overloading the audio input. -
Page 12: Ir Sync
Shure Incorporated ◦ Power: The power switch is locked ◦ Menu: The menu parameters are locked ◦ All: The power switch and menu parameters are locked Link Info Displays the following information about the link between a transmitter and receiver: ◦... -
Page 13: Setting The Frequency Manually
Shure Incorporated Note: The receiver band must match the band of the transmitter. Select a receiver channel. Tune the channel to an available frequency using group scan or manually turn to an open frequency. Power on the transmitter. Press the SYNC button on the receiver. -
Page 14: Rf Mute
Shure Incorporated Tip: The clip can removed and rotated 180 degrees to increase mounting options. RF Mute RF Mute prevents transmission of the audio by suppressing the RF signal, while allowing the transmitter to remain powered-on. The home screen displays RF MUTED in this mode. -
Page 15: Input Overload
Shure Incorporated Safe Start menu options: • RF: Mute or On • Locks: None, Pwr, Menu, All Use the navigation buttons to make changes. To exit the Safe Start menu, cycle the power or momentarily remove the battery. Previous settings for locks and RF will be retained when the transmitter is powered on in Safe Start. -
Page 16: Matching Audio Levels With Mic Offset
Shure Incorporated Matching Audio Levels with Mic Offset When linking two or more transmitters to a receiver, there may be a difference in volume levels between microphones or instru ments. If this occurs, use the Offset function to match the audio levels and eliminate audible volume differences between trans... -
Page 17: Showlink Test
To take advantage of design improvements, you can upload and in stall new versions of the firmware by using the Shure Update Utility. The Shure Update Utility is available for download from http://www.shure.com/. -
Page 18: Updating The Transmitter
Press ENTER on the receiver to begin the download to the transmitter. The receiver will display the progress of the up date as a percentage. Specifications Mic Offset Range -12 to 21 dB (in 1 dB steps) Battery Type Shure SB910 Rechargeable Li-Ion Battery Runtime @ 10 mW Shure SB910 up to 10 hours Dimensions 91 mm x 68 mm x 19 mm (3.6 in. - Page 19 Shure Incorporated Housing Aluminum Operating Temperature Range -18°C (0°F) to 45°C (113°F) Note: Battery characteristics may limit this range. Storage Temperature Range -29°C (-20°F) to 74°C (165°F) Note: Battery characteristics may limit this range. Audio Input Connector 4-Pin male mini connector (TA4M) or Lemo Connector...
-
Page 20: Input Connector Diagrams
350 kHz High Density Mode 125 kHz varies by region Modulation Type Shure Axient Digital Proprietary Power 2 mW, 10 mW, 40 mW See Frequency Range and Output Power table, varies by region Specific Absorption Rate (SAR) < 0.20 W/kg... -
Page 21: Frequency Bands And Transmitter Rf Power
Shure Incorporated LEMO Frequency Bands and Transmitter RF Power Band Frequency Range (MHz) RF Power (mW)*** 470 to 510 2/10/40 479 to 565 2/10/20 G55† 470 to 636 2/10/40 G56◇ 470 to 636 2/10/40 G57△ 470 to 616* 2/10/40 510 to 530... - Page 22 Shure Incorporated †operation mode varies according to region. In Brazil, High Density mode is used. △Output power limited to 10 mW above 608 MHz. ◇Korea defines power as conducted (ERP) which is 1dB less then declared in table. เครื ่ อ งโทรคมนาคมและอุ ป กรณ์ น ี ้ ม ี ค วามสอดคล้ อ งตามมาตรฐานหรื อ ข้ อ กำหนดทางเทคนิ ค ของ กสทช.
-
Page 23: Licensing Information
Licensing of Shure wireless microphone equipment is the user’s responsibility, and licensability de pends on the user’s classification and application, and on the selected frequency. Shure strongly urges the user to contact the appropriate telecommunications authority concerning proper licensing, and before choosing and ordering frequencies. -
Page 24: Certifications
This product meets the Essential Requirements of all relevant European directives and is eligible for CE marking. Hereby, Shure Incorporated declares that the radio equipment is in compliance with Directive 2014/53/EU. The full text of the EU declaration of conformity is available at the following internet address: http://www.shure.com/europe/compliance... -
Page 25: Contact Customer Support
Shure Incorporated Note: This equipment has been tested and found to comply with the limits for a Class B digital device, pursuant to part 15 of the FCC Rules. These limits are designed to provide reasonable protection against harmful interference in a residential installa...
Need help?
Do you have a question about the ADX1-G56 and is the answer not in the manual?
Questions and answers