Table of Contents
Advertisement
Quick Links
Advertisement
Table of Contents

Related Manuals for Midea WHS-109FB1


Summary of Contents for Midea WHS-109FB1
- Page 1 Model:WHS-109FB1/WHS-109FW1/WHS-109FSS1...
- Page 2 WHS-109FB1/WHS-109FW1 WHS-109FSS1 R600a,1.59Oz 21.26...
- Page 4 When using, please use scissors to cut out the plastic cable ties in the picture from top to bottom, a total of three cable ties. from...
-
Page 5: Electrical Requirement
ceiling. If you are installing your upright freezer next to a fixed wall, leave enough space on the hinge side to allow that door swings open freely. Never install your upright freezer near heat source or direct sun light. ELECTRICAL REQUIREMENT WARNING: DO NOT REMOVE GROUND PRONG. -
Page 6: How To Use The Freezer
NOTE: Before performing any type of maintenance or installation, turn off and disconnect the upright freezer from the electrical source. When you are finished, connect the upright freezer to the electrical source and reset the control to the desired setting. LEVELING It is very important that the freezer is leveled for proper operation. - Page 7 located...
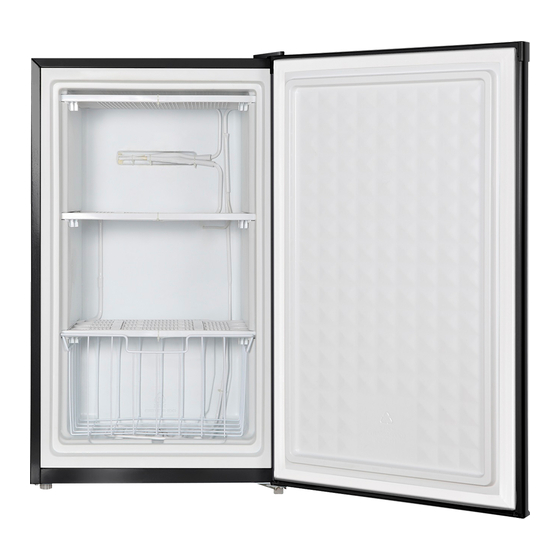
- Page 8 aluminum sheets or freezing containers and place it into the freezer. See the data plate on freezer’s back for the maximum permissible amount of fresh food in kilograms that can be frozen in a 24 hour period with a room temperature of 32.2 Never freeze more than the maximum allowed.
-
Page 9: Reversing The Door Position
Hand wash, rinse and dry all surfaces thoroughly. Do not use cleaning waxes, concentrated detergents, bleaches or cleaners containing petroleum on plastics or rubber parts. Never use paper towels, window sprays, scouring cleansers or flammable fluids on plastic parts as these can scratch or damage material. - Page 10 DO NOT lay the appliance completely flat as this may damage the coolant system. 1. Start by removing the bracket from the bottom: remove screws and foot from the bottom bracket. And remove the foot of opposite side.
- Page 11 2. Slide the door down, away from the hinge pin located on the top of the door. 3. Remove the plastic cover from door hinge first. Then unscrew the two screws from top bracket and replace on the other side.
- Page 12 4. To install the bracket on the left side of the appliance, screw the two screws through the bracket and into the top of the appliance. Slide the door back on to the top hinge. Ensure the door is face up. Replace the plastic cover on the top bracket by pressing down until it clicks into position.
-
Page 13: Prolonged Off Periods
6. Check that the door is aligned horizontally and vertically and that the seals are closed on all sides before finally tightening the bottom hinge. Re-adjust the leveling feet. PROLONGED OFF PERIODS If the freezer is not in use for a long period of time, proceed as follows: Disconnect the freezer from the main supply by removing the plug from the wall socket. -
Page 14: Troubleshooting
TROUBLESHOOTING In case of malfunction, you can solve many common problems easily: Your upright freezer will not operate… Check if The power supply cord is unplugged. The doors will not close completely… Check if The drawer is out of position. ... -
Page 15: Requesting Assistance Or Service
REQUESTING ASSISTANCE OR SERVICE If the problem is not due to one of the items listed in Troubleshooting, Contact the dealer or authorized Service Company. IMPORTANT SAFETY PRECAUTIONS AND WARNINGS 1) WARNING – Keep ventilation openings, in the appliance enclosure or in the built-in structure, clear of obstruction. 2) WARNING –... - Page 16 7) Children should be supervised to ensure that they do not play with the appliance. 8) If the supply cord is damaged, it must be replaced by the manufacturer, its service agent or similarly qualified persons in order to avoid a hazard. 9) Please dispose the upright freezer according to local regulations due to the gas contained in the cooling system.
Need help?
Do you have a question about the WHS-109FB1 and is the answer not in the manual?
Questions and answers