Table of Contents
Advertisement
Advertisement
Table of Contents

Related Manuals for Midea WHS-507FWEW1


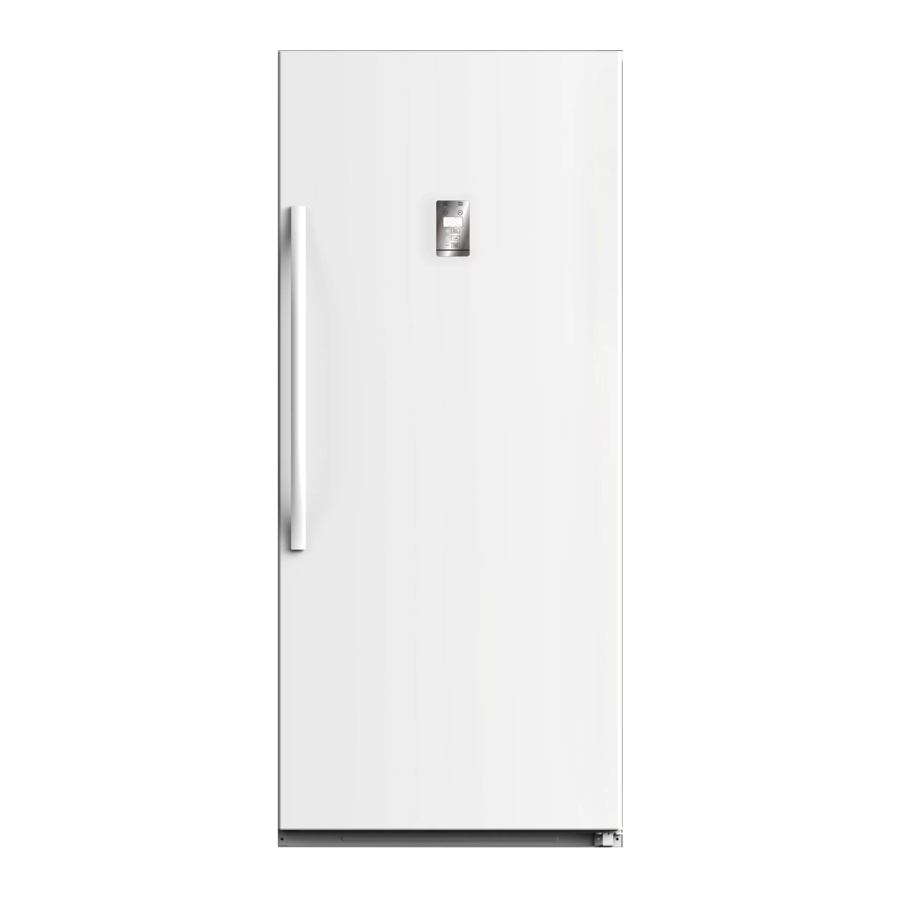
Summary of Contents for Midea WHS-507FWEW1
- Page 1 User’s Manual UPRIGHT FREEZER WHS-625FWEW1 WHS-772FWEW1...
-
Page 2: Table Of Contents
Contents Introductions ........... . . Important safety Instructions . -
Page 3: Introductions
Introductions Congratulations on your purchase of a high-quality MIDEA product. Your represents the state of the art in upright freezer design and is designed for reliable and trouble-free performance. Important Safety Instructions CAUTION RISK OF ELECTRIC SHOCK DO NOT OPEN... - Page 4 DO NOT attempt to modify or extend the power cord of this appliance. Unplug this appliance during lightning storms or when it will not be used for long periods of time. Make sure that the available AC power matches the voltage requirements of this appliance.
-
Page 5: Grounding Requirement
WARNING - DO NOT use mechanical devices or other means to accelerate the defrosting process, other than those recommended by the manufacturer. WARNING - DO NOT damage the refrigerant circuit. WARNING - DO NOT damage the refrigerant tubing when handling, moving or using the freezer. -
Page 6: Features
Features Package contents Interi Notes... -
Page 7: Touch Pad Controls
Touch pad controls High temperature Door open indicator / alert indicator / alarm Lower temperature Raise temperature button button Temperature indicator Quick freeze button Control Panel Lock / Unlock button Freezer / Fridge mode button Setting up your freezer Before using your freezer Remove the exterior and interior packing, especially the foam packing between the outside condenser and the cabinet. -
Page 8: Finding A Suitable Location
Finding a suitable location Place your freezer on a floor that is strong enough to support the freezer when it is fully loaded. This freezer is designed to be free standing only, and should not be recessed or built-in. Allow 7.9 inches (20 cm) of space between the sides pf the freezer and the walls, 3.9 inches (10 cm) between the back of the freezer and the wall, and 11.8 inches (30 cm) between the top of the freezer and the ceiling. -
Page 9: Installing The Door Handle
Using a 3-prong plug and outlet Using a grounding adapter 3-prong receptacle Grounding lead Screw Receptacle 3-prong plug Receptacle box cover Grounding adapter Receptacle box cover Installing the door handle Notes The illustrations shown in this user guide are only for reference. The actual product may differ slightly. -
Page 10: Using Your Freezer
Loosen the hex screws on top and bottom of the handle with the hex wrench (provided) so that you can fit the handle over the extended head screws in the door. Hex screws are here. Extra hex screws are provided. Place the door handle over the heads of the screws, then tighten the hex screws. -
Page 11: Using The Lock Button
The default temperature is 0° F (-18° C). The temperature range of Freezer mode is 10° F ~ -11° F (-12° C ~ -24° C). The temperature range for Fridge mode is 35° ~ 46° F (2° C ~ 8° C). Notes If the freezer is unplugged or loses power, you must wait three to five minutes before resterting it. -
Page 12: Switching Between Fahrenheit And Celsius
Switching between Fahrenheit and Celsius Using the Control Panel Lock Press and hold for three seconds to unlock the control panel. Press and hold for three seconds to switch settings. Maintaining your freezer Your freezer is designed for year-round use with only minimal cleaning and maintenance. -
Page 13: Tips On Saving Energy
Be sure the freezer does not tilt more than 45° from the upright position during transportation. Tips on saving energy Locate your freezer in the coolest area of the room, away from heat producing appliances or heating ducts and out of the direct sunlight. Let hot foods cool to room temperature before placing them in the freezer. -
Page 14: Door Open Alert
The room is too warm or cold. Adjust the room’s temperature. The ventilation openings are blocked or dusty. There is too much frost build up. There are door seal gaps. Door Open Alert If the door is open for more than five minutes, the door open alert is activated a buzzer sounds intermittently. -
Page 15: Troubleshootings
Troubleshooting Caution DO NOT try to repair your freezer yourself. Doing so invalidates the warranty. Fault indication If a fault is detected, the display shows one of the following codes. If a fault is indicated, call for service: Fault code Description Temperature sensor fault Defrost sensor fault... - Page 16 Problem Possible cause Possible solution Food in the freezer is The door has been opened too Make sure that the door is closed properly. not cold often or was not closed properly. You have just added a large Allow time for the new food to cool, then check again. amount of food to the freezer.
- Page 17 Control Panel Problem Possible cause Possible solution The control panel is The control panel is locked. Press and hold the Lock button for three seconds to unlock unresponsive the control panel. Door open alert The door is open. Close the door. Make sure that nothing is blocking the door.
-
Page 18: Specifications
Specifications Dimension(WxDxH) 17 cu.ft. - 32.8 x 28.9 x 65 in. (83.2 x 73.5 x 165 cm) 21 cu.ft. - 32.8 x 28.9 x 76.8 in. (83.2 x 73.5 x 195 cm) Weight 17 cu.ft. - 179.7 lbs. (81.5 kg) 21 cu.ft.