
Subscribe to Our Youtube Channel
Related Manuals for Belkin F5D7011


Summary of Contents for Belkin F5D7011
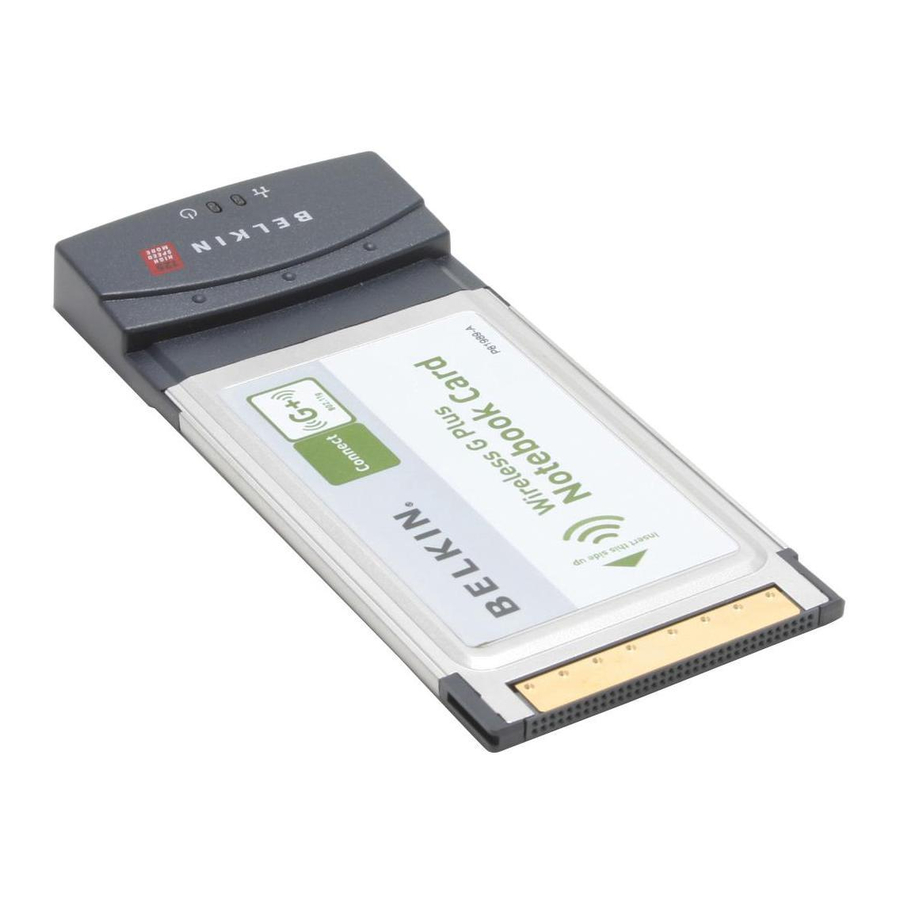
- Page 1 High-Speed Mode Wireless G Notebook Network Card Connect your laptop computer to FASTER wireless network User Manual F5D7011...
-
Page 2: Table Of Contents
Step 3: Let Windows Finish the Installation ....10 4 Using the Belkin Wireless LAN Utility ..... . . 12 Setting Wireless Network Preferences . -
Page 3: Introduction
Introduction Thank you for purchasing the Belkin High-Speed Mode Wireless G Notebook Network Card (the Card). Now you can take advantage of this great new technology without using cables. The High-Speed Mode Wireless G Notebook Network Card works like a conventional network card, but without the wires. -
Page 4: Placement Of Your Wireless Networking Hardware For Optimal Performance
Wireless Router (or Access Point), in order to see if distance is the problem. If difficulties persist even at close range, please contact Belkin Technical Support. Note: While some of the items listed below can affect network performance, they will not prohibit your wireless network from functioning;... - Page 5 Introduction Avoid Obstacles and Interference Avoid placing your Wireless Router (or Access Point) near devices that may emit radio “noise”, such as microwave ovens. Other objects that can inhibit Wireless communication can include: • Refrigerators • Washers and/or dryers • Metal cabinets •...
- Page 6 These guidelines should allow you to cover the maximum possible area with your Wireless Router. Should you need to cover an even wider area, we suggest Belkin’s Wireless Range Extender/Access Point. For more information regarding our networking products, visit our...
-
Page 7: Overview
Overview Product Features The Card complies with the IEEE 802.11g standard in order to communicate with other 802.11g-compliant wireless devices at 54Mbps or the faster 125 High-Speed Mode (HSM)*. The card is compatible with all 802.11g devices as well as other 802.11b products at 11Mbps. -
Page 8: Applications And Advantages
Overview Applications and Advantages Wireless roaming with a laptop around the home or office • Offers the freedom of networking without cables Connection rates of up to 54Mbps or 125Mbps* using HSM • provides immediate, higher-speed wireless connectivity at home, work, and hot spot locations without compromising the use of existing 802.11b products Compatibility with 802.11b products... -
Page 9: System Requirements
Overview (a) Power LED Lights up when the Card receives power (b) Link LED Lights up when the Card links to a wireless network Slowly flashes when not linked to a wireless network (c) Card Connector Part of the Card that fits into your computer’s CardBus slot System Requirements •... -
Page 10: Installing And Setting Up The Card
INSTALL THE SOFTWARE BEFORE INSERTING THE CARD. Insert the Installation Software CD into your CD-ROM drive. 1. 2 The Belkin Setup Utility will automatically appear. Note: If the Setup Utility screen does not appear within 20 seconds, open your CD-ROM drive by double-clicking on the “My Computer”... -
Page 11: Slot Of Your Laptop
Installing and Setting up the Card The installer will now start. Click “Next” and follow the on-screen instructions. Step 2 Plug the Card in an Available CardBus Slot of your Laptop During the install process, you will be prompted to insert your Card. -
Page 12: Step 3 Let Windows Finish The Installation
Installing and Setting up the Card Step 3 Let Windows Finish the Installation Depending on the version of Windows you are using, you might see the “Found New Hardware Wizard” screen. Select “Install the software automatically (Recommended)” and click “Next”. You might also see a screen similar to this one. - Page 13 Installing and Setting up the Card Select the network you want to connect to under “Available networks” and click “Connect”. The Signal Indicator icon in your system tray should now turn green (yellow if the signal is weak.) Installation is now complete!
-
Page 14: Using The Belkin Wireless Lan Utility
Double-click the Signal Indicator icon to bring up the “Wireless Network” screen. The following screen will appear: Next, click on the “Advanced” button to enable the Belkin Wireless LAN Utility. This utility will allow you to view and configure the wireless settings of your card. -
Page 15: Setting Wireless Network Preferences
Using the Belkin Wireless LAN Utility Setting Wireless Network Preferences Click on the “Wireless Networks” tab. (a) Enable Radio Use this option to turn your wireless network radio ON or OFF. You may want to turn the radio off while in airplanes or to conserve the battery life of your mobile computer. - Page 16 Using the Belkin Wireless LAN Utility name in the “Preferred Networks” list then clicking on the “Move Up” and “Move Down” buttons. Networks appearing higher on the list will be preferred over networks listed lower on the list. If a preferred network is unavailable, the Card will attempt to connect to the next available network on the list.
- Page 17 Using the Belkin Wireless LAN Utility Any Available Network (access point preferred) When this option is selected, the Card will attempt to connect to any available network in the area. Access point networks will be preferred over ad-hoc networks. Access Point (Infrastructure) networks only...
-
Page 18: Securing Your Wi-Fi Network
Using the Belkin Wireless LAN Utility ® Securing your Wi-Fi Network Here are a few different ways to maximize the security of your wireless network and protect your data from unwanted intrusion. This section is intended for the home, home office, and small office user. At the time of publication, three encryption methods are available. - Page 19 Most of the new wireless equipment in the market today supports both 64-bit WEP and 128-bit WEP encryption, but you might have older equipment that only supports 64-bit WEP. All Belkin wireless products will support both 64-bit WEP and 128-bit encryption.
- Page 20 This is typically found in a business environment. For a list of Belkin wireless products that support WPA, please visit our website at www.belkin.com/networking. Most Wireless products ship with security turned off. So once you...
- Page 21 Use Security To start using security, you need to first enable WEP or WPA for your wireless router or access point. For Belkin Wireless Routers (or Access Points), these security features can be configured by using the web-based interface. See your wireless router (or access point) manual for directions on how to access the management interface.
- Page 22 Using the Belkin Wireless LAN Utility WEP Setup 64-Bit WEP Encryption Select “64-bit WEP” from the drop-down menu. After selecting your WEP encryption mode, you can enter your key by typing in the hex key manually, or you can type in a passphrase in the “Passphrase”...
- Page 23 Using the Belkin Wireless LAN Utility 128-Bit WEP Encryption Select “128-bit WEP” from the drop-down menu. After selecting your WEP encryption mode, you can enter your key manually by typing in the hex key manually, or you can type in a passphrase in the “Passphrase” field and click “Generate” to create a key.
- Page 24 Using the Belkin Wireless LAN Utility WPA-PSK (no server) Choose this setting if your network does not use a radius server. WPA-PSK (no server) is typically used in home and small office networking. From the Security Mode drop-down menu, select “WPA-PSK (no server)”.
- Page 25 Using the Belkin Wireless LAN Utility WPA (with server) Settings Choose this setting if your network uses a radius server to distribute keys to the clients (network cards). WPA (with server) is typically used in business networks. From the Security Mode drop-down menu, select “WPA (with Radius Server)”.
- Page 26 Using the Belkin Wireless LAN Utility Configuring your Belkin Wireless G Notebook and Wireless G Desktop Network Cards to Use Security At this point, you should already have your wireless router or access point set to use WPA or WEP. In order for you to gain wireless connection, you will need to set your Wireless G Notebook and Wireless G Desktop Network Cards to use the same security settings.
- Page 27 Using the Belkin Wireless LAN Utility Type your WEP key in the “Network key” box. Important: A WEP key is a mixture of numbers and letters from A–F and 0–9. For 128-bit WEP, you need to enter 26 keys. For 64-bit WEP, you need to enter 10 keys.
- Page 28 Using the Belkin Wireless LAN Utility Connecting your Computer to a Wireless Router or Access Point that uses WPA-PSK (no server) Double-click the “Signal Indicator” icon to bring up the “Wireless Network Properties” screen. The “Advanced” button will allow you to view and configure more options of your Card.
- Page 29 Using the Belkin Wireless LAN Utility Connecting your Computer to a Wireless Router or Access Point that uses WPA (with Radius Server) Double-click the “Signal Indicator” icon to bring up the “Wireless Network Properties” screen. The “Advanced” button will allow you to view and configure more options of your Card.
-
Page 30: Monitoring The Status Of Your Network Connection
Using the Belkin Wireless LAN Utility Monitoring the Status of your Network Connection Click on the “Link Status” tab. (a) Network Name (SSID) The SSID is the wireless network name. This field shows the current network name that you are connected to. - Page 31 Using the Belkin Wireless LAN Utility (f) Client IP Address Shows the IP address of the computer. The IP address is obtained automatically by default. You may set the IP address manually through Windows Networking Properties. (g) Network Connection Type Shows the current wireless mode the Card is operating in.
-
Page 32: Monitoring Data Transfer
Using the Belkin Wireless LAN Utility Monitoring Data Transfer Click on the “Statistics” tab. The Statistics tab shows you how much data has been sent and received and if any errors occurred. This screen is mostly for diagnostics. Note that the number of data packets lost is recorded. A large number of lost data packets may indicate that there is a problem or interference in your area.
Need help?
Do you have a question about the F5D7011 and is the answer not in the manual?
Questions and answers