Table of Contents
Advertisement
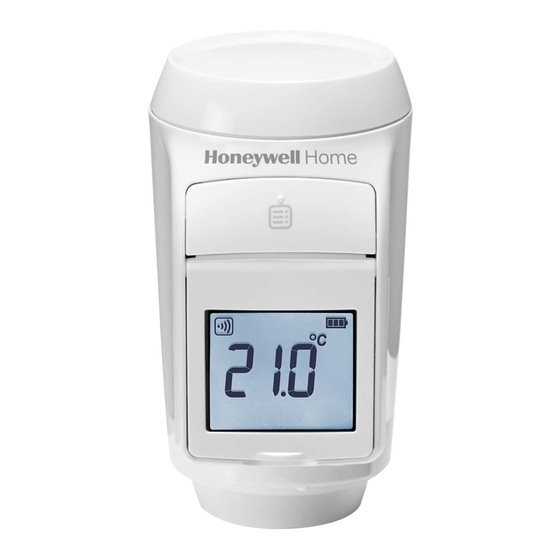
HR92
Radiator Controller
1. Scope of delivery
The radiator controller packaging contains:
1
1 Radiator controller with valve baseplate M30 x 1.5;
batteries included
2 Display support
3 Valve adapter type Danfoss RA
4 Screws for securing radiator controller and battery
compartment
Danger of suffocation!
f Keep packaging materials away from
children.
WARNING
Wireless
2
4
3
2. Brief description
HR92 is an electronic radiator controller with a modern
design. Because of the wireless communication with
a frequency of 868 MHz the controller can be easily
integrated in heating systems such as evohome to
control the room temperature.
User-friendly
• Large adjustable display with backlight.
• Display of information in the display using symbols
and text.
• Parameters can be set individually.
• Manual temperature modification (effective until the
next switching point) possible at any time.
Mounting
• The radiator controller fits on the most common
radiator valves of the type M30x1.5.
• Further adapters are available as accessories.
• An external window contact can be connected
optionally.
Energy saving features
• With the window function, the radiator valve is closed
when ventilating the room.
• If an external window contact is used, the radiator
valve is closed when a window is open.
f Use the radiator controller only in
accordance with these operating
instructions.
CAUTION
f Do not let children play with the radiator
controller.
UK
1
Advertisement
Table of Contents


Need help?
Do you have a question about the HR92UK and is the answer not in the manual?
Questions and answers