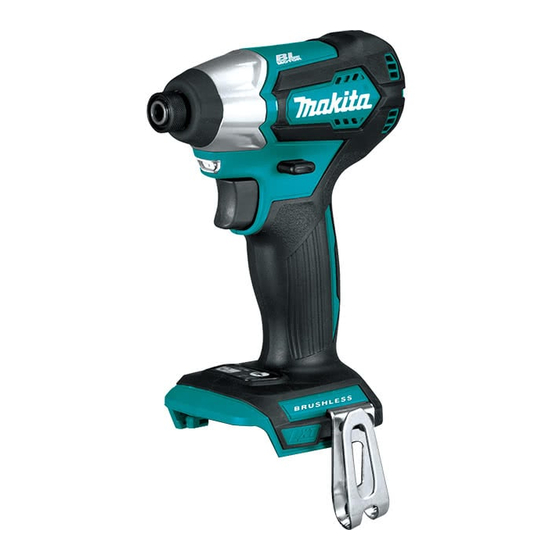
Makita DTD155 Instruction Manual
Hide thumbs
Also See for DTD155:
- Instruction manual (69 pages) ,
- Repair manual (26 pages) ,
- Instruction manual (73 pages)
Table of Contents
Advertisement
Quick Links
Advertisement
Table of Contents

Summary of Contents for Makita DTD155
- Page 1 INSTRUCTION MANUAL Cordless Impact Driver DTD155 Read before use.
-
Page 2: Specifications
SPECIFICATIONS Model: DTD155 Fastening capacities Machine screw 4 mm - 8 mm Standard bolt 5 mm - 14 mm High tensile bolt 5 mm - 12 mm No load speed Hard impact mode 0 - 3,000 min Soft impact mode... -
Page 3: General Power Tool Safety Warnings
Use personal protective equipment. Always SAFETY WARNINGS wear eye protection. Protective equipment such as a dust mask, non-skid safety shoes, hard hat or hearing protection used for appropriate conditions General power tool safety warnings will reduce personal injuries. Prevent unintentional starting. Ensure the WARNING: switch is in the off-position before connecting Read all safety warnings, instruc- to power source and/or battery pack, picking tions, illustrations and specifications provided... - Page 4 Use the power tool, accessories and tool bits Cordless impact driver safety etc. in accordance with these instructions, tak- warnings ing into account the working conditions and the work to be performed. Use of the power tool Hold the power tool by insulated gripping for operations different from those intended could surfaces, when performing an operation result in a hazardous situation.
-
Page 5: Functional Description
Use of non-genuine Makita batteries, or batteries that have been altered, may result in the battery bursting causing fires, personal injury and damage. It will also void the Makita warranty for the Makita tool and charger. Tips for maintaining maximum ► 1 . Red indicator 2. Button 3. Battery cartridge... -
Page 6: Overheat Protection
Overheat protection Indicating the remaining battery capacity When the tool/battery is overheated, the tool stops automatically. In this situation, let the tool/battery cool before turning the tool on again. Only for battery cartridges with the indicator Overdischarge protection When the battery capacity is not enough, the tool stops automatically. In this case, remove the battery from the tool and charge the battery. - Page 7 Lighting up the front lamp Reversing switch action CAUTION: Do not look in the light or see the source of light directly. ► 1 . Reversing switch lever CAUTION: Always check the direction of ► 1 . Lamp rotation before operation. CAUTION: Use the reversing switch only after the tool comes to a complete stop.
- Page 8 Changing the impact force You can change the impact force in three steps: hard, soft, and A mode. This allows a tightening suitable to the work. Every time the button is pressed, the number of blows changes in three steps. “A mode (assist mode)” is an easy-to-use mode for driving screws with good control. In this mode, the tool drives a screw with low-speed rotation at first. After the tool starts to impact, the rota- tion speed increases and reaches the maximum speed.
-
Page 9: Installing Hook
To install the driver bit, pull the sleeve in the direc- ASSEMBLY tion of the arrow and insert the bit-piece and driver bit into the sleeve as far as it will go. The bit-piece should be inserted into the sleeve with its pointed CAUTION: Always be sure that the tool is end facing in. Then release the sleeve to secure switched off and the battery cartridge is removed the driver bit. before carrying out any work on the tool. -
Page 10: Operation
High tensile bolt OPERATION N•m (kgf•cm) (1224) (1020) (816) (612) (408) The proper fastening torque may differ depending upon the kind or size of the screw/bolt, the material of the (204) workpiece to be fastened, etc. The relation between fas- tening torque and fastening time is shown in the figures. Standard bolt N•m 1. Fastening time (second) 2. Fastening torque (kgf•cm) 3. Proper fastening torque corresponding to each bolt diameter (1224) Hold the tool firmly and place the point of the driver bit in the screw head. Apply forward pressure to the tool to (1020) the extent that the bit will not slip off the screw and turn the tool on to start operation. (816) NOTICE: If you use a spare battery to continue the operation, rest the tool at least 15 min. -
Page 11: Maintenance
Centers, always using Makita replacement parts. OPTIONAL ACCESSORIES CAUTION: These accessories or attachments are recommended for use with your Makita tool specified in this manual. The use of any other accessories or attachments might present a risk of injury to persons. Only use accessory or attachment for its stated purpose. If you need any assistance for more details regard- ing these accessories, ask your local Makita Service Center. - Page 12 Makita Europe N.V. Jan-Baptist Vinkstraat 2, 3070 Kortenberg, Belgium Makita Corporation 3-11-8, Sumiyoshi-cho, Anjo, Aichi 446-8502 Japan 885520-229 www.makita.com 20161128...


Need help?
Do you have a question about the DTD155 and is the answer not in the manual?
Questions and answers