Advertisement
Quick Links
Advertisement

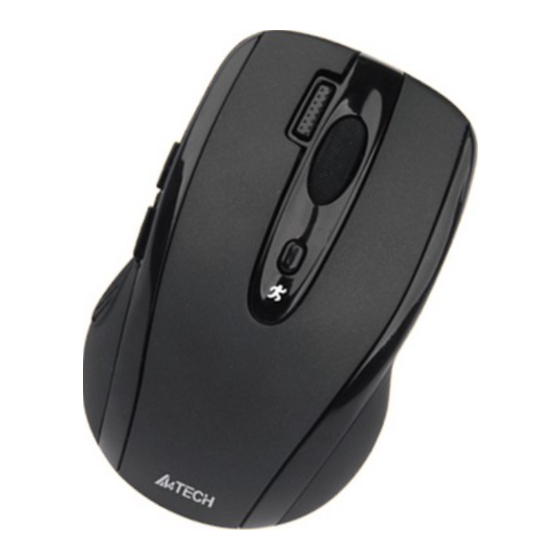
Summary of Contents for A4Tech MeetingMan G10-700F
- Page 1 MeetingMan Wireless Mouse User Manual Model: G10-700F www.a4tech.com...
- Page 2 THIS DEVICE COMPLIES WITH PART 15 OF THE FCC RULES. OPERATION IS SUBJECT TO THE FOLLOWING TWO CONDITIONS: (1) THIS DEVICE MAY NOT CAUSE HARMFUL INTERFERENCE AND (2) THIS DEVICE MUST ACCEPT ANY INTERFERENCE RECEIVED, INCLUDING INTERFERENCE THAT MAY CAUSE UNDESIRED OPERATION. Federal Communications Commission Requirements The equipment has been tested and found to comply with the limits for Class B Digital Device, pursuant to part 15 of the FCC Rules.
- Page 3 1. Hardware Installation 1). Connect the 10-Link receiver Take out the 10-Link receiver from bottom of the mouse and connect it to your computer or Notebook. Notes: 1. If you are using the receiver in a long range meeting room or there is strong wireless conflicts nearby, adopting the receiver with a USB extension cable to keep it away from the computer or any interfering sources.
- Page 4 (Otherwise, installation is failed and you have to remove the software and re-install.) To remove the driver, follow the steps: Go to START>> PROGRAMS >>A4TECH Software >> "G10 MeetingMan" >> "Uninstall G10 MeetingMan, see figure on the right. Mobile Execution: You may copy and store the Mobile Edition files to your storage device, e.g., a memory stick,...
- Page 5 directly. This is convenient when you are using a public computer in the school or net bar, where installation any new program is prohibited or restricted. Usage: 1). Copy all the files in the folder “G10" to your memory stick, and if needed, copy the files Mobile Edition.exe to the public system.
- Page 6 . Mode Name/Select Click on “Mode Name/Select” on the Main Menu, the mode setup screen will pop up as shown on the right. You may tick off the modes you would not need temporarily from bottom to top order, or tick the mode you need from top to bottom order.
- Page 7 ④. Default Click the "Default" a reminder will pop up as shown on the right. Click "OK" will resume all the buttons to the original settings, or click "Cancel" to exit the screen without any change. - 6 -...
- Page 8 (2) Button Settings and Relevant Functions Functions Descriptions Figures Button Click any “button definition area” on the main menu; you will see the function listing Settings as shown on the right. According to your preference, you may select one of them as the button setting.
- Page 9 Example: While in the session of a meeting or teaching, it is embarrassing to keep others waiting due to searching for a document, or look up for a program or a shortcut. With “Open a File” function, you may have better way to resolve this issue.
- Page 10 Office Sets You may setup any one of Office command sets such as: “Zoom In, Zoom Out, Paste Text, Double Click and Treble Click”to the mouse buttons. Zoom In/Out:One click to perform zoom in or zoom out function, applicable to CAD, ACDSee, Windows or text editing programs. Paste Text:One click to perform “Select, Copy &...
- Page 11 TutorPen This TutorPen function is available for mouse button 2,3,4,5, and 6. Usage: Press "Mode Shift " button to switch to Mode 2, then press and hold the mouse 6th button to draw lines. You can double-click on the same button to erase lines you just drew, triple-click on the same button will erase all lines on the screen.
- Page 12 ⑥ Click the Description of Reminder area on the main menu, a reminder screen will Description appear as shown on the right. Enter the reminder description, which will be of Reminder displayed on the right-down corner of your screen as the key setting reminder. DPI Setting Customizable and independent 2,000 DPI resolution for each X and Y axes.
- Page 13 250 Hz High Game Plays G10 MeetingMan is A4Tech’s latest innovation. According to various applications, the bandwidth is divided into 3 report rate levels: 1X bandwidth: USB report rate is 125Hz, suitable for office and general users, power consumption is the lowest.
- Page 14 (3) Gesture 16-in-1 On the button definition area of Main menu, click “ ” of button or , you will see the “Gesture 16-in-1” on the function listing as shown on the right. Select “Gesture 16-in-1 Setting” from the listing; the setup screen will pop up as shown on the right.
- Page 15 Usage: Press and hold the gesture button to draw any of 16 lines and directions as shown on the right, then release the button. The corresponding commands will be executed immediately, including Keyboard, Mouse, Hyperlink, Office, Text, Multimedia, Internet and Key Setting Reminder, which can be preset and store to your receiver memory.
- Page 16 Original After drawing the line, the column has been enlarged 4. Draw the line in Windows Picture and Fax Viewer. Original After drawing the line, the column has been enlarged - 15 -...
- Page 17 (4) Task Listing of G10 MeetingMan There are 2 ways will display the working mode number when it is shifted: Display 1: When the mode is shifted, the memo screen will be displayed on the screen center to remind current mode number information as shown on the right. Display 2: Meanwhile, the small MeetingMan icon on the system tray will shift with mode numbers .


Need help?
Do you have a question about the MeetingMan G10-700F and is the answer not in the manual?
Questions and answers