Table of Contents
Advertisement
Quick Links
Advertisement
Table of Contents

Subscribe to Our Youtube Channel
Related Manuals for Makita XFD01


Summary of Contents for Makita XFD01
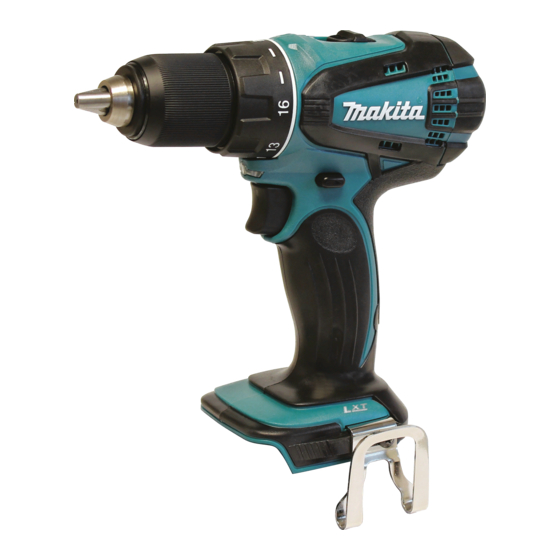
- Page 1 INSTRUCTION MANUAL Cordless Driver Drill XFD01 011360...
-
Page 2: Specifications
ENGLISH (Original instructions) SPECIFICATIONS Model XFD01 Steel 13 mm (1/2") Wood 38 mm (1-1/2") Capacities Wood screw 10 mm x 89 mm (3/8" X 3-1/2") Machine screw M6 (1/4") High (2) 0 - 1,500 /min No load speed (RPM) Low (1) -
Page 3: Cordless Driver Drill Safety Warnings
13. Remove any adjusting key or wrench before Battery tool use and care turning the power tool on. A wrench or a key left 24. Recharge only with the charger specified by the manufacturer. A charger that is suitable for attached to a rotating part of the power tool may result in personal injury. - Page 4 Do not touch the drill bit or the workpiece A battery short can cause a large current flow, immediately after operation; they may be overheating, possible burns and even a extremely hot and could burn your skin. breakdown. Some material contains chemicals which may Do not store the tool and battery cartridge in be toxic.
-
Page 5: Functional Description
This tool is equipped with an electric brake. If the tool is not being inserted correctly. consistently fails to quickly stop after switch trigger Battery protection system release, have tool serviced at a Makita service center. (Battery cartridge with a star mark) Lighting up the front lamp 1. Star mark 1. - Page 6 NOTE: Adjusting the fastening torque Use a dry cloth to wipe the dirt off the lens of lamp. • Be careful not to scratch the lens of lamp, or it may 1. Adjusting ring 2. Graduation lower the illumination. 3. Pointer Reversing switch action 1.
-
Page 7: Operation
Hook Screwdriving operation 1. Groove 2. Hook 3. Screw 011369 011368 The hook is convenient for temporarily hanging the tool. CAUTION: This can be installed on either side of the tool. Adjust the adjusting ring to the proper torque level •... -
Page 8: Maintenance
Use a screwdriver to remove two screws then remove switch trigger. If electric brake is not working well, ask the rear cover. your local Makita service center for repair. To maintain product SAFETY and RELIABILITY, repairs, 1. Rear cover any other maintenance or adjustment should be 2. -
Page 9: Optional Accessories
Only use accessory or attachment for its stated purpose. If you need any assistance for more details regarding these accessories, ask your local Makita Service Center. Drill bits • Screw bits • Bit holder •...
Need help?
Do you have a question about the XFD01 and is the answer not in the manual?
Questions and answers