Table of Contents
Advertisement
Quick Links
GE
Security
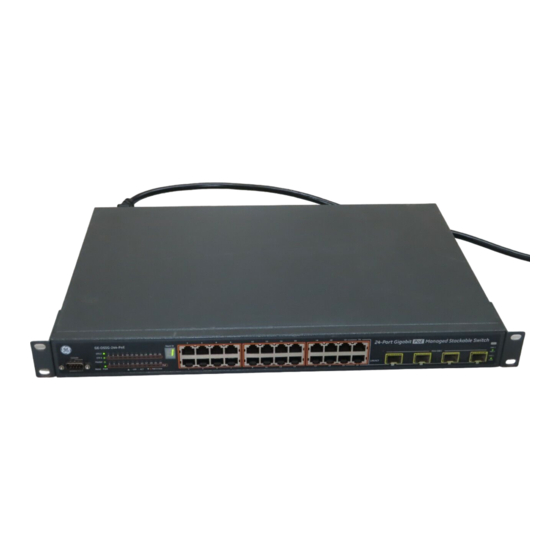
GE-DSG-244 DSSG-244 and
244-PoE Managed Ethernet
Switch Installation Sheet
Package Contents
Thank you for purchasing the GE Security GE-DSG/DSSG series of 24-Port
Managed Ethernet Switches. The following Switch model numbers are covered in
this sheet:
•
GE-DSG-244
•
GE-DSSG-244
•
GE-DSSG-244-PoE
Open the box of the Managed Switch and carefully unpack it. The box should
contain the following items:
•
The GE-DSG/DSSG Managed Gigabit Switch x1
•
User's manual CD x1
•
Installation Sheet x1
•
RS232 cable x1
•
Rubber feet x 4
•
Two rack-mounting brackets with attachment screws x2
•
Power Cord x1
•
CB-STX50-50cm stack cable x 1 (GE-DSSG Series only)
If any item is found missing or damaged, please contact your local reseller for
replacement.
1 of 13
P/N 1069667 • REV 1.0 • ISS 22FEB10
© 2010 GE Security, Inc.
Advertisement
Table of Contents


Need help?
Do you have a question about the GE-DSG-244 and is the answer not in the manual?
Questions and answers