
Subscribe to Our Youtube Channel
Related Manuals for Philips NeoPix Start+


Summary of Contents for Philips NeoPix Start+
- Page 1 EN User Manual FR Manuel utilisateur DE Bedienungsanleitung ES Manual del usuario IT Manuale d´uso NeoPix Start+ Mini projector Register your product and get support at www.philips.com/support...
- Page 2 User Manual NeoPix Start+ Mini projector Register your product and get support at www.philips.com/support...
-
Page 3: Table Of Contents
Table of contents Introduction ..........3 7 Service ........... 15 Dear customer ..............3 Cleaning ................15 About this user manual ..........3 Update software ............15 What’s in the box ............3 Troubleshooting ............16 General safety information ....4 8 Appendix ..........17 Setting up the product .......... -
Page 4: Introduction
Introduction What’s in the box NeoPix Start+ projector (NPX245) A/C power adapter Dear customer Remote control with 2 AAA batteries Thank you for purchasing this projector. Quick Start Guide We hope you enjoy this product and the many Power plugs (EU, UK, US) functions it offers! About this user manual The quick start guide supplied with this product... -
Page 5: General Safety Information
The built-in battery centres on the warranty card supplied with this should be replaced by qualified service staff product. only. Do not remove the type label from this product, as this will void the warranty. Philips · NeoPix Start+... -
Page 6: Power Supply
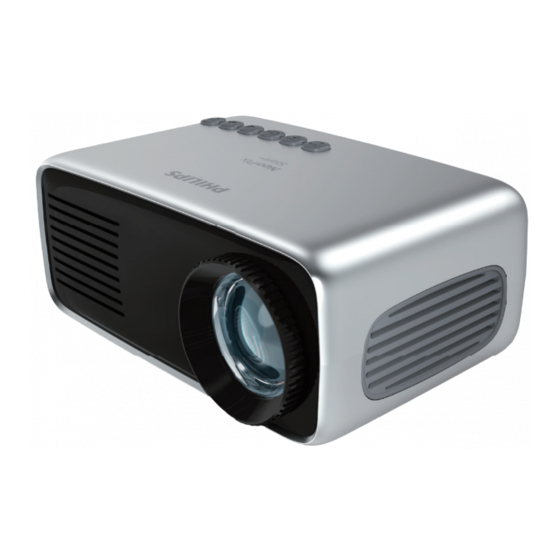
2 Overview Power supply Use only a power adapter which is certified for this product (see Technical data, page 17). Top view Check whether the mains voltage of the power supply matches the mains voltage available at the setup location. This product complies with the voltage type specified on the product. -
Page 7: Side View
When the product is switched on, the speakers or headphones. LED turns green. When the product is in Micro SD card slot standby, the LED turns red. Connect to a Micro SD card for media play. Philips · NeoPix Start+... -
Page 8: Access Home Menu
3 Initial operation Access home menu The home menu provides easy access to media player, setup and other useful features in the Placing projector projector. You can install the projector in four different Press . The home menu is displayed. configuration. -
Page 9: Changing Screen Size
Changing screen size The projection screen size (or size of images) is determined by the distance between the lens of the projector and the projection surface. • The projection image size ranges from 20” to 60”. Philips · NeoPix Start+... -
Page 10: Preparing The Remote Control
Battery power operation DANGER! The projector can be also operated on built-in Risk of explosion with incorrect type battery for portability. of batteries! There is a risk of explosion if the incorrect battery type is used. Charging projector Do not try to replace the built-in Before first use, charge the projector for battery yourself. -
Page 11: Power On And Setup
Connect a playback device (e.g. a DVD player, gaming console, camcorder or digital camera) to the projector through AV connection. With this connection, images are shown on the projection screen, and audio is played on the projector. Philips · NeoPix Start+... -
Page 12: Connecting To External Speakers Or Headphones
Using a RCA cable with 3.5 mm plug, connect the AV connector (3.5 mm) on the DC5V MICRO SD projector to the analogue audio output jacks (red and white) and/or composite video output jack on a playback device. DC5V MICRO SD When connecting to the headphones, use the volume control on the remote control to adjust the volume to a comfortable level. -
Page 13: Media Playback
PHOTO: access and play photo files • MOVIE: access and play video files only. only. • PHOTO: access and play photo files Select MUSIC to activate music media only. player and access music files. Select MOVIE to activate video media Philips · NeoPix Start+... -
Page 14: Photo Playback
• If music media player is selected, slide show. only the playable music files can be During slide show, press OK. The playback displayed. control icons are displayed at the bottom Select a music file and press OK to play of the projection screen. -
Page 15: Change Settings
Select SETUP, and then press OK to access the setting options. • Surround Sound: Turn surround on or off. Select Auto Sleep, and then press / to select a period of time (in hour). Philips · NeoPix Start+... -
Page 16: Service
Update software The latest software of the projector can be found on www.philips.com/support for you to get the best features and support from the projector. Before you update the software of the projector, check the current software version: •... -
Page 17: Troubleshooting
What to do if the projector does not work • Check that the HDMI cable is plugged correctly. when connecting to a notebook PC? • Make sure that the notebook PC has been switched to projector display. Philips · NeoPix Start+... -
Page 18: Appendix
8 Appendix Product details Dimensions (W × D × H) ..130 x 80 x 50 mm Weight ..............258 g Technical data Operating temperature........< 40 °C Storage temperature ........< 60 °C Technology/optical Optical technology ..........LCD Package content Light source ..........RGB LED NeoPix Start+ projector, remote control with Resolution ........ - Page 19 The Declaration of Compliance can be this device must accept any interference consulted on the site www.philips.com/ received, including interference that may projection. cause undesired operation. FCC RF Radiation Exposure Statement: Preservation of the environment as part...
- Page 20 Packaging: The presence of the logo (green other than those designated as original dot) means that a contribution is paid to an Screeneo Innovation SA/PHILIPS products or approved national organisation to improve Screeneo Innovation SA/PHILIPS approve d package recovery and recycling infrastructures.
- Page 21 PHILIPS and the PHILIPS’ Shield Emblem are registered trademarks of Koninklijke Philips N.V. used under license. This product was brought to the market by Screeneo Innovation SA., further referred to in this document as Screeneo Innovation SA., and is the manufacturer of the product.
Need help?
Do you have a question about the NeoPix Start+ and is the answer not in the manual?
Questions and answers