Advertisement
Quick Links
✚
INSTALLATION
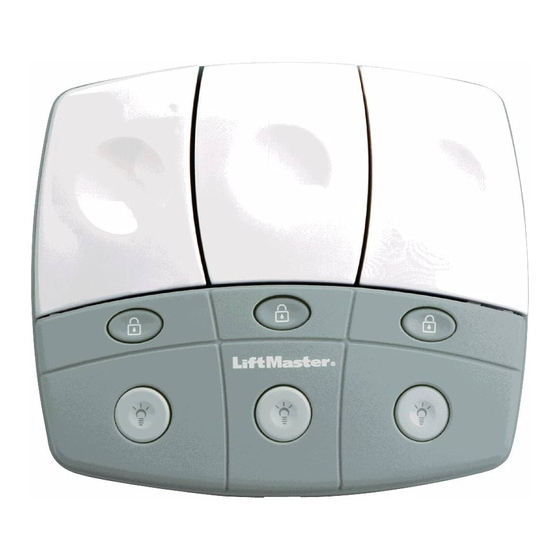
Note: Model 902 LM will only have A and C terminals.
NOTE: If replacing existing wall controls, labeling the existing
wires with masking tape might be helpful (i.e. Door A, Door B,
Door C).
Figure 1
Figure 5
NOTE: The door control button may stick if the door control is
not mounted on a smooth surface. If a click is not heard when
pressing the door control button, loosen the two mounting
screws or relocate the door control to a smoother surface.
After installation, an orange indicator light behind the door
control buttons will indicate proper connection. If not lit, the Lock
and Light features will not function (reverse wires to correct).
Figure 1
Figure 2
Advertisement

Related Manuals for Chamberlain LIFTMASTER PROFESSIONAL 902LM


Summary of Contents for Chamberlain LIFTMASTER PROFESSIONAL 902LM
- Page 1 ✚ INSTALLATION Note: Model 902 LM will only have A and C terminals. NOTE: If replacing existing wall controls, labeling the existing wires with masking tape might be helpful (i.e. Door A, Door B, Door C). Figure 1 Figure 5 NOTE: The door control button may stick if the door control is not mounted on a smooth surface.
- Page 2 Figure 2 Do not overtighten Figure 3. Do not overtighten Figure 4. NOTE: Mounting hardware is included for each type of installation (use all four screws if desired). USING THE DOOR CONTROL Figure 6 Figure 6. NOTE: The lock and light features will work properly on Security ✚...