Sign In
Upload
Download
Table of Contents
Contents
Add to my manuals
Delete from my manuals
Share
URL of this page:
HTML Link:
Bookmark this page
Add
Manual will be automatically added to "My Manuals"
Print this page
×
Bookmark added
×
Added to my manuals
Manuals
Brands
Daikin Manuals
Air Conditioner
FTX25KMV1B
Operation manual
Daikin FTX25KMV1B Operation Manual
Hide thumbs
1
2
Table Of Contents
3
4
5
6
7
8
9
10
11
12
13
14
15
16
17
18
19
20
21
22
23
24
25
26
27
28
29
30
page
of
30
Go
/
30
Contents
Table of Contents
Troubleshooting
Bookmarks
Table of Contents
Table of Contents
Safety Precautions
Names of Parts
Preparation before Operation
AUTO · DRY · COOL · HEAT · FAN Operation
Adjusting the Airfl Ow Direction
COMFORT AIRFLOW Operation
POWERFUL Operation
ECONO Operation
OFF TIMER Operation
ON TIMER Operation
Care and Cleaning
Troubleshooting
Advertisement
Quick Links
1
Table of Contents
2
Names of Parts
3
Auto · Dry · Cool · Heat · Fan Operation
4
Care and Cleaning
Download this manual
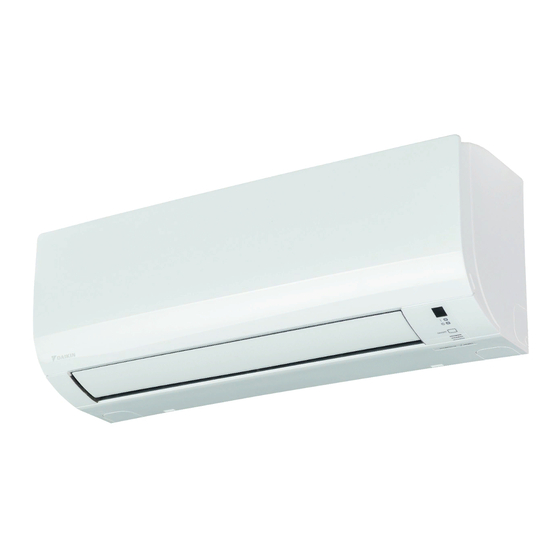
MODELS
FTX25KMV1B
FTX35KMV1B
DAIKIN ROOM AIR CONDITIONER
OPERATION MANUAL
Table of
Contents
Previous
Page
Next
Page
1
2
3
4
5
Advertisement
Table of Contents
Need help?
Do you have a question about the FTX25KMV1B and is the answer not in the manual?
Ask a question
Questions and answers
Related Manuals for Daikin FTX25KMV1B
Air Conditioner Daikin FTX20GV1B Operation Manual
Room air conditioner (26 pages)
Air Conditioner Daikin ATKC09RV2S Service Manual
1.5/2.0/2.5/3.0/3.5 kw class 9000/12000 btu/h class (20 pages)
Air Conditioner Daikin FTX20J3V1B Operation Manual
(28 pages)
Air Conditioner Daikin FTK25JVE9 Service Manual
Inverter pair ftk(x)-j / rk(x)-j series (162 pages)
Air Conditioner Daikin FTX20KV1B Operation Manual
Room air conditioner (32 pages)
Air Conditioner Daikin FTX20K(2)V1B Service Manual
Inverter pair wall mounted type ftx/atx-k series (114 pages)
Air Conditioner Daikin FTX25KV1B Installation Manual
(17 pages)
Air Conditioner Daikin FTXP20K2V1B Installation Manual
R410a, r32 split series (25 pages)
Air Conditioner DAIKIN ATX20K2V1B Operation Manual
(30 pages)
Air Conditioner Daikin FTX20K2V1B Installation Manual
R410a, r32 split series (21 pages)
Air Conditioner Daikin FTX20K2V1B Operation Manual
Inverter r410a/r32 (324 pages)
Air Conditioner DAIKIN R410A Series Installation Manual
(177 pages)
Air Conditioner Daikin FTKS25BVMB Service Manual
(201 pages)
Air Conditioner Daikin FTXN09KEVJU Service Manual
Removal procedure, 1.5/2.0/2.5/3.2/3.5 kw class, 9000/12000 btu/h class (34 pages)
Air Conditioner Daikin FTX25KNV1B Installation Manual
(17 pages)
Air Conditioner Daikin FTX35KNV1B Operation Manual
Daikin room air conditioner (28 pages)
This manual is also suitable for:
Ftx35kmv1b
Table of Contents
Print
Rename the bookmark
Delete bookmark?
Delete from my manuals?
Login
Sign In
OR
Sign in with Facebook
Sign in with Google
Upload manual
Upload from disk
Upload from URL


Need help?
Do you have a question about the FTX25KMV1B and is the answer not in the manual?
Questions and answers