Sign In
Upload
Download
Table of Contents
Contents
Add to my manuals
Delete from my manuals
Share
URL of this page:
HTML Link:
Bookmark this page
Add
Manual will be automatically added to "My Manuals"
Print this page
×
Bookmark added
×
Added to my manuals
Manuals
Brands
AEG Manuals
Washer
L88689FL
User manual
AEG L88689FL User Manual
Hide thumbs
1
Table Of Contents
2
3
4
5
6
7
8
9
10
11
12
13
14
15
16
17
18
19
20
21
22
23
24
25
26
27
28
29
30
31
32
33
34
35
36
page
of
36
Go
/
36
Contents
Table of Contents
Bookmarks
Table of Contents
Table of Contents
Safety Information
Environment Concerns
Product Description
Accessories
Control Panel
Washing Programmes
Before the First Use
Activating the Appliance and Setting Aprogramme
Loading the Laundry
Filling Detergent and Additives
Setting the Delay Start
Starting a Programme
At the End of Programme
Helpful Hints and Tips
Care and Cleaning
Trouble Shooter and Service
Technical Data
Installation
Advertisement
Quick Links
Download this manual
L 88489 FL
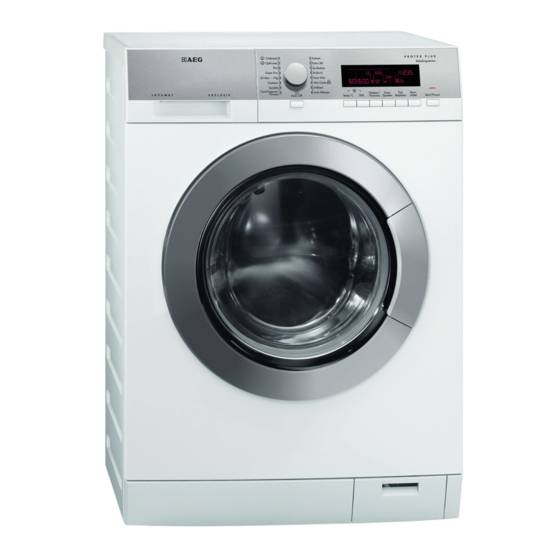
WASHING MACHINE
USER MANUAL
L 88689 FL
Table of
Contents
Previous
Page
Next
Page
1
2
3
4
5
Advertisement
Table of Contents
Need help?
Do you have a question about the L88689FL and is the answer not in the manual?
Ask a question
Questions and answers
Related Manuals for AEG L88689FL
Washer AEG L 88409 FL2 User Manual
(32 pages)
Washer AEG L 88406 DFL User Manual
(64 pages)
Washer AEG L 88489 FL User Manual
(72 pages)
Washer AEG L 88489 FL User Manual
(76 pages)
Washer AEG L88489FL User Manual
(36 pages)
Washer AEG LAVAMAT 88810 User Information
Electrolux washing machine user information (48 pages)
Washer AEG L 88489 FL2 User Manual
(80 pages)
Washer AEG L8TE73C User Manual
(36 pages)
Washer AEG L8FBC69ASCA User Manual
(60 pages)
Washer AEG L8FEE965R User Manual
(48 pages)
Washer AEG L8FEN96CQ User Manual
(56 pages)
Washer AEG 8000 OKOMIX 8KG User Manual
(48 pages)
Washer AEG L8FEC49SC User Manual
(40 pages)
Washer AEG L8FE8000V User Manual
(48 pages)
Washer AEG L8FEE104S User Manual
(48 pages)
Washer AEG L8TFI735E2 User Manual
(40 pages)
This manual is also suitable for:
L88489fl
Table of Contents
Print
Rename the bookmark
Delete bookmark?
Delete from my manuals?
Login
Sign In
OR
Sign in with Facebook
Sign in with Google
Upload manual
Upload from disk
Upload from URL


Need help?
Do you have a question about the L88689FL and is the answer not in the manual?
Questions and answers