Advertisement
Quick Links
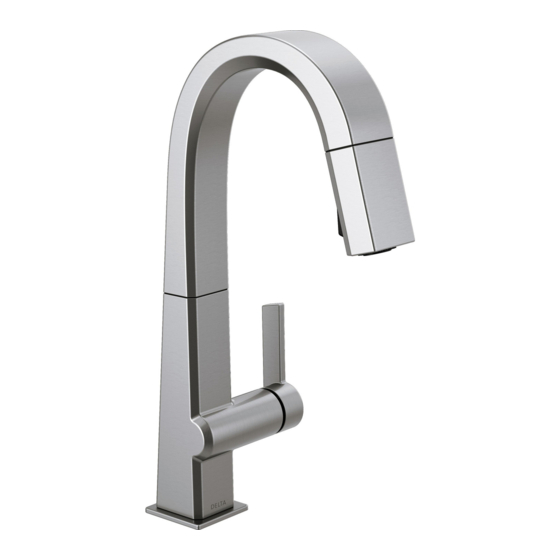
Model/Modelo/Modèle
PIVOTAL ™
Write purchased model number here.
Escriba aquí el número del modelo comprado.
Inscrivez le numéro de modèle ici.
You may need/Usted puede necesitar/Articles dont vous pouvez avoir besoin:
3/32" (2.38 mm)
Read all instructions prior to installation.
Lea todas las instrucciones antes de
hacer la instalación.
Veuillez lire toutes les instructions avant
l'installation.
To access additonal technical documents & product info, visit www.deltafaucet.com/p/Your-Model-Number-Here
(example: www.deltafaucet.com/p/9159T-DST)
Para acceder a documentos técnicos adicionales e información sobre el producto, visítenos en www.deltafaucet.
com/p/Your-Model-Number-Here (ejemplo: www.deltafaucet.com/p/9159T-DST)
Pour avoir accès à des documents techniques supplémentaires et à de l'information sur le produit, visitez www.delta-
faucet.com/p/Votre-numéro-de-modèle-ci (exemple : www.deltafaucet.com/p/9159T-DST)
PULLOUT AND PULL-DOWN KITCHEN SUITE WITH RIBBON
91866
SPOUT
SET DE COCINA CON SURTIDOR ESTILIZADO EXTRAÍBLE Y
DESLIZABLE HACIA ABAJO
ROBINET À BEC RUBAN RÉTRACTABLE POUR LA CUISINE
4193-DSTp
1
9193-DSTp
9993-DSTp
9193T-DSTp
9993T-DSTp
?
www.deltafaucet.com
1-800-345-DELTA (3358)
customerservice@deltafaucet.com
9693-DSTp
9693T-DSTp
03/25/2019
Rev. H
Advertisement

Related Manuals for Delta Pivotal 9993-AR-DST


Summary of Contents for Delta Pivotal 9993-AR-DST
- Page 1 Para acceder a documentos técnicos adicionales e información sobre el producto, visítenos en www.deltafaucet. www.deltafaucet.com com/p/Your-Model-Number-Here (ejemplo: www.deltafaucet.com/p/9159T-DST) 1-800-345-DELTA (3358) Pour avoir accès à des documents techniques supplémentaires et à de l’information sur le produit, visitez www.delta- customerservice@deltafaucet.com faucet.com/p/Votre-numéro-de-modèle-ci (exemple : www.deltafaucet.com/p/9159T-DST) 03/25/2019...
- Page 2 Pièces et finis. Tous les pièces (autres que les composants électroniques et les piles) et les finis de ce toutes les demandes en vertu de la garantie, sauf si le produit a été enregistré auprès de Delta Faucet robinet Delta sont protégés contre les défectuosités du matériau et les vices de fabrication par une garan-...
- Page 3 91866 Rev. H...
- Page 4 PIVOTAL ™ Models/Modelos/Modèles 9193-DST, 9993-DST, 9193T-DST & 9993T-DST RP92602 p Kitchen Spout Assembly with Magnet Ensamble del Tubo de Salida RP92601 p Bar/Prep Spout Assembly with Magnet Ensamble del Tubo de Salida RP91902 Cartridge Assembly Ensamble del la Válvula RP93282 p Soupape Handle, Set Screw &...
- Page 5 RP93410 Filter EP92546 Filtro Solenoid Assembly Filtre Ensamble de Solenoide Électrovanne For PC, SS, AR & KS finishes, order EP92546 For PL, MW, RB & SP finishes, order EP92546 Para acabados PC, SS, AR y KS, ordene EP92546 Para acabados PL, MW, RB y SP, ordene EP92546 RP13938 Pour les finis PC, SS, AR et KS, commandez EP92546 O-Ring (2)
- Page 6 Touch ® 9193T-DST 9693T-DST 9993T-DST Ensure tab on base (6) is in sink hole. Slide base plate over hose assembly, ensure tab on base plate tab (1) is in the rear of the faucet for proper contact. Asegúrese de que la lengüeta en la base (6) esté en el orificio del fregadero.
- Page 7 OPTIONAL ESCUTCHEON INSTALLATION INSTALACIÓN OPCIONAL DE UNA CHAPA INSTALLATION DE LA PLAQUE DE FINITION FACULTATIVE For optional installations using the 10 1/2” escutcheon. Place spacer (9) in sink hole to insure no metal-to-metal contact with sink and faucet shank Place the escutcheon and gasket under faucet, hand tighten using escutcheon washers and nuts.
- Page 8 Loop tubing if it is too long. Note: Recommended tubing minimum bend diameter is 8”. Tighten the nut with a wrench until secured, while using a second wrench to ensure you do not over tighten the check valves. Repeat for other supply stop. Turn on water, examine for leaks.
- Page 9 Side View Vista lateral Vue latérale Wire must extend away from solenoid. Asegúrese que el alambre se extiende alejado del solenoide. Prenez soin de placer les fils à l’écart de l’électrovanne. 91866 Rev. H...
- Page 10 “AA” Batteries Pilas “AA” Piles « AA » “C” Batteries Pilas “C” Piles « C » IMPORTANT Important: Place batteries in holder, secure cap as shown. Importante: Coloque las pilas en el soporte, fije el tapón se muestra. For proper functionality DO NOT tie, twist or bunch the wires. Important : Placez les piles dans leur logement, fixez le couvercle comme le montre.
- Page 11 4193-DST 9193-DST 9693-DST 9993-DST Remove strip from gasket and place under base plate. Slide base plate over hose assembly, ensure tab on base plate tab (1) is in the rear of the faucet for proper contact. Retire la tira de la junta y colóquela debajo de la placa base. Deslice la placa base sobre el conjunto de la manguera, asegúrese de que la lengüeta en la lengüeta de la placa base (1) esté...
- Page 12 OPTIONAL ESCUTCHEON INSTALLATION INSTALACIÓN OPCIONAL DE UNA CHAPA INSTALLATION DE LA PLAQUE DE FINITION FACULTATIVE Place the escutcheon and gasket under faucet, hand tighten using escutcheon washers and nuts. Mount as shown above using the mounting bracket. Position mounting nut by hand and then tighten with wrench provided.
- Page 13 Side View Vista lateral Vue latérale CUSTOM FIT CONNECTIONS / CONEXIONES ESPECIALES / SPÉCIAUX TUYAUTERIE BRANCHEMENT Installer accepts the responsibility to cut supply tubing in a way that allows a leak-free joint to be created. Brizo is not responsible for tubing that is cut too short or cut in a way that will not allow for a leak-free joint. Must use RP50952 sleeves supplied with model and nuts included on supply lines.
-
Page 14: Cleaning And Care
PLASTIC SLEEVE INSTALLATION / INSTALACIÓN DEL CASQUILLO PLÁSTICO / INSTALLATION DES MANCHONS EN PLASTIQUE PLASTIC SLEEVE INSTALLATION 1. Identify desired length of tube (1). Leave 1" - 2" of extra length to allow for easier installation and cut tube. Ensure cut is straight and burr free. 2. -
Page 15: Maintenance
(4) dentro de la manija. Quite la manija. Quite el capuchón ó casquetet (5) girando en dirección contraria a las manecillas del reloj. El capuchón puede estar tieso como resultado del aro Sugerencias rápidas para su llave de agua/grifo Delta Touch O, pero debe girar a mano. - Page 16 Solenoid Troubleshooting Note: Normal operation of the faucet will turn off water flow if faucet is not touched for 4 minutes. under the outlet of the solenoid assembly and move handle to the “on” position to check for flow 1. If your spout indicates three red flashes, replace the batteries. If the spout still indicates three red coming from the solenoid.
Need help?
Do you have a question about the Pivotal 9993-AR-DST and is the answer not in the manual?
Questions and answers