Sign In
Upload
Download
Add to my manuals
Delete from my manuals
Share
URL of this page:
HTML Link:
Bookmark this page
Add
Manual will be automatically added to "My Manuals"
Print this page
×
Bookmark added
×
Added to my manuals
Manuals
Brands
Smeg Manuals
Dishwasher
DWIFABNE2
User manual
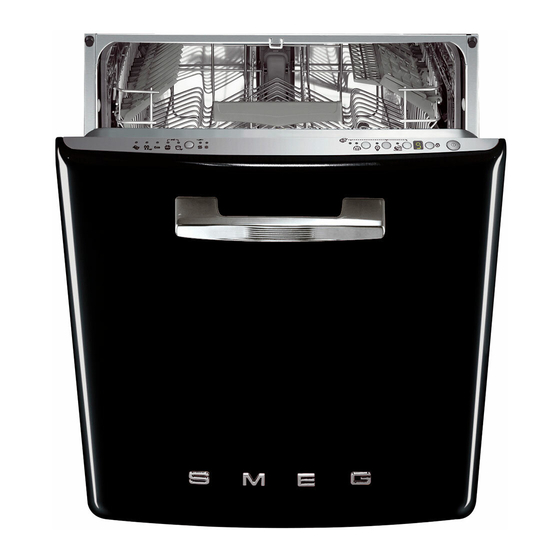
Smeg DWIFABNE2 User Manual
Hide thumbs
1
2
Table Of Contents
3
4
5
6
7
8
9
10
11
12
13
14
15
16
17
18
19
20
21
22
23
24
25
26
27
28
29
30
31
32
33
34
35
36
page
of
36
Go
/
36
Contents
Table of Contents
Troubleshooting
Bookmarks
Advertisement
Quick Links
1
Installation and Hook-Up
2
Description of the Controls
3
Operating Instructions
4
Cleaning and Maintenance
5
Troubleshooting
Download this manual
INSTRUCTION MANUAL
GUIDE FOR USING THE DISHWASHER AND THE WASHING PROGRAMS
Table of
Contents
Previous
Page
Next
Page
1
2
3
4
5
Advertisement
Need help?
Do you have a question about the DWIFABNE2 and is the answer not in the manual?
Ask a question
Questions and answers
Related Manuals for Smeg DWIFABNE2
Dishwasher Smeg Universale DWAI6314X2 Manual
(45 pages)
Dishwasher Smeg DWA6214X2 User Manual
(34 pages)
Dishwasher Smeg 19590 0653 Instructions For Installation And Use Manual
Smeg dishwasher instructions for installation and use (17 pages)
Dishwasher Smeg CSE66-I2 Instruction Manual
Smeg dishwasher instruction manual (27 pages)
Dishwasher Smeg Dishwasher DWI710 Instructions For Installation And Use Manual
Smeg dishwasher instructions for installation and use (12 pages)
Dishwasher Smeg DW1410 Instruction Manual
Smeg dishwasher instruction manual (31 pages)
Dishwasher Smeg DWI614 Instruction Manual
Smeg dishwasher instruction manual (27 pages)
Dishwasher Smeg DWI66 Informationen Für Installation Und Gebrauch
Smeg dishwasher instructions for installation and use (17 pages)
Dishwasher Smeg Dishwasher DWI409C Manuel D'instructions
Smeg dishwasher instruction manual (30 pages)
Dishwasher SMEG DWI409C Manual
(29 pages)
Dishwasher SMEG DWI612C Instruction Manual
(25 pages)
Dishwasher SMEG DWI64 Instructions For Installation And Use Manual
(16 pages)
Dishwasher SMEG DWI710E Instructions For Installation And Use Manual
(14 pages)
Dishwasher SMEG DWIFABNE Instruction Manual
Dishwasher and the washing programs (38 pages)
Dishwasher Smeg Classica DW9QSDXSA-1 Manual
(18 pages)
Dishwasher Smeg DWIFABP2 Manual
(41 pages)
This manual is also suitable for:
Dwa6314x2
Dwa6214x2
Dwafi6314
Dwafi6d15po
Print
Rename the bookmark
Delete bookmark?
Delete from my manuals?
Login
Sign In
OR
Sign in with Facebook
Sign in with Google
Upload manual
Upload from disk
Upload from URL


Need help?
Do you have a question about the DWIFABNE2 and is the answer not in the manual?
Questions and answers