Table of Contents
Advertisement
Quick Links
Download this manual
See also:
User Manual
Advertisement
Table of Contents

Related Manuals for Philips CD1802B/90


Summary of Contents for Philips CD1802B/90
-
Page 1: Quick Start Guide
Quick start guide CD180... -
Page 2: Important Safety Instructions
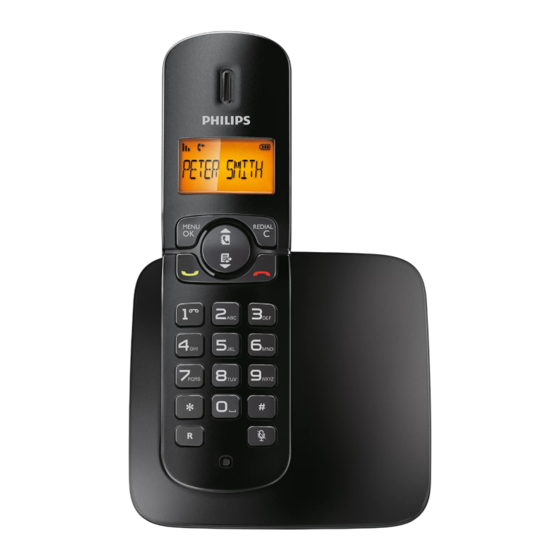
• Use only the power adapter listed in the technical data. • Do not allow the product to come into contact with liquids. • Risk of explosion if battery is replaced by an incorrect type. • Dispose of used batteries according to the instructions. (Refer to the user manual online) Overview Earpiece Microphone... - Page 3 In call In idle mode Enter the option Enter the option MENU/OK menu menu Enter the redial list Enter the redial list REDIAL/C Increase the volume Enter the phonebook Decrease the Enter the call log volume Make and receive calls End calls Turn handset on/off (press and hold)
- Page 4 It displays the connection between the handset and the base. The more the bars are shown, the better the connection is. It indicates a received call in the call log. It indicates an outgoing call in the redial list. It flashes when there is a new missed call.
-
Page 5: Connect The Base Station
Connect Connect the base station Telephone Power Power socket socket socket Telephone base station Connect each end of the power adapter to: • the DC input jack at the bottom of the base station; • the power socket on the wall. Connect each end of the line cord to: Power adapter... -
Page 6: Get Started
Get started Configure your phone The batteries are pre-installed in the handset. Pull the battery tape off from the battery door before charging. When using your phone for the first time, you see a welcome message (country dependent). After the welcome message, press Please set the country and language if prompted. Set the date and time. -
Page 7: Charge Your Phone
Charge your phone Charge 8 hours Place the handset on the base station to charge the handset. When the handset is placed correctly on the base station, you hear a docking sound. » The handset starts charging. Charge the batteries for 8 hours before first use. Note Check the battery level When the handset is off the base station/charger, the bars indicate the battery level (full, medium and low). -
Page 8: Earpiece Volume
Enjoy Call • To make a call, press and dial the phone number. • To answer a call, press when the phone rings. • To end a call, press Earpiece volume Press to adjust the volume during a call. Phonebook Add record Press , then select... -
Page 9: Redial List
Call log Press and select a record. To make a call Press To view more details Press MENU/OK Select [VIEW] To save a call record to the phonebook Press MENU/OK Select [SAVE NUMBER] Press MENU/OK to confirm. Enter the name. Press MENU/OK to confirm. -
Page 10: Restore Default Settings
Restore default settings You can reset your phone settings to the original factory settings. Press MENU/OK Select > [SERVICES] [RESEt] MENU/OK to confirm. The handset displays a confirmation request. » Press MENU/OK to confirm. All settings are reset » The welcome screen displays. » Technical data Battery •... -
Page 11: Frequently Asked Questions
questions No signal bar displays on the screen. • The handset is out of range. Move it closer to the base station. • If the handset displays , register your [UNREgIStERED] handset (See the section on Register the handsets). If I fail to register the additional handsets to the base station, what do I do? Your base memory is full. -
Page 12: Need Help
User manual / Online help www.philips.com/support Reproduction in whole or in part is prohibited without the written consent of the copyright owner. Trademarks are the property of Koninklijke Philips Electronics N.V. or their respective owners. © 2011 Koninklijke Philips Electronics N.V. All rights reserved.
Need help?
Do you have a question about the CD1802B/90 and is the answer not in the manual?
Questions and answers