Table of Contents
Advertisement
CONTENTS
1. INTRODUCTION ..........................................8
1.1 Letters in brackets .........................................8
1.2 Troubleshooting and repairs ..........................8
2. DESCRIPTION.............................................8
2.1 Description of the machine ...........................8
2.2 Description of the touch screen .....................8
3. BEFORE USE...............................................9
3.1 Checking the machine ...................................9
3.2 Installing the machine ..................................9
3.3 Connecting the machine ...............................9
3.4 Setting up the machine .................................9
4. TURNING THE MACHINE ON ........................9
5. TURNING THE MACHINE OFF ..................... 10
6. SETTING WATER HARDNESS ...................... 10
7. SETTING TEMPERATURE ........................... 10
8. AUTO-OFF ................................................ 10
9. ENERGY SAVING ....................................... 11
10. BEEP ....................................................... 11
11. DEFAULT VALUES (RESET) ......................... 11
12. RINSING .................................................. 11
13. MAKING COFFEE ....................................... 11
13.1 Adjusting the coffee grinder ........................11
13.2 Tips for a hotter coffee.................................12
13.3 Making coffee using coffee beans ...............12
13.6 Customising strength and quantity ............13
14. TRUEBREW OVER ICE™ COFFEE .................. 13
14.1 Programming over ice lenght ......................13
15. MAKING CAPPUCCINO .............................. 14
15.1 Cleaning the frother after use......................14
16. DELIVERING HOT WATER .......................... 14
17. CLEANING ............................................... 14
17.1 Cleaning the machine .................................14
17.3 Cleaning the coffee grounds container ........15
17.6 Cleaning the water tank ..............................15
17.7 Cleaning the coffee spouts ..........................16
17.9 Cleaning the infuser ....................................16
18. DESCALING .............................................. 16
19. SETTING WATER HARDNESS ...................... 17
19.1 Measuring water hardness ..........................17
19.2 Setting water hardness ...............................17
20. WATER SOFTENER FILTER ......................... 17
20.1 Installing the filter ......................................18
20.2 Replacing the filter ......................................18
21. TECHNICAL DATA ...................................... 18
22. EXPLANATION OF LIGHTS .......................... 19
23. TROUBLESHOOTING ................................. 21
6
Advertisement
Table of Contents
Troubleshooting


Need help?
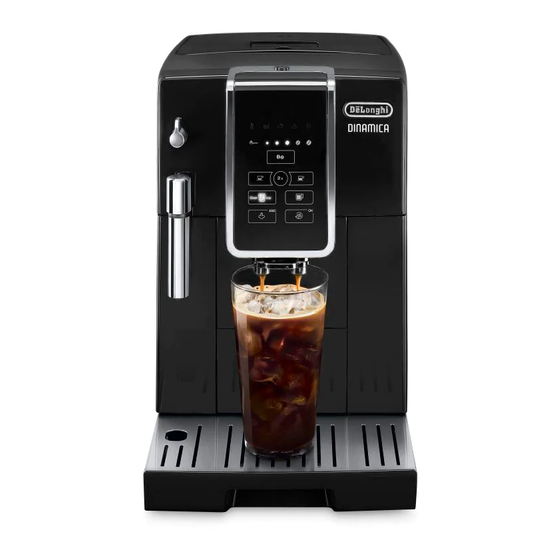
Do you have a question about the Dinamica and is the answer not in the manual?
Questions and answers