Table of Contents
Advertisement
Advertisement
Table of Contents

Summary of Contents for DeWalt DCST920P1
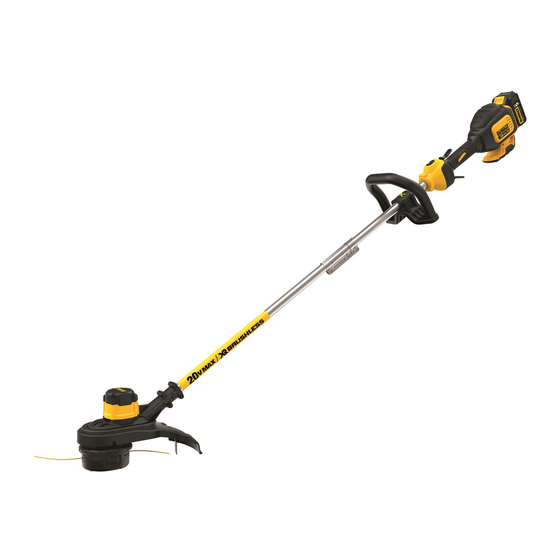
- Page 1 InSTruCTIon ManuaL DCST920 20V Max* Lithium String Trimmer...
-
Page 2: Definitions: Safety Guidelines
ReAD ALL InSTRucTIonS Definitions: Safety Guidelines • ALWAYS WEAR EYE PROTECTION – Wear safety spectacles The definitions below describe the level of severity for each signal or goggles at all times when battery is installed. These items are word. Please read the manual and pay attention to these symbols. available for purchase. -
Page 3: Important Safety Instructions For All Battery Packs
WARNING: for damage and have any damage repaired before further operation Do not use appliance if the switch trigger is attempted. Do not operate with a broken hub or spool. does not turn the appliance on or off. Any appliance that can not be •... - Page 4 • Do not incinerate the battery pack even if it is severely • Charge the battery packs only in designated DeWalt chargers. damaged or is completely worn out. The battery pack can • DO NOT splash or immerse in water or other liquids.
-
Page 5: Important Safety Instructions For All Battery Chargers
at the end of their useful life have already been paid by D WALT. In some dust, metal chips, steel wool, aluminum foil or any buildup of metallic areas, it is illegal to place spent nickel cadmium, nickel metal hydride or particles should be kept away from the charger cavities. -
Page 6: Charge Indicators
chargers Minimum Gauge for Cord Sets FIG. 1 Your appliance uses a D WALT charger. Volts Total Length of Cord in Feet (meters) Be sure to read all safety instructions before ampere rating 120V 25 (7.6) 50 (15.2) 100 (30.5) 150 (45.7) using your charger. -
Page 7: Important Charging Notes
If the problem persists, try a different battery pack to determine if the 75 °F (18 ° – 24 °C). DO NOT charge the battery pack in an air charger is working properly. If the new pack charges correctly, then the temperature below +40 °F (+4.5 °C), or above +105 °F (+40.5 °C). -
Page 8: Storage Recommendations
WARNING: Shock hazard. Don’t allow any liquid FIG. 2 to get inside the charger. electric shock may result. WARNING: Burn hazard. Do not submerge the battery pack in any liquid or allow any liquid to enter the battery pack. Never attempt to open the battery pack for any reason. -
Page 9: Operation Warning
WARNING: might be bent outwardly into the path of the appliance, such as barbs NEVER at the base of a chain link fence. OPERATE APPLIANCE WITHOUT FIG. 3 Installing and Removing the Battery Pack GUARD FIRMLY IN PLACE. The guard must always be properly attached on (Fig. - Page 10 For more information regarding fuel gauge battery packs, please call 1-800-4-D WALT (1-800-433-9258) or visit our website www.dewalt.com. Switching Trimmer on and off (Fig. 2) MINIMUM To turn the appliance on, squeeze the lock-off lever (B) and then the 24 INCHES...
- Page 11 • Do not allow spool cap to drag on ground or other surfaces. 1. Remove battery. • In long growth, cut from the top down and do not exceed 2. Turn spool (9A) clockwise to unlock as shown in Figure 9. The 12 inches (304.8 mm) high. white nub (12B) inside the spool will rotate away from the spool window (9B) to indicate it is unlocked.
-
Page 12: Maintenance Warning
9. Push the line in the holding slots on one side of the spool to hold FIG. 13 1. Keep the air intake slots (13A) clean the first line while you wind the second line. to avoid overheating. 10. Repeat the above procedure for the second cutting line on the 2. -
Page 13: Accessories Warning
701 East Joppa Road, Towson, MD 21286, call 1-800-4-D WALT (1-800-433-9258) or visit our website: www.dewalt.com. 2. Remove the 4 guard screws (16A) shown in Figure 16. 3. Lift the guard off at an angle as shown in Figure 17. -
Page 14: Troubleshooting
TRouBLeSHooTInG Problem Solution Unit will not start. • Check battery installation. • Check battery charging requirements. • Check that lock off is fully pulled back prior to moving main trigger. Unit shuts down in use. • Charge battery. • Clear debris around spool. • Reduce/limit swath to 13 inches (330 mm) MAX. • Reinstall guard if it has been removed. Battery won’t charge. • Insert battery into charger until red charging light illuminates. Charge up to 8 hours if battery is totally drained. • Plug charger into a working outlet. refer to Important Charging notes for more details. •...


Need help?
Do you have a question about the DCST920P1 and is the answer not in the manual?
Questions and answers